.png)
Scheduled Blog Posts Publishing
Table of Contents
- Scheduling Blog Post
- Canceling Scheduled Publishing
- Changing the Date and Time of the Schedule
- Changing the Default Time Zone
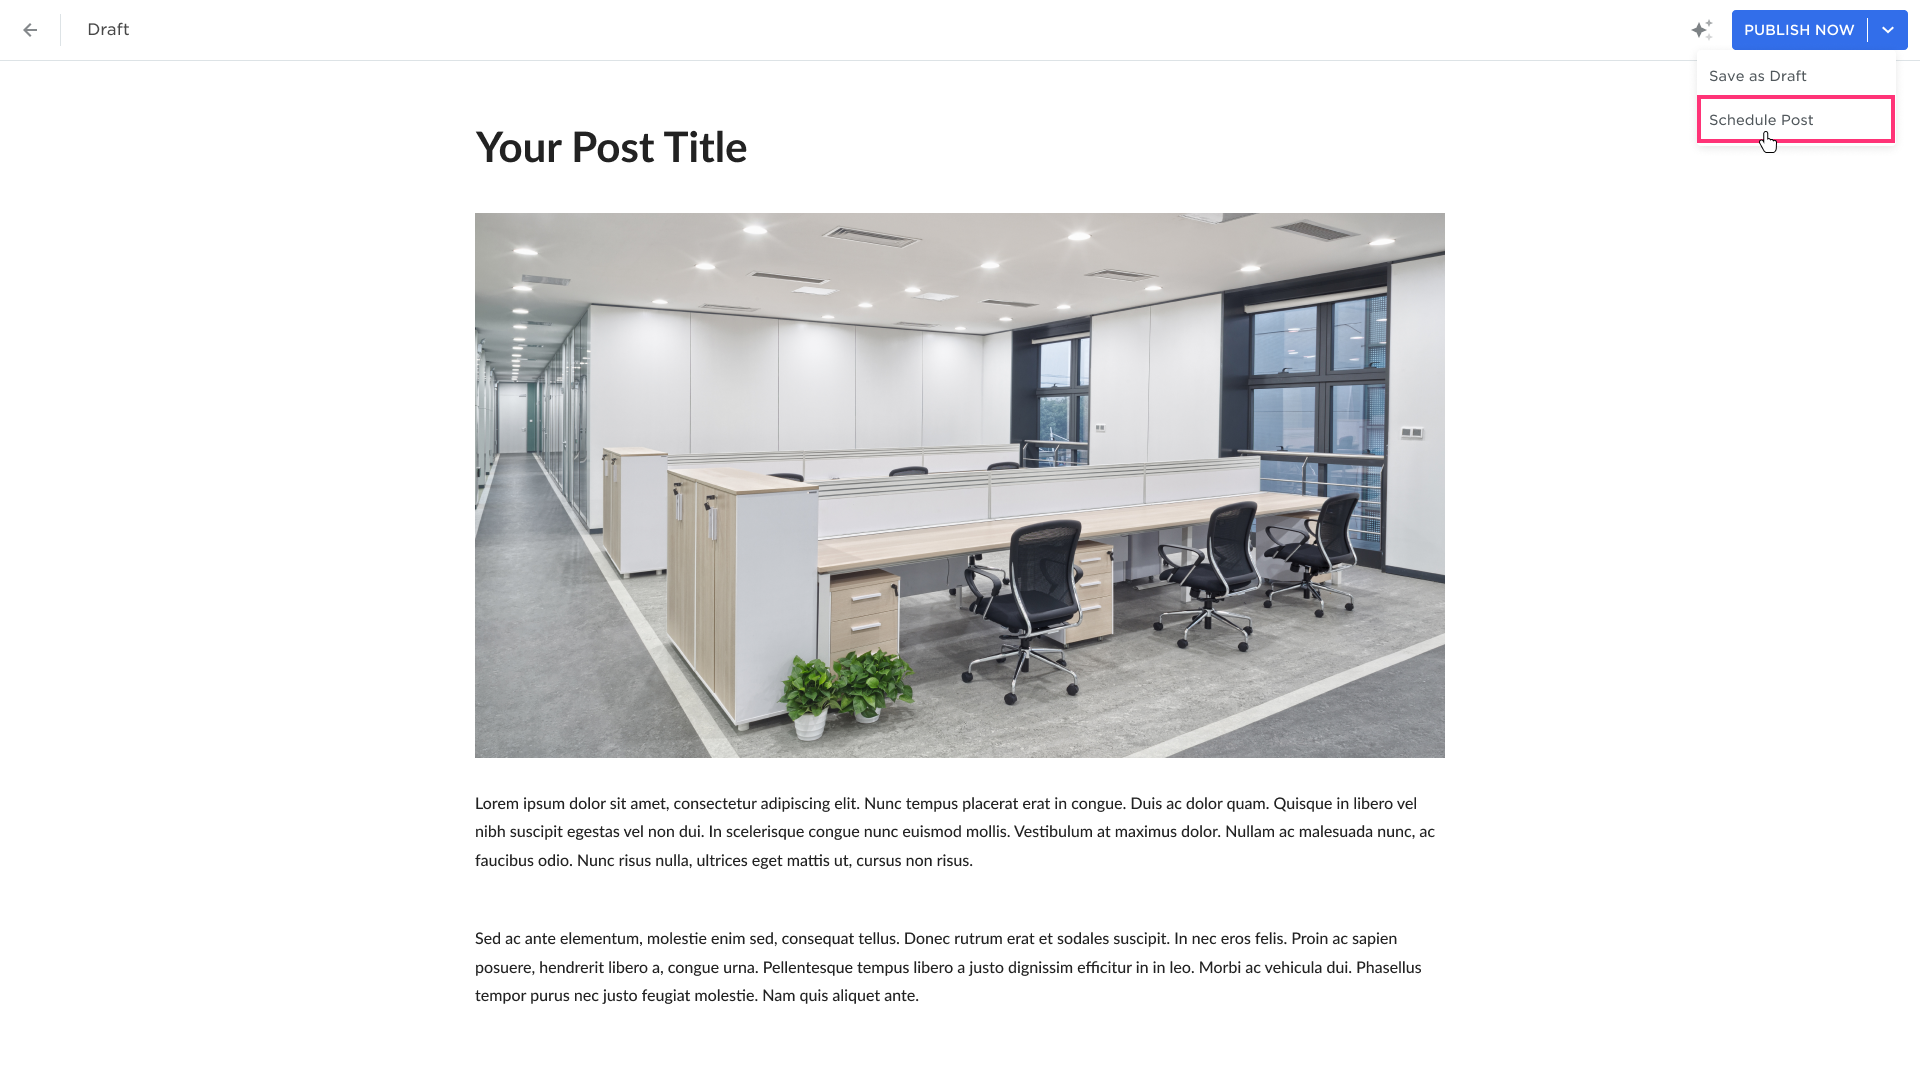
Scheduling Blog Post
To schedule a blog post, click the drop-down right to the Publish Now button and select the Schedule Post option in the drop-down:
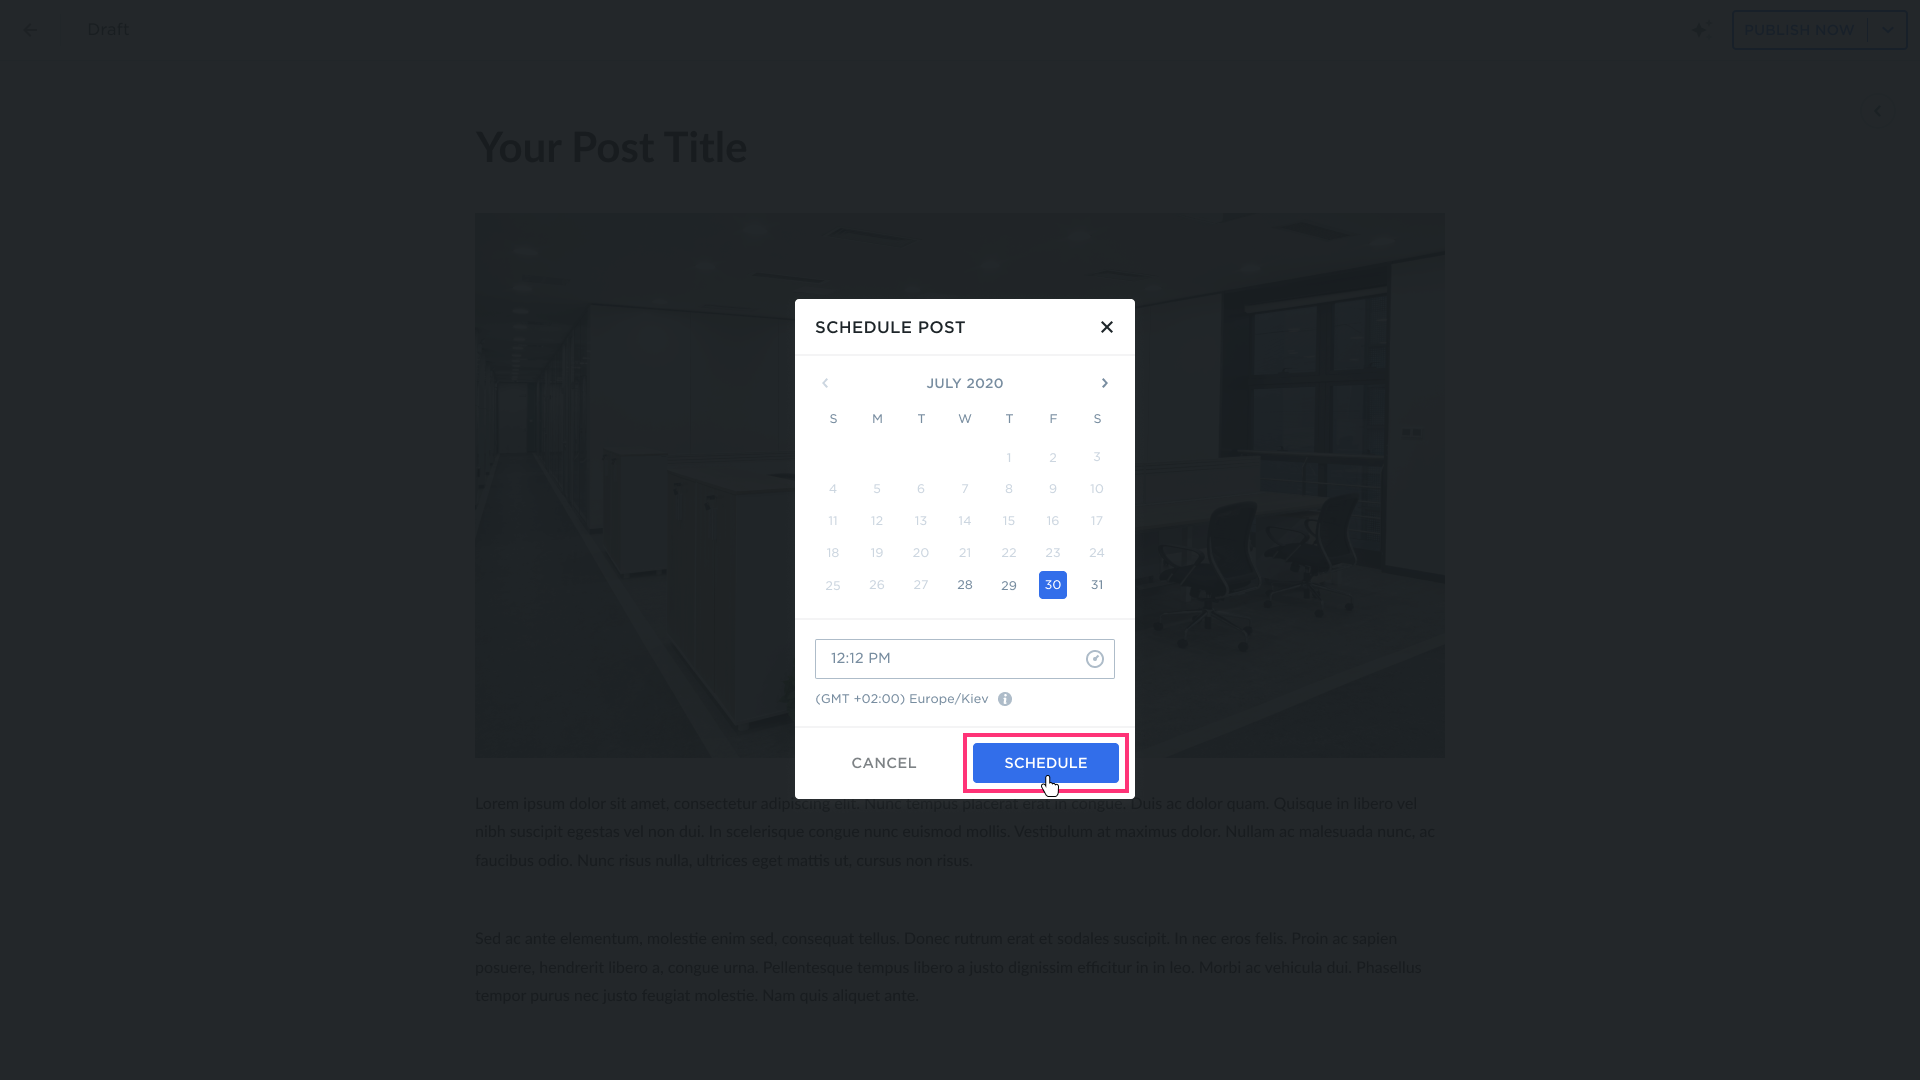
- Select the Date in the calendar picker modal window:
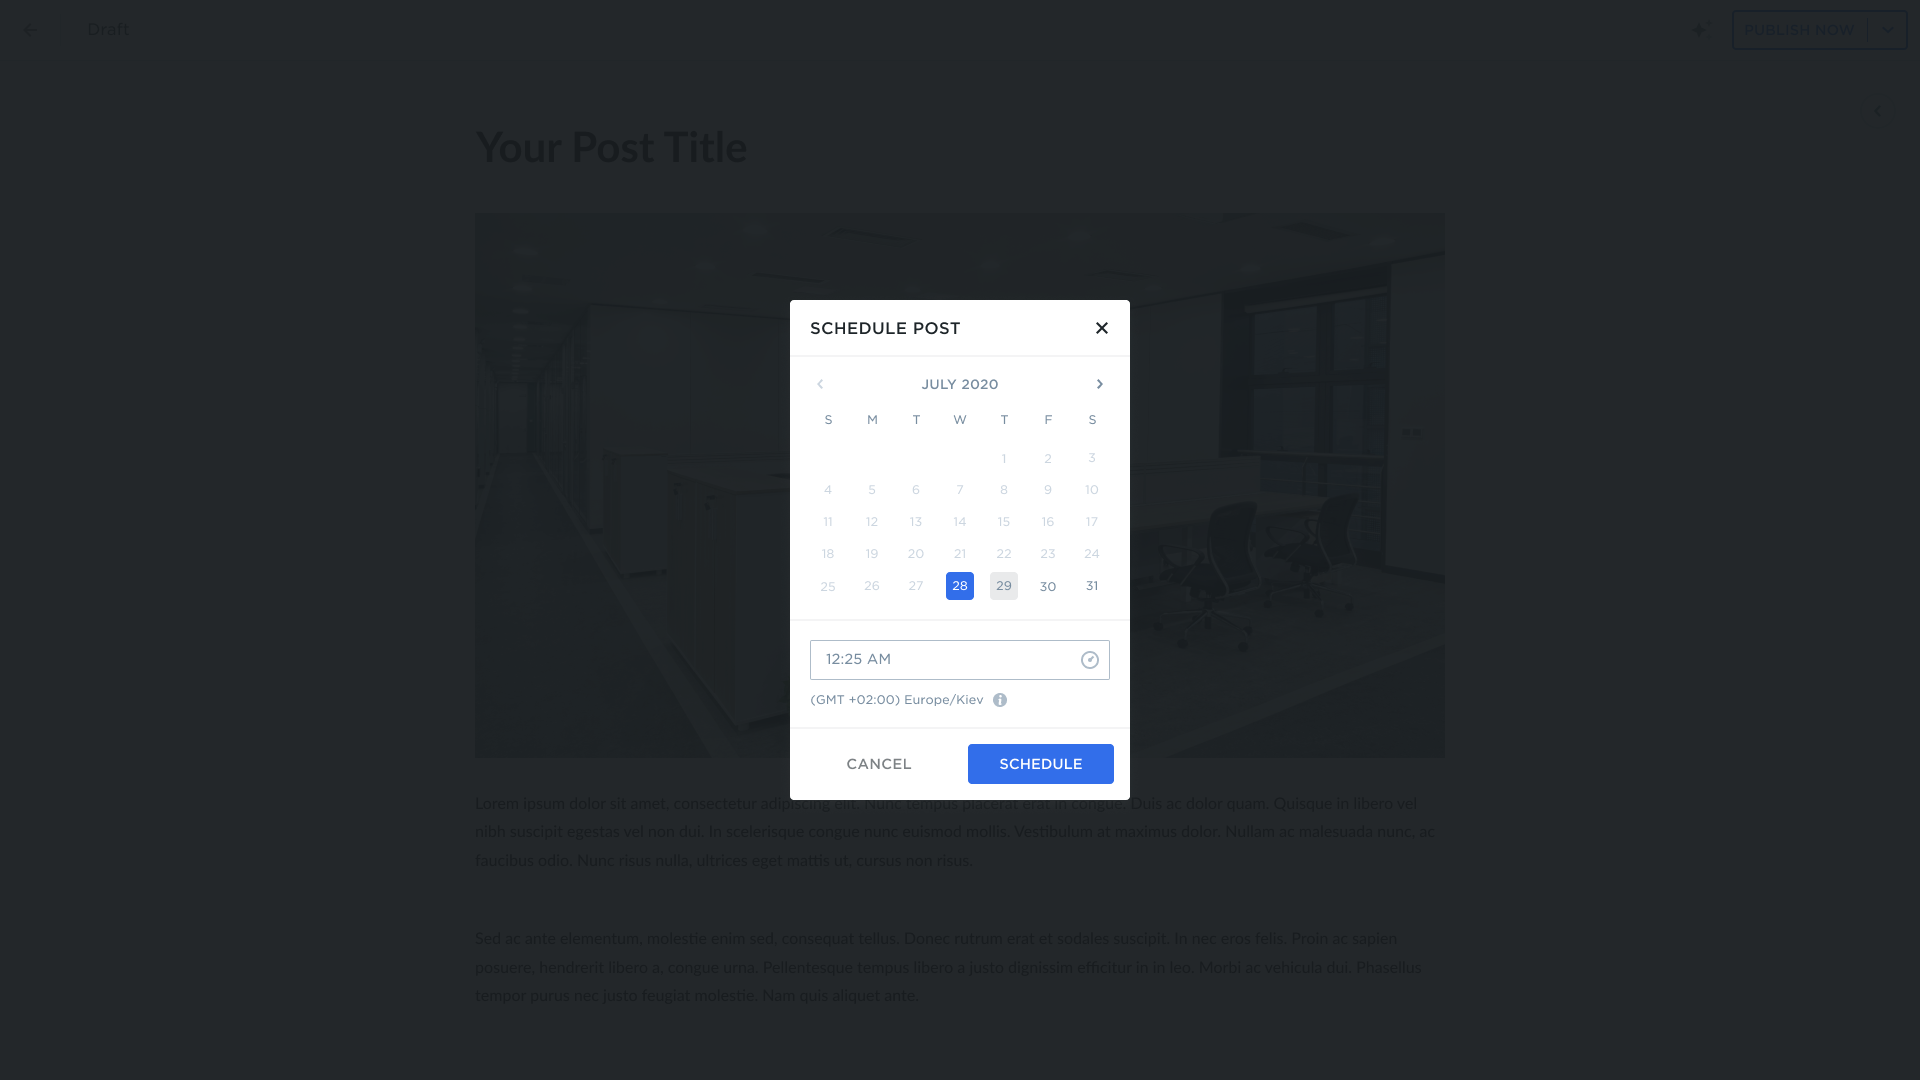
- Alternatively, select the time above by clicking the Time icon and select time in the scrollable columns (Hours/Minutes/Half Day):
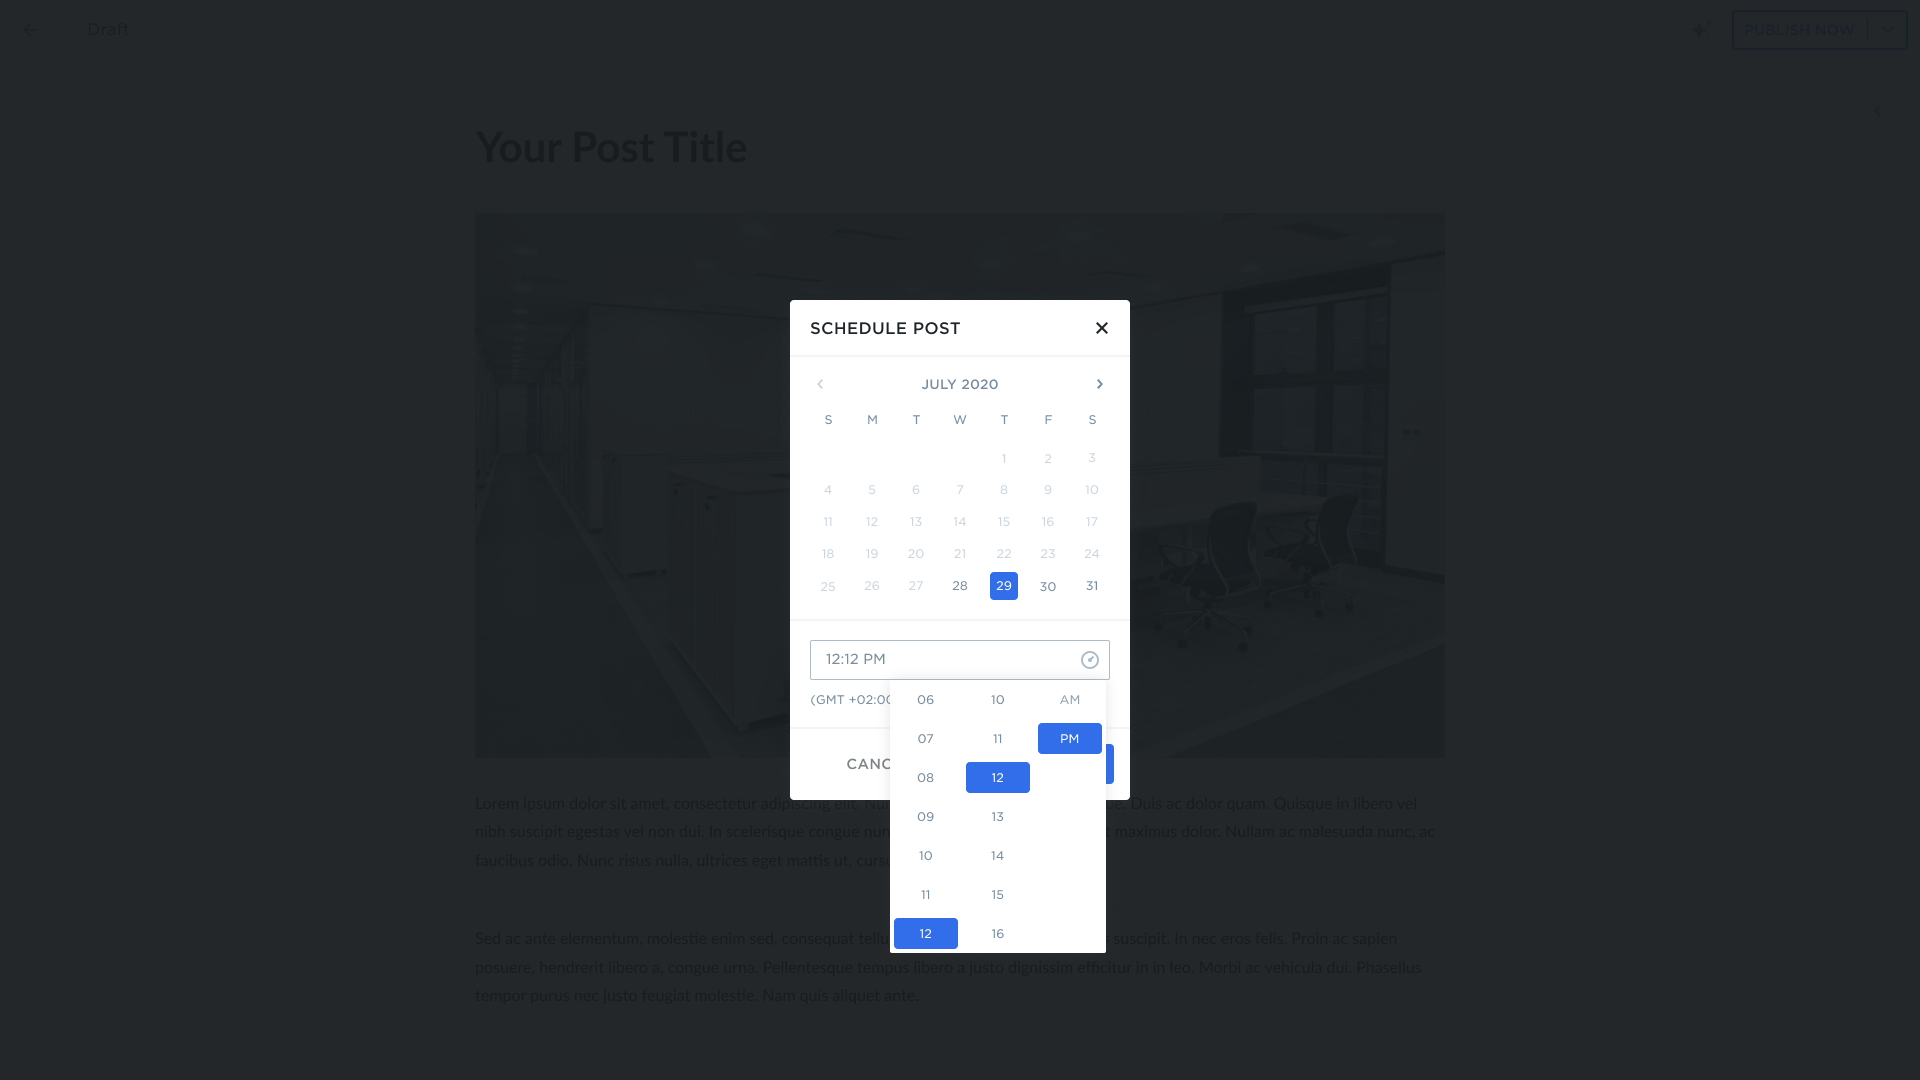
- Click Schedule. The post publication date will be displayed on the top of the Post Editor.
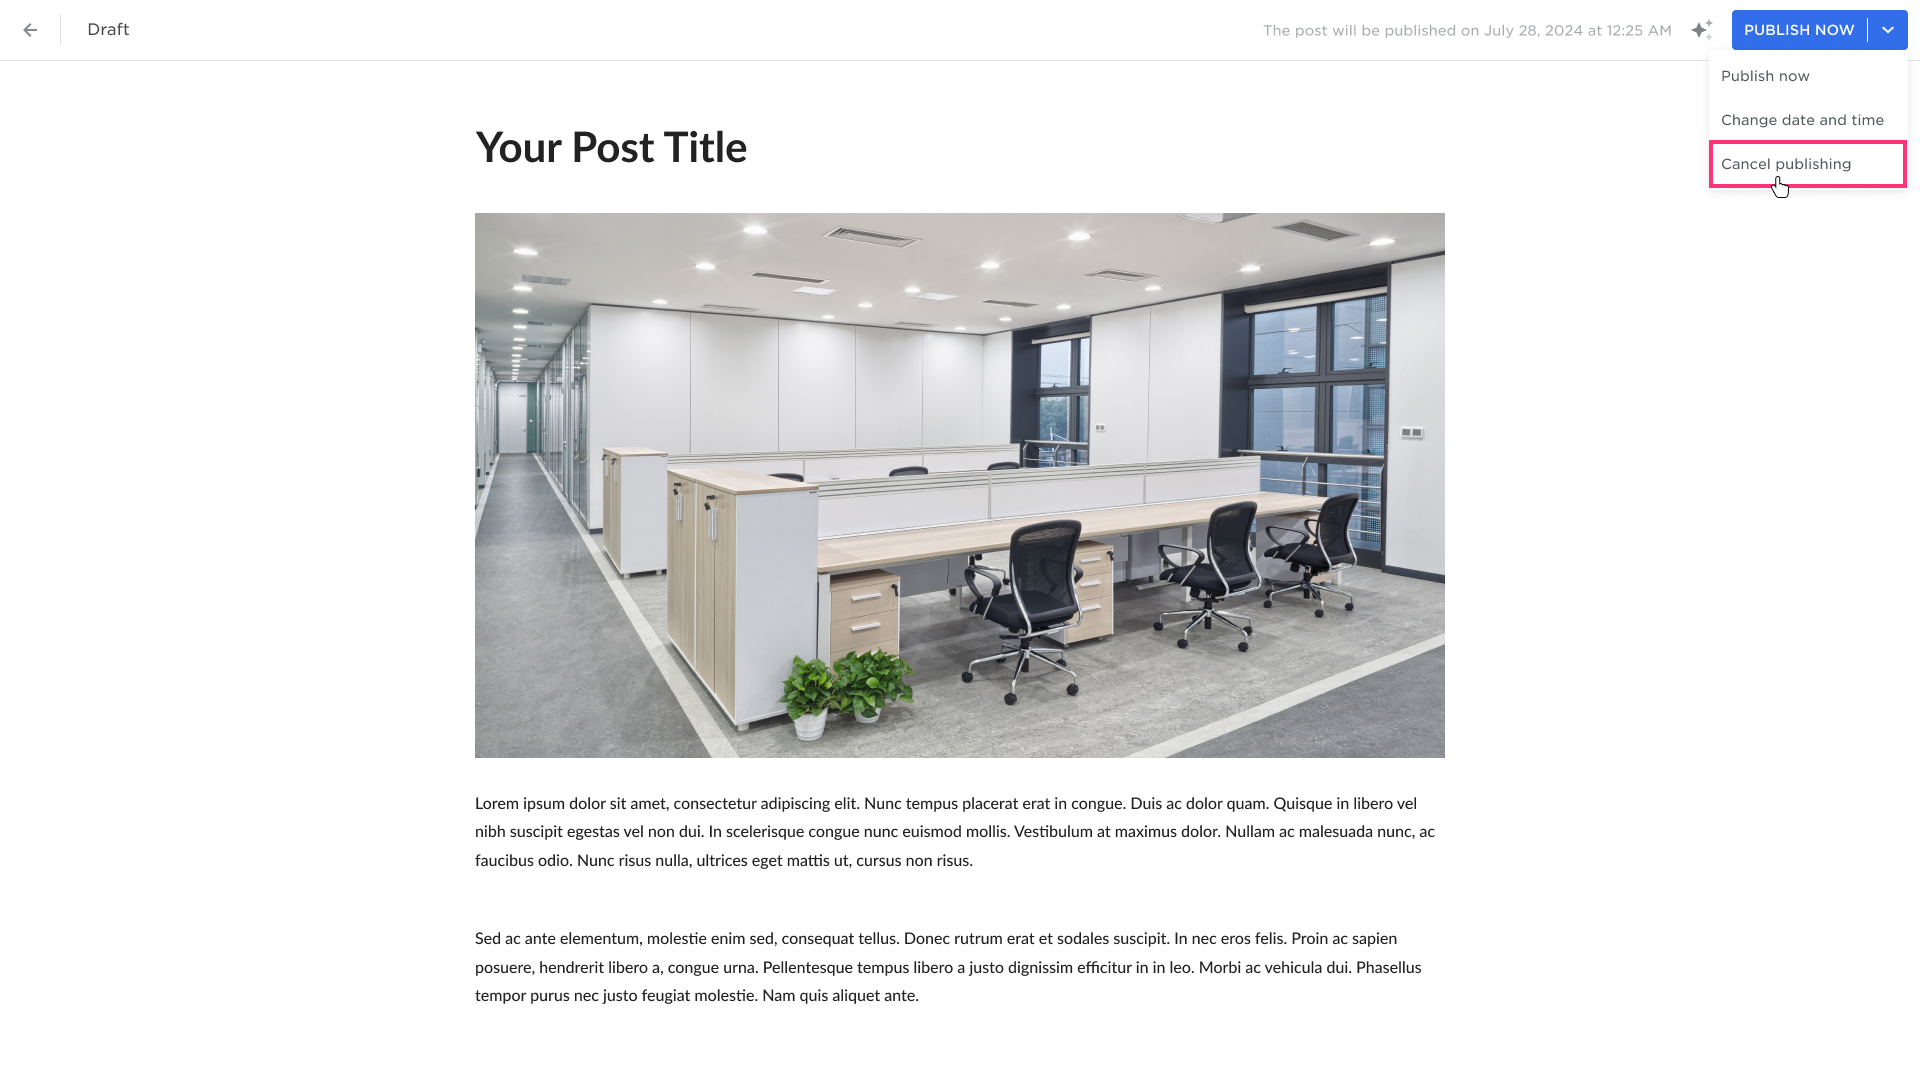
Canceling Scheduled Publishing
To cancel the Scheduled Publishing, click the Save Changes button and select the Cancel Publishing option in the drop-down:
- Confirm the canceling in the pop-up by clicking the Yes button.
Changing the Date and Time of the Schedule
To change the Date and Time of the Scheduled Post, click the drop-down right to the Publish Now button and select the Change Date and Time option in the drop-down:

- Change the publication Date and Time and click Schedule:
- The new publication date will be displayed on the top of the Post Editor.
Changing the Default Time Zone
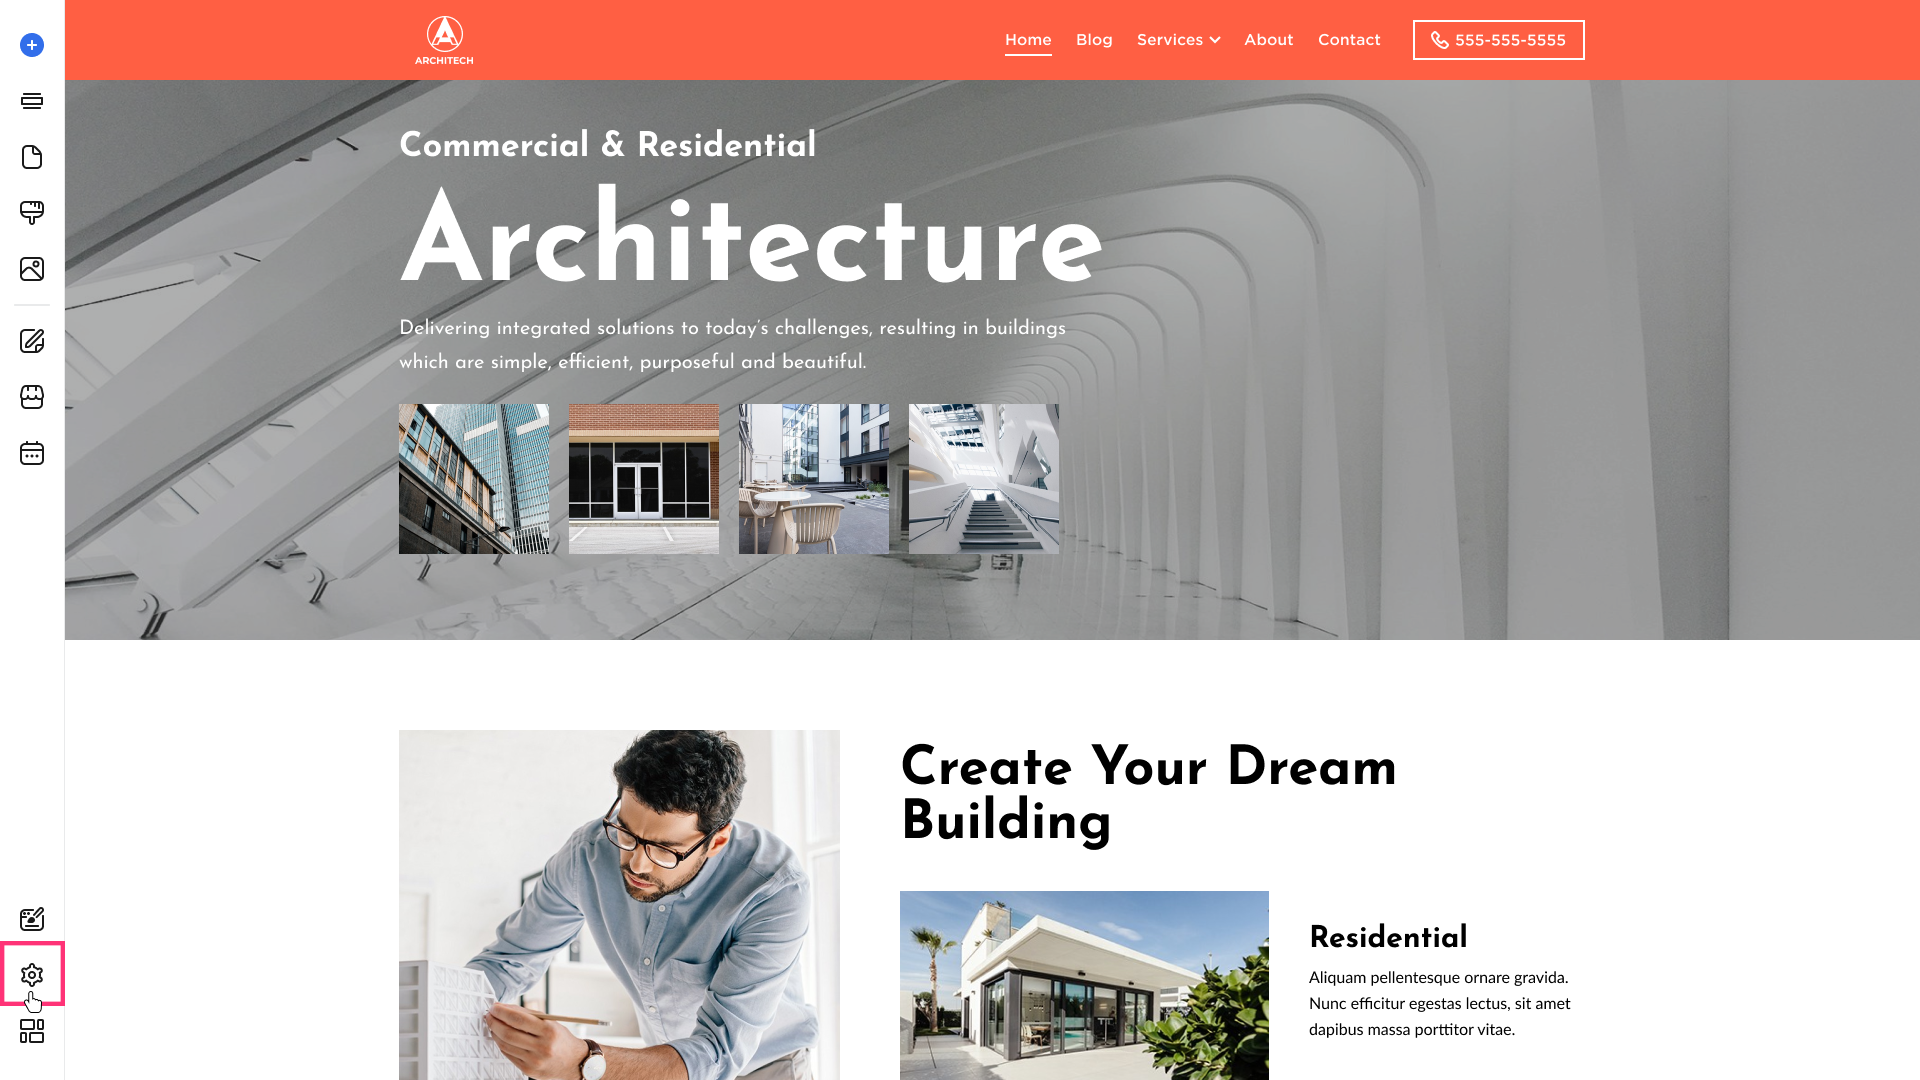
To change the default Time Zone for Scheduled Posts:
- Go to Settings in the left sidebar:
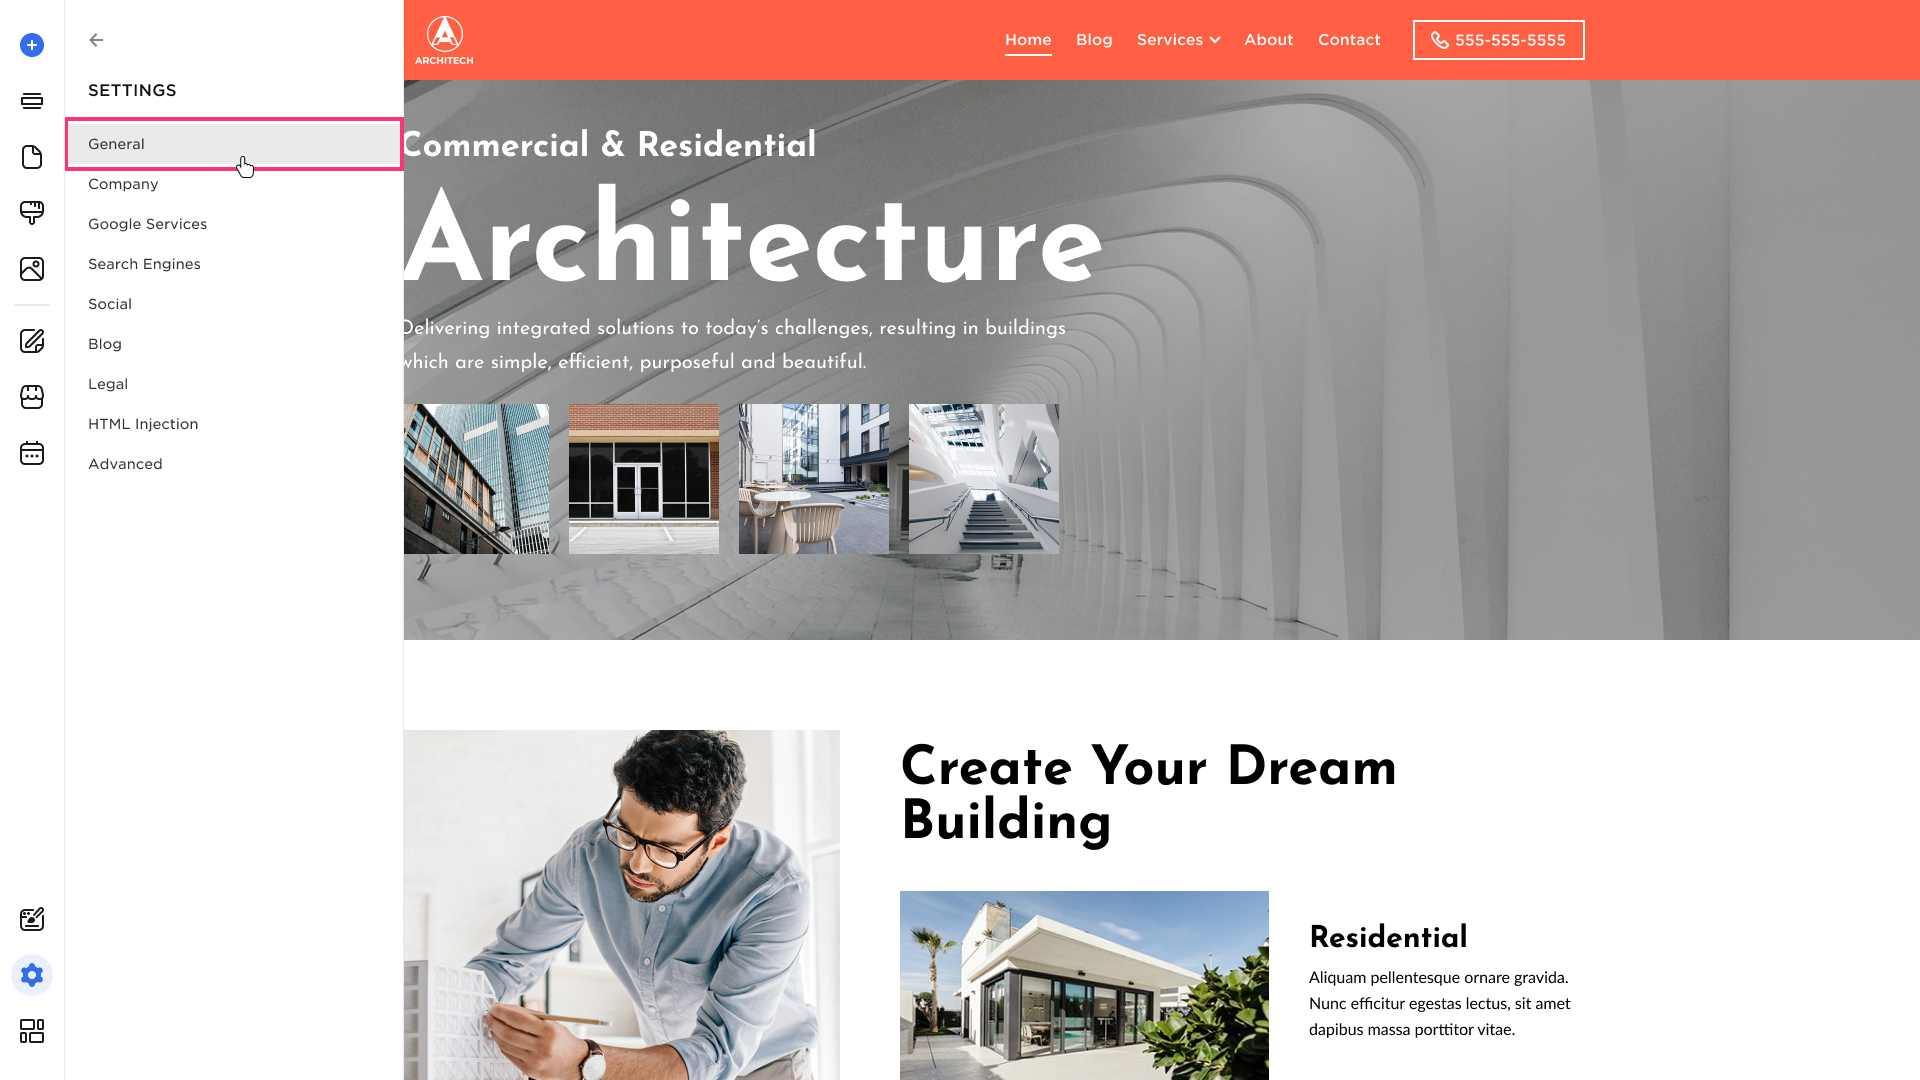
- Select General:
- Change the Time Zone:

Time Zone settings are applied instantly, republishing of the website is not required.