.png)
Product Page Settings
Please Note: Product Page Settings are not in scope for the Online Store Builder product. It's available for the Online Store, Online Marketplaces, and eCommerce packages.
Table of Contents
- Accessing Product Page Settings
- Page Tab
- Product URL Format
- Layout
- Main Image and the Gallery
- Button Click
- View Tab
Accessing Product Page Settings
Follow these simple steps to open Page Settings for Product:
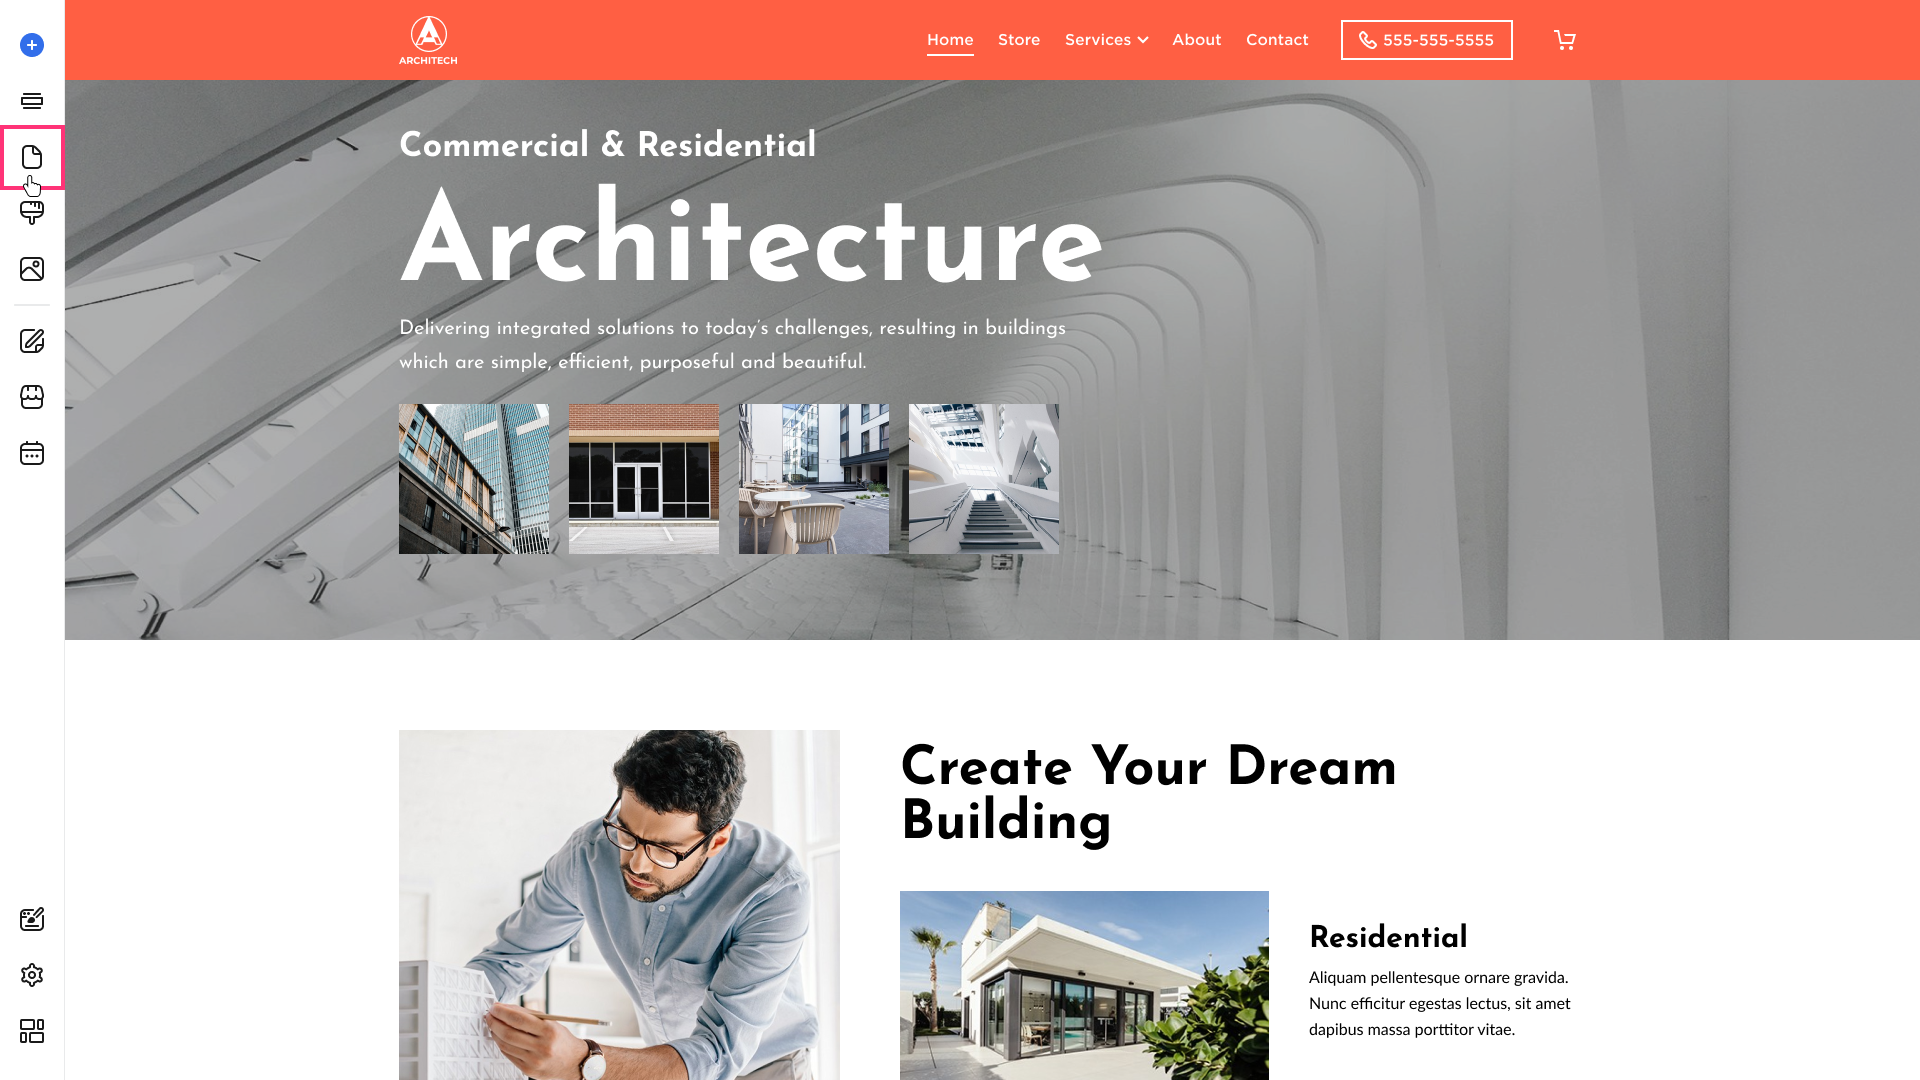
- In the Site Editor, hover over the left sidebar and click Pages:
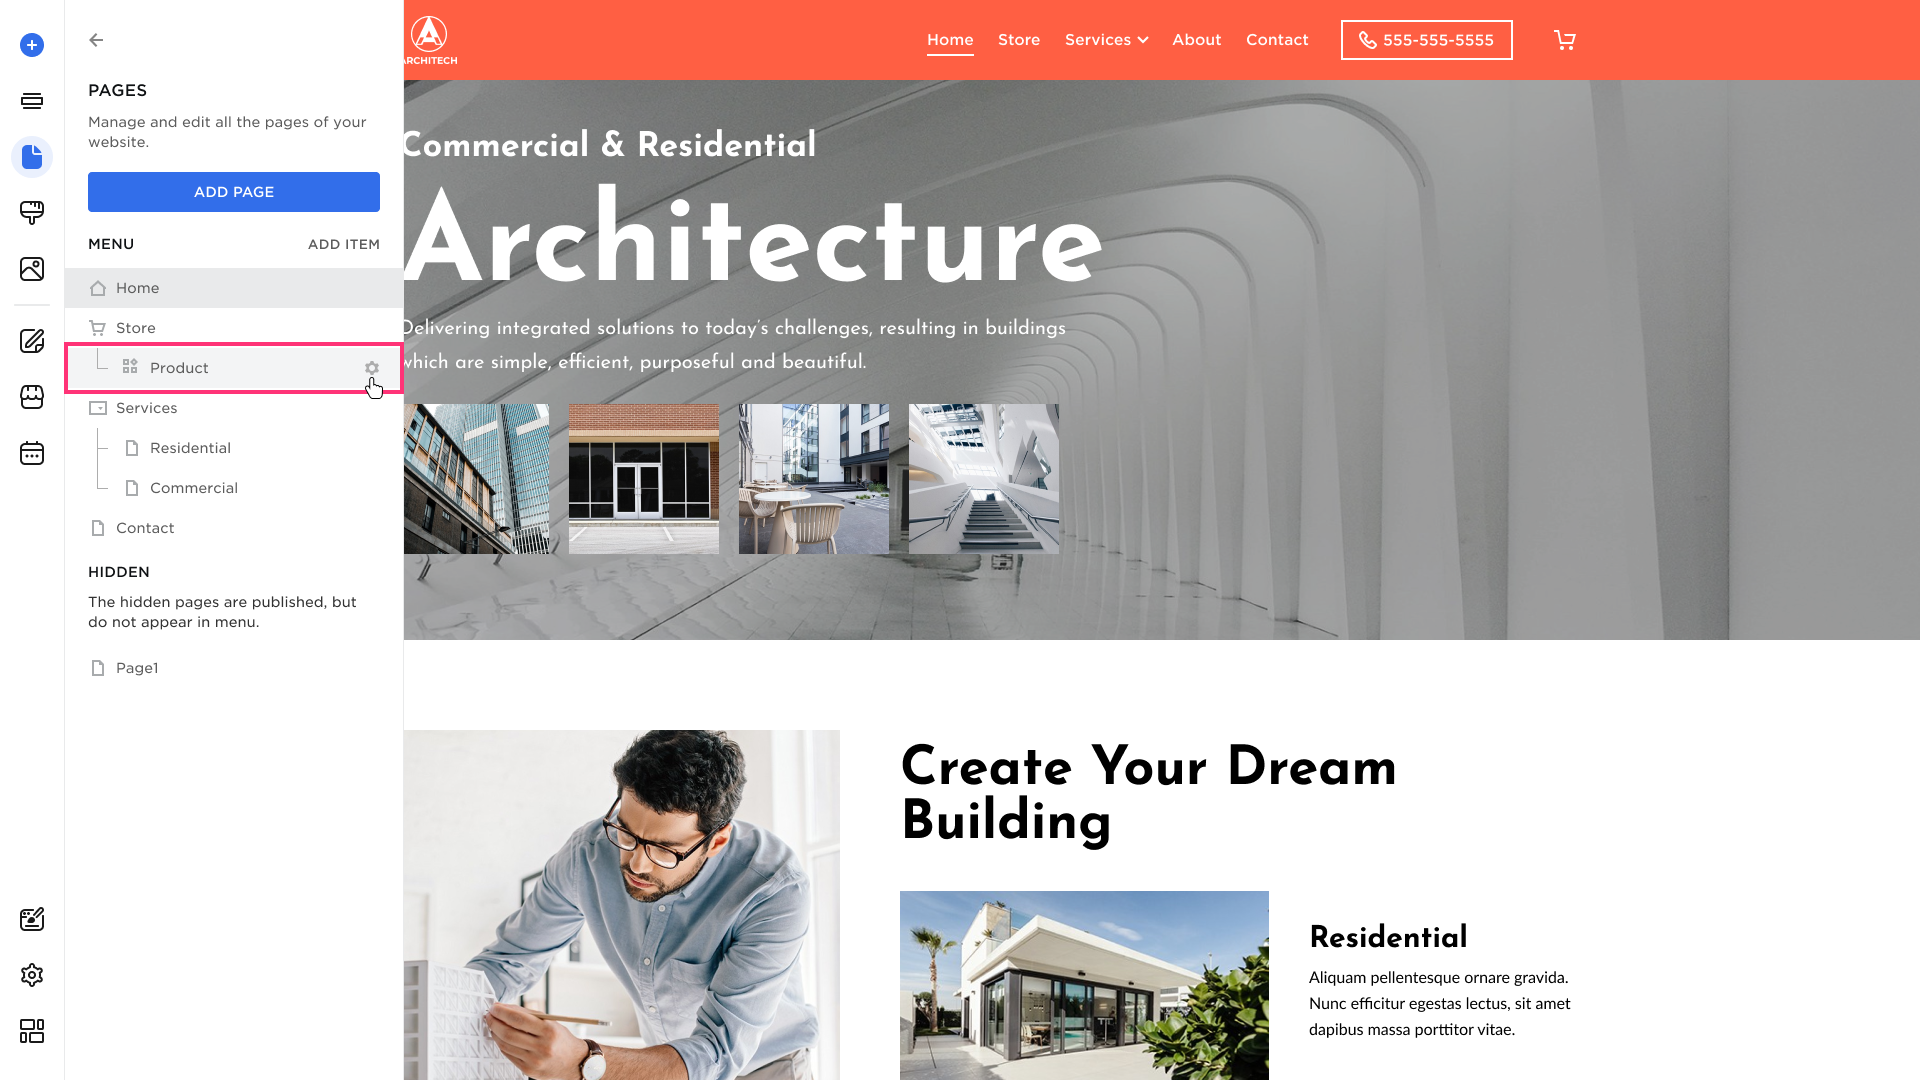
- Find Store, select Product, and click the Settings icon on the right:
- Manage Product Page settings on the Page tab:

Page Tab
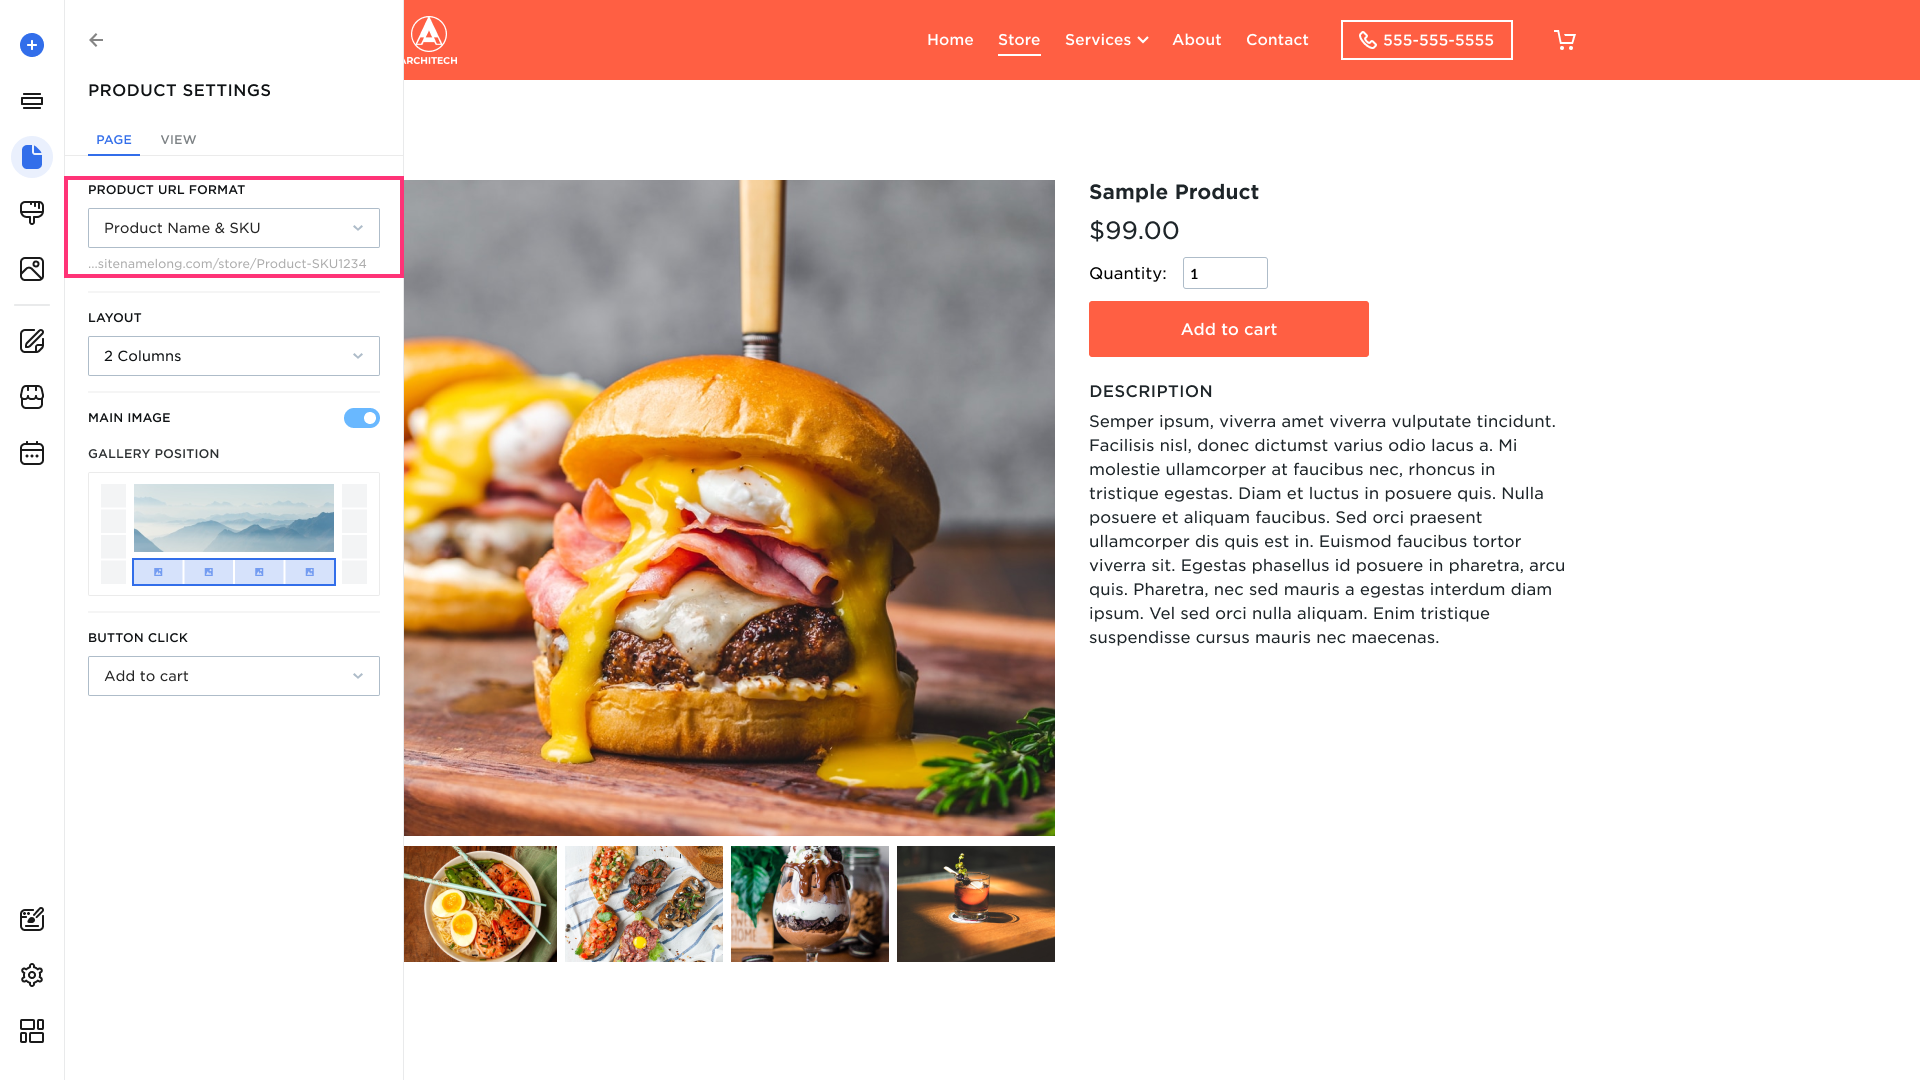
Product URL Format
Configure product link generation. All options append the product ID. Choose from:
- Product Name (e.g., https://site.com/store/ProductName-1)
- SKU (e.g., https://site.com/store/SKU1234-1)
- Product Name & SKU (e.g., https://site.com/store/ProductName-SKU1234-1)
- SKU & Product Name (e.g., https://site.com/store/SKU1234-ProductName-1)
Layout
Change the product page Layout. You can choose from the following options:
- 2 Columns. The default setting puts images to the left, and everything else to the right.
- 2 Columns & Description. Puts images to the left, everything else to the right, and Description under both columns.
- 2 Columns - Reverse. The setting puts images to the right and everything else to the left.
- 3 Columns. Divides all available items into 3 columns.

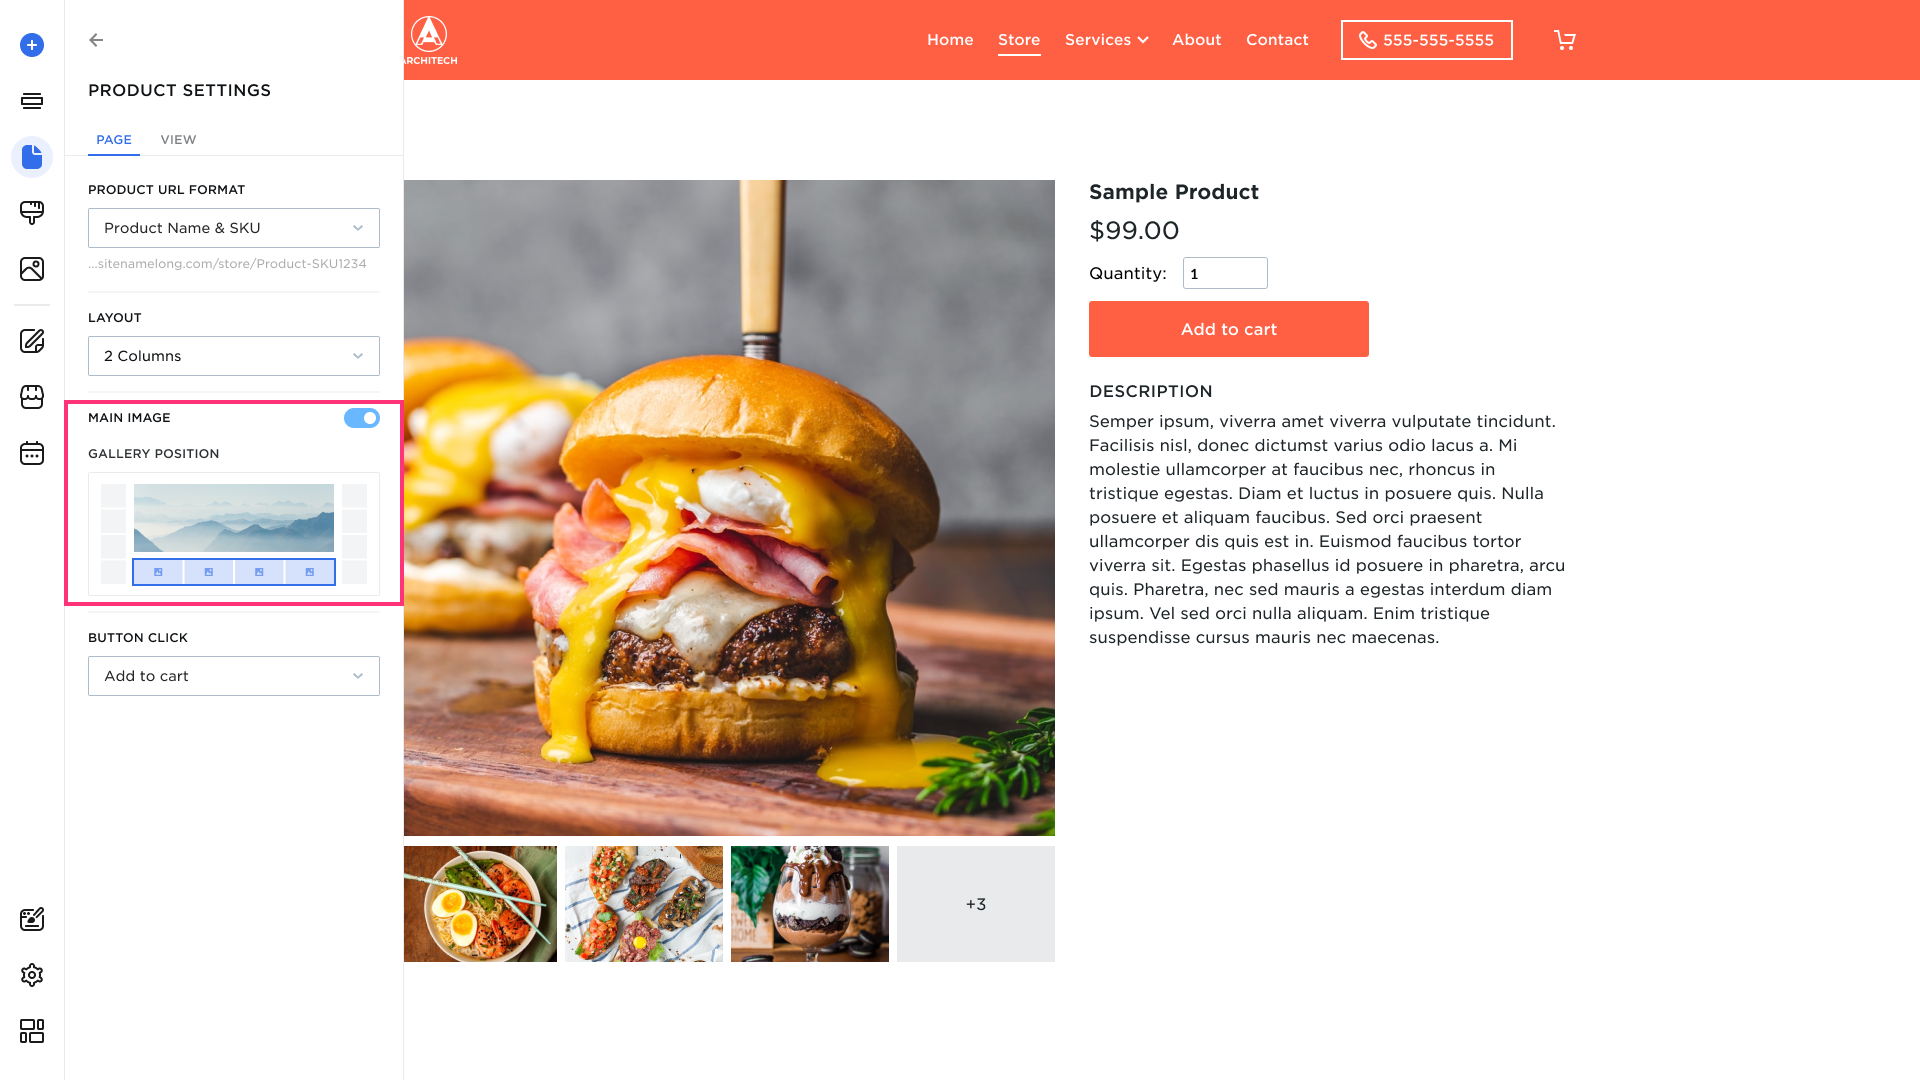
Main Image and the Gallery
Set the placement of the main image and image gallery. Choose from: Gallery to the left, Gallery to the bottom, Gallery to the right.

- If you disable the Main Image toggle, all images will share the space equally.
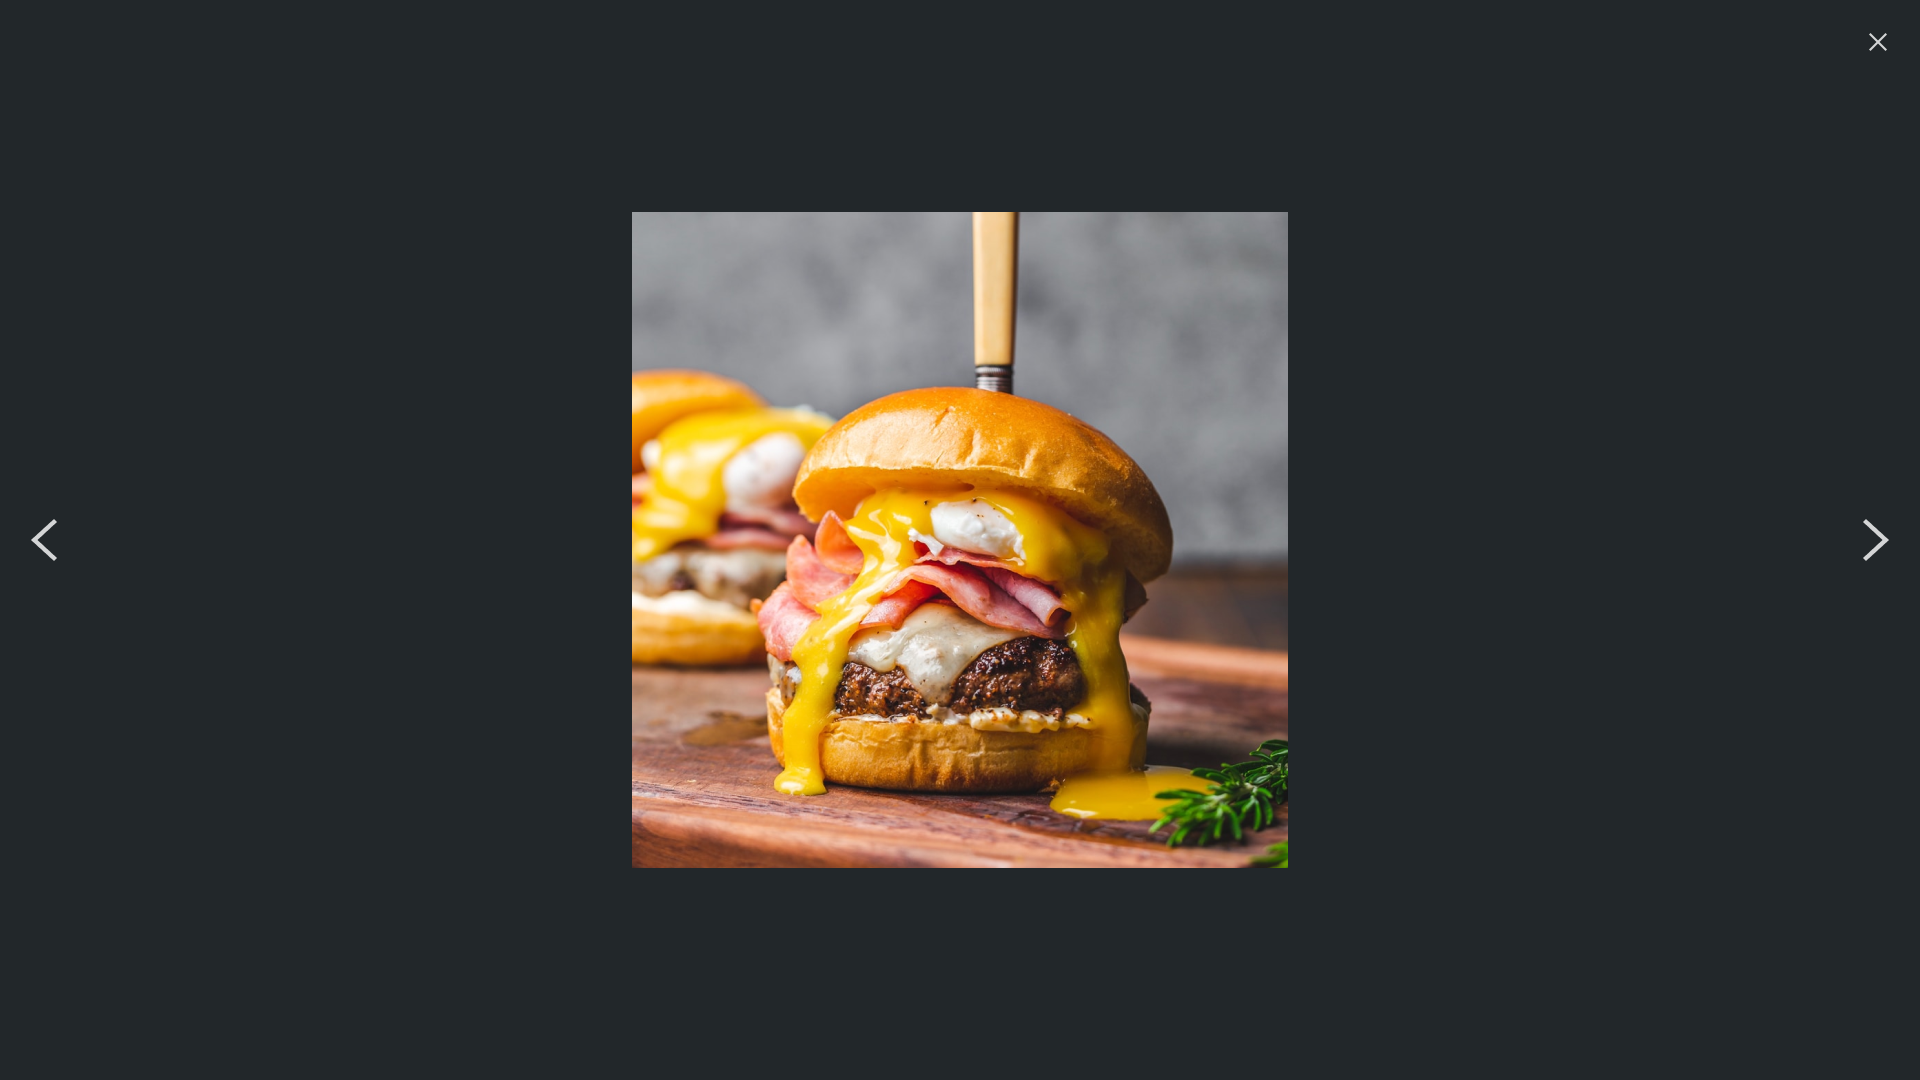
- Clicking on a photo will open the Image Preview:
- If there are more than five images in the Gallery, the last image becomes a counter. To open the preview, click on the counter:
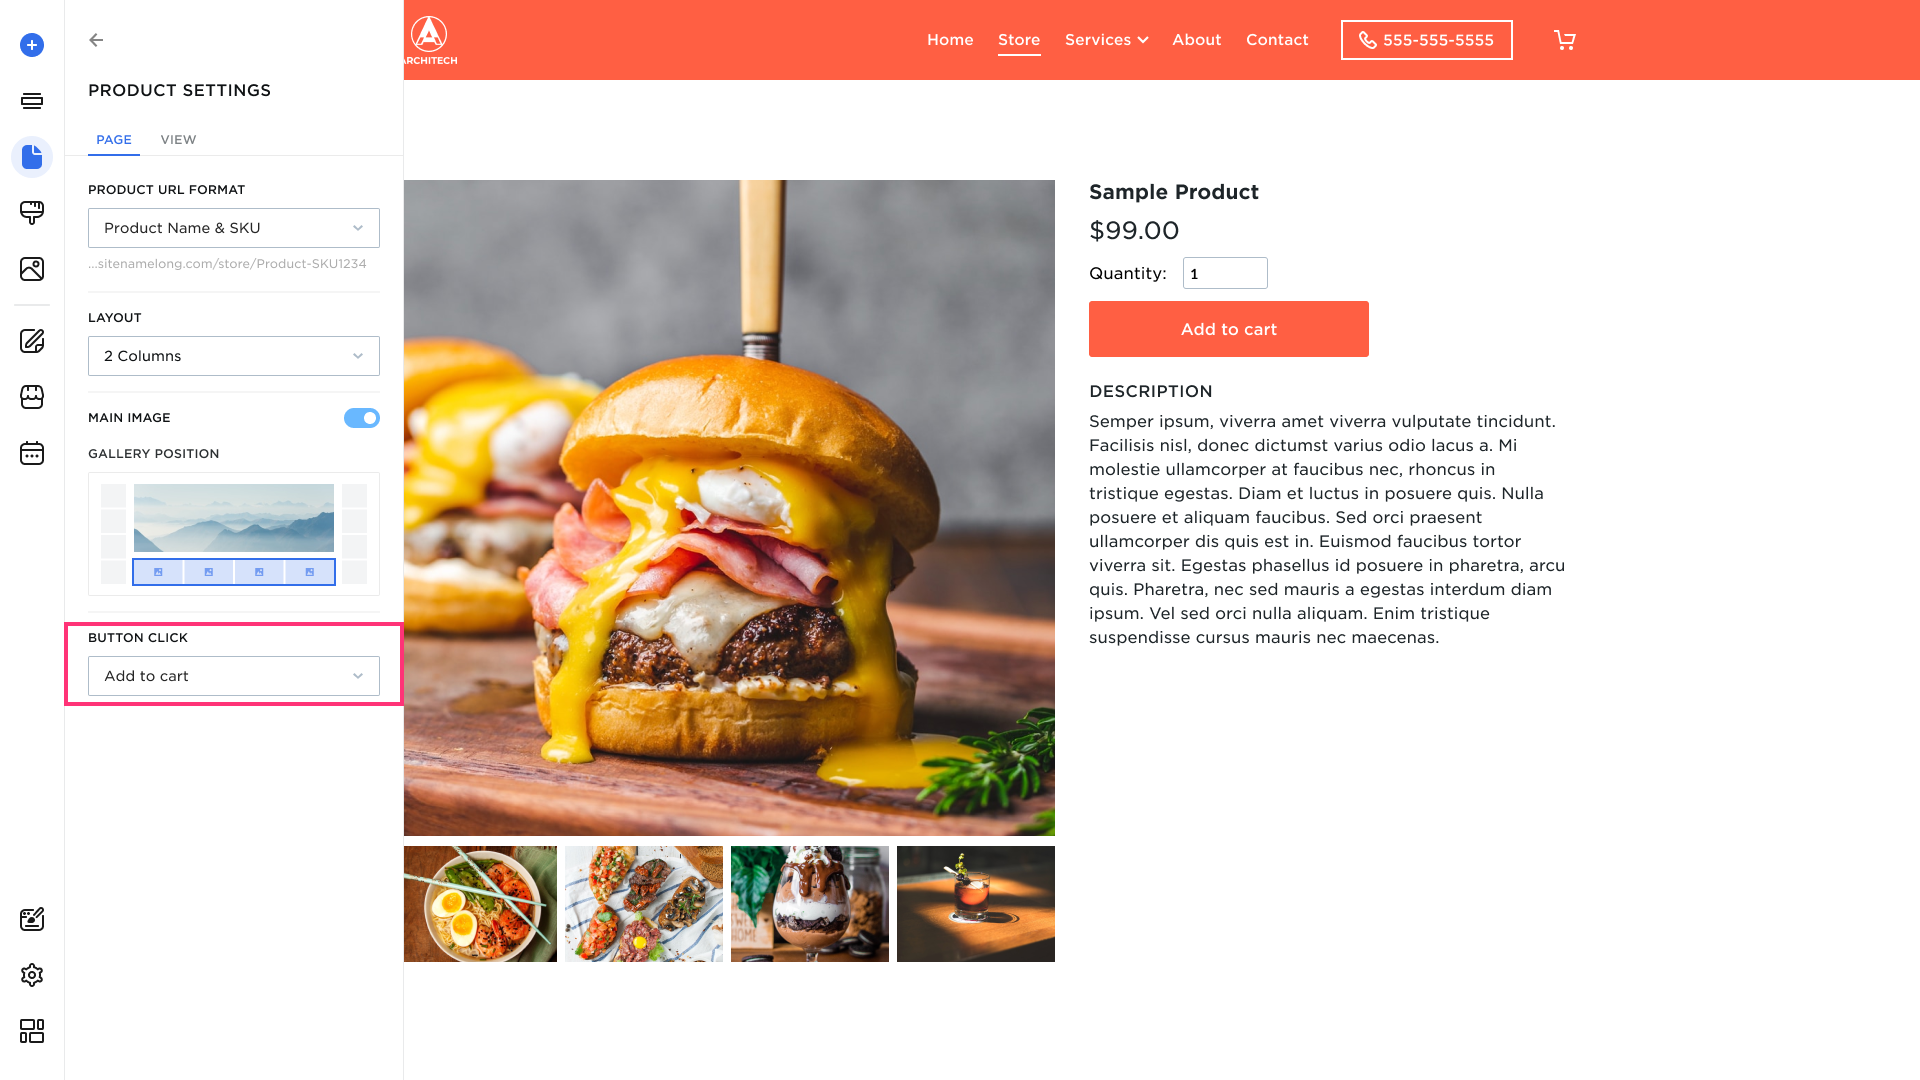
Button Click
Change the button behavior and text:
- Add to Cart - once a product is added to the cart, the button changes to Go to Checkout.
- Buy Now - after a product is added, the system opens checkout.
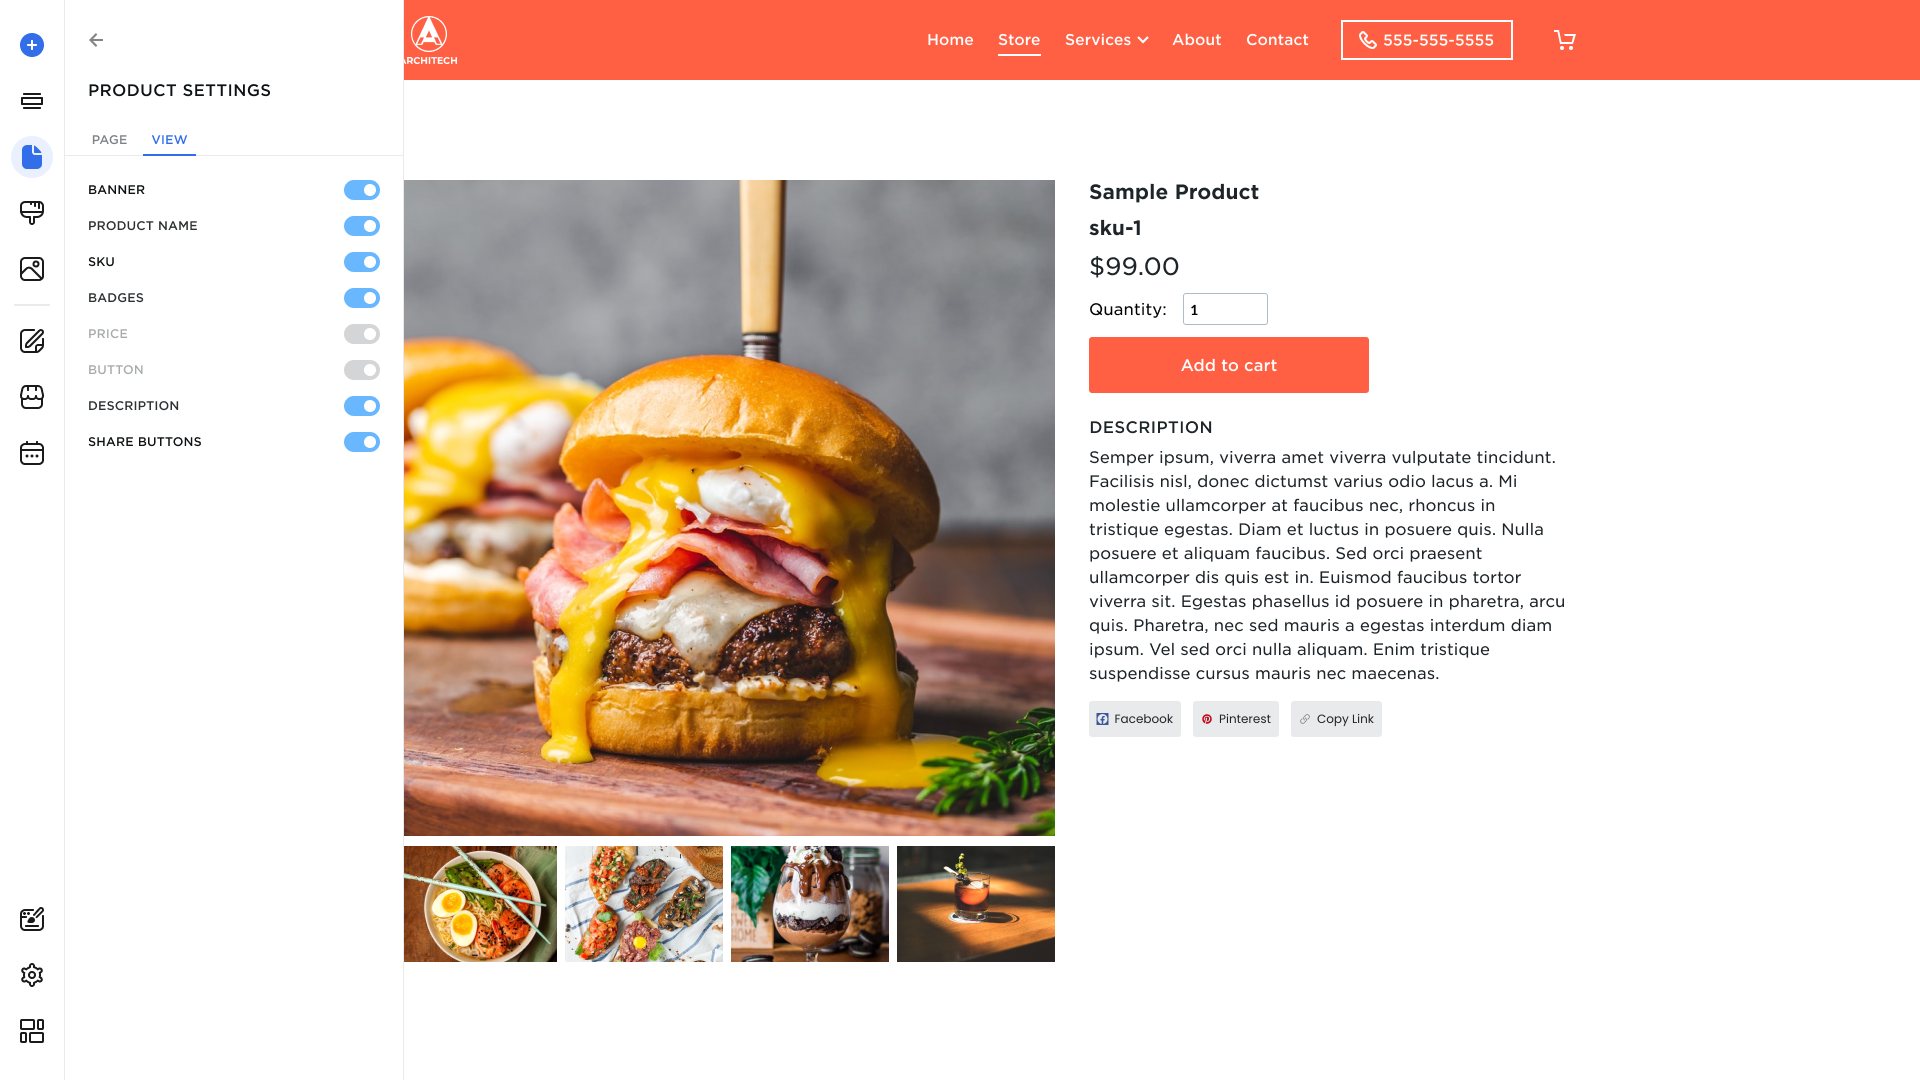
View Tab
- Banner: Enable the banner for the product by toggling the Banner switch.
- Product Name: The information will be displayed from the Ecomdash dashboard.
- SKU: This will load in your SKU set from the Product Details screen. If you want to track this under a different ID, you can change it in the Ecomdash dashboard.
- Badges: Turn on the Badges toggle to enable the On Sale, Sold Out, Few Left, and Digital badges for your Online Store.
- Price: The information will be displayed from the Ecomdash dashboard.
- Button: Adds a product to the cart or opens the cart with the product (based on your settings). The Add to Cart button cannot be disabled.
- Fulfillment Type (Not Available in Site Editor): The fulfillment type is automatically taken from your Ecomdash dashboard settings and placed under the Add to Cart button.
- Quantity (Not Available in Site Editor): The selected quantity is placed above the Add to Cart button. Visitors can hover over the arrows to control the number of products added to the cart.
- Description: The information will be displayed from the Ecomdash dashboard.
- Share Buttons: Adds three buttons to share the product page via Facebook, Pinterest, or Copy link.