.png)
Site Backups
Table of Contents
- Understanding and Using Site Backups
- Types of Site Backups
- Backups Limits
- Accessing and Managing Site Backups
- Automatic Backups
- Last Published Backup
- Manual Backups
- Creating Backups
- Restoring Backups
- Deleting Backups
Understanding and Using Site Backups
With Site Backups, you can create copies of all your website pages and their content. This feature helps protect your website from accidental mistakes, unwanted changes, or data corruption, ensuring you can always revert to a stable version.
Types of Site Backups
- Manual Backups. These are backups you create yourself at any time. This section will remain empty until you create your first backup.
- Automatic Backups. The system automatically creates these backups for you one hour after the last change in the Site Editor. After applying new changes, the backup countdown starts from the beginning. You can see the date and time of the last automatic update in its section.
- Last Published Backups. A special type of automatic backup created specifically when you publish your project.
Backups Limits
There is a limit of backups that can be created for your project:
- Published Site. You can have up to 10 backups in total: 8 manual, 1 automatic, and 1 last published backup.
- Unpublished Site. You can have up to 9 backups in total: 8 manual and 1 automatic backup.
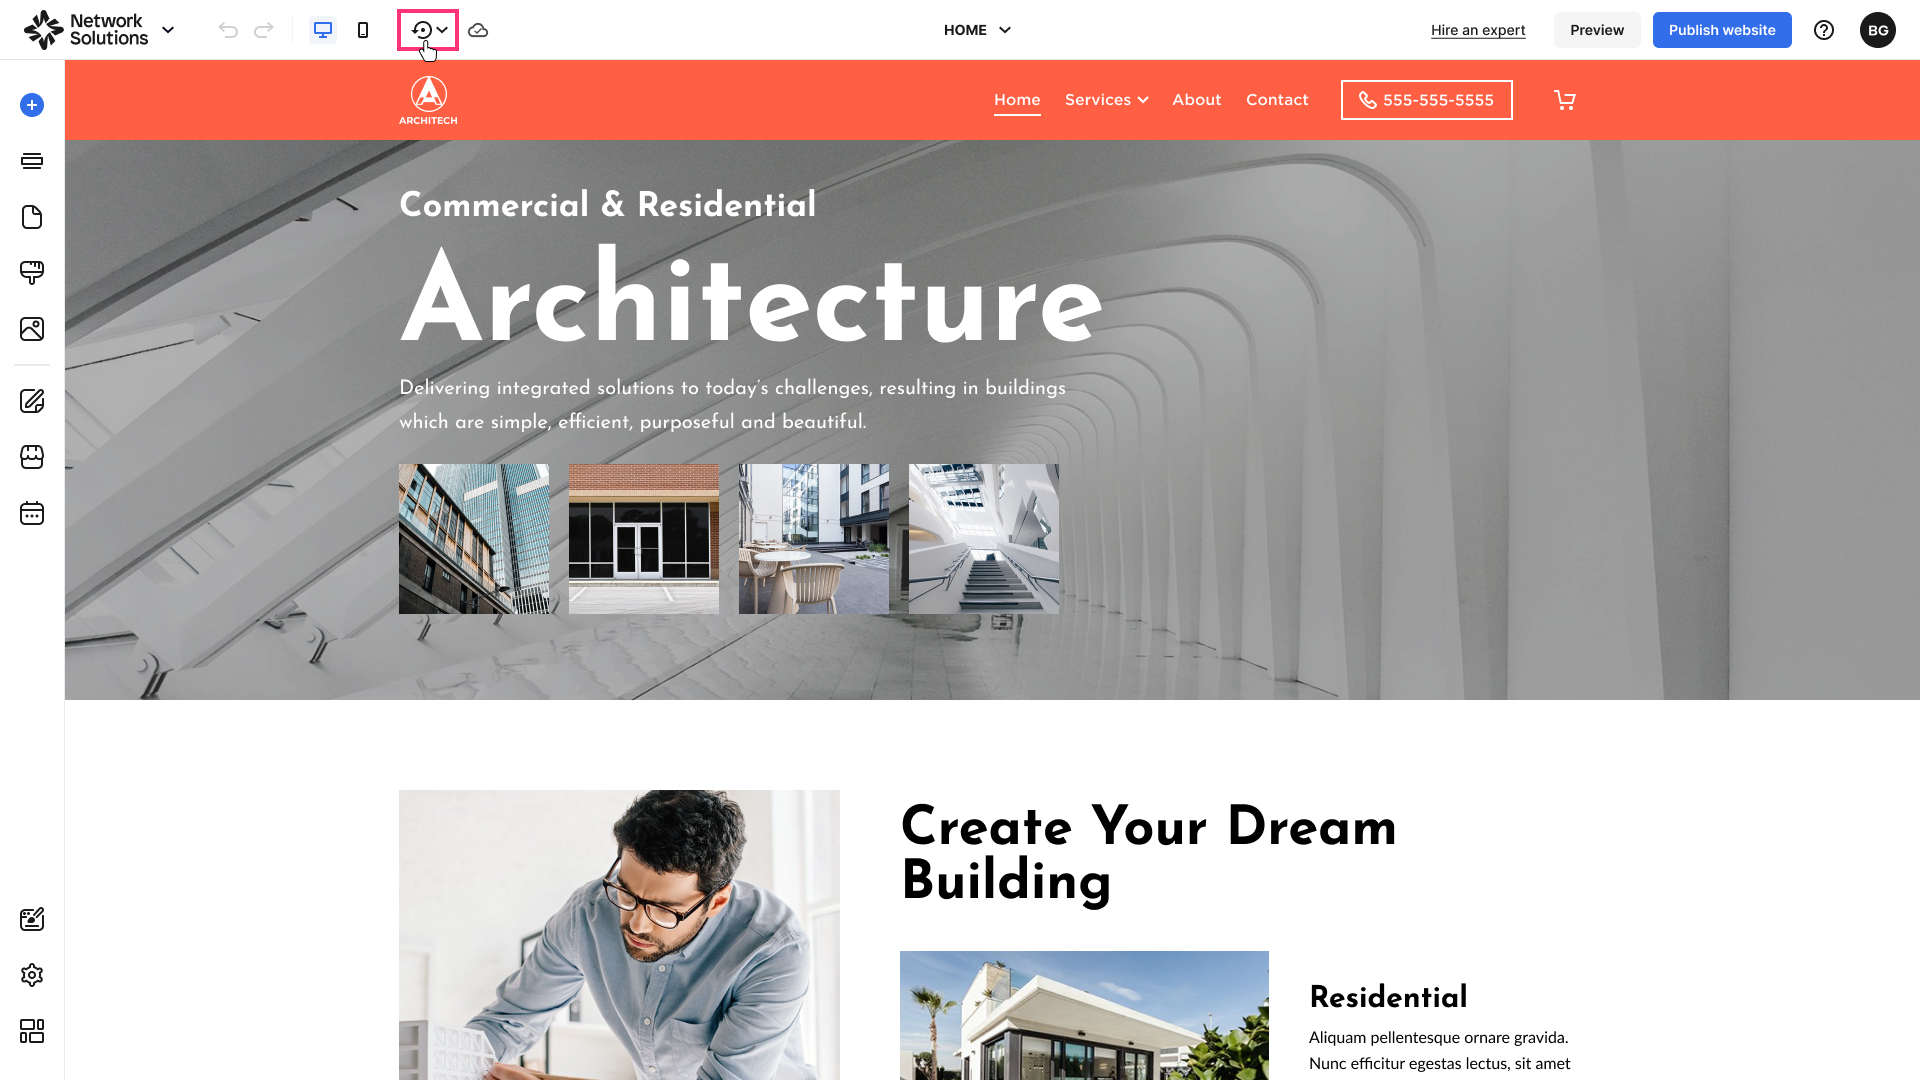
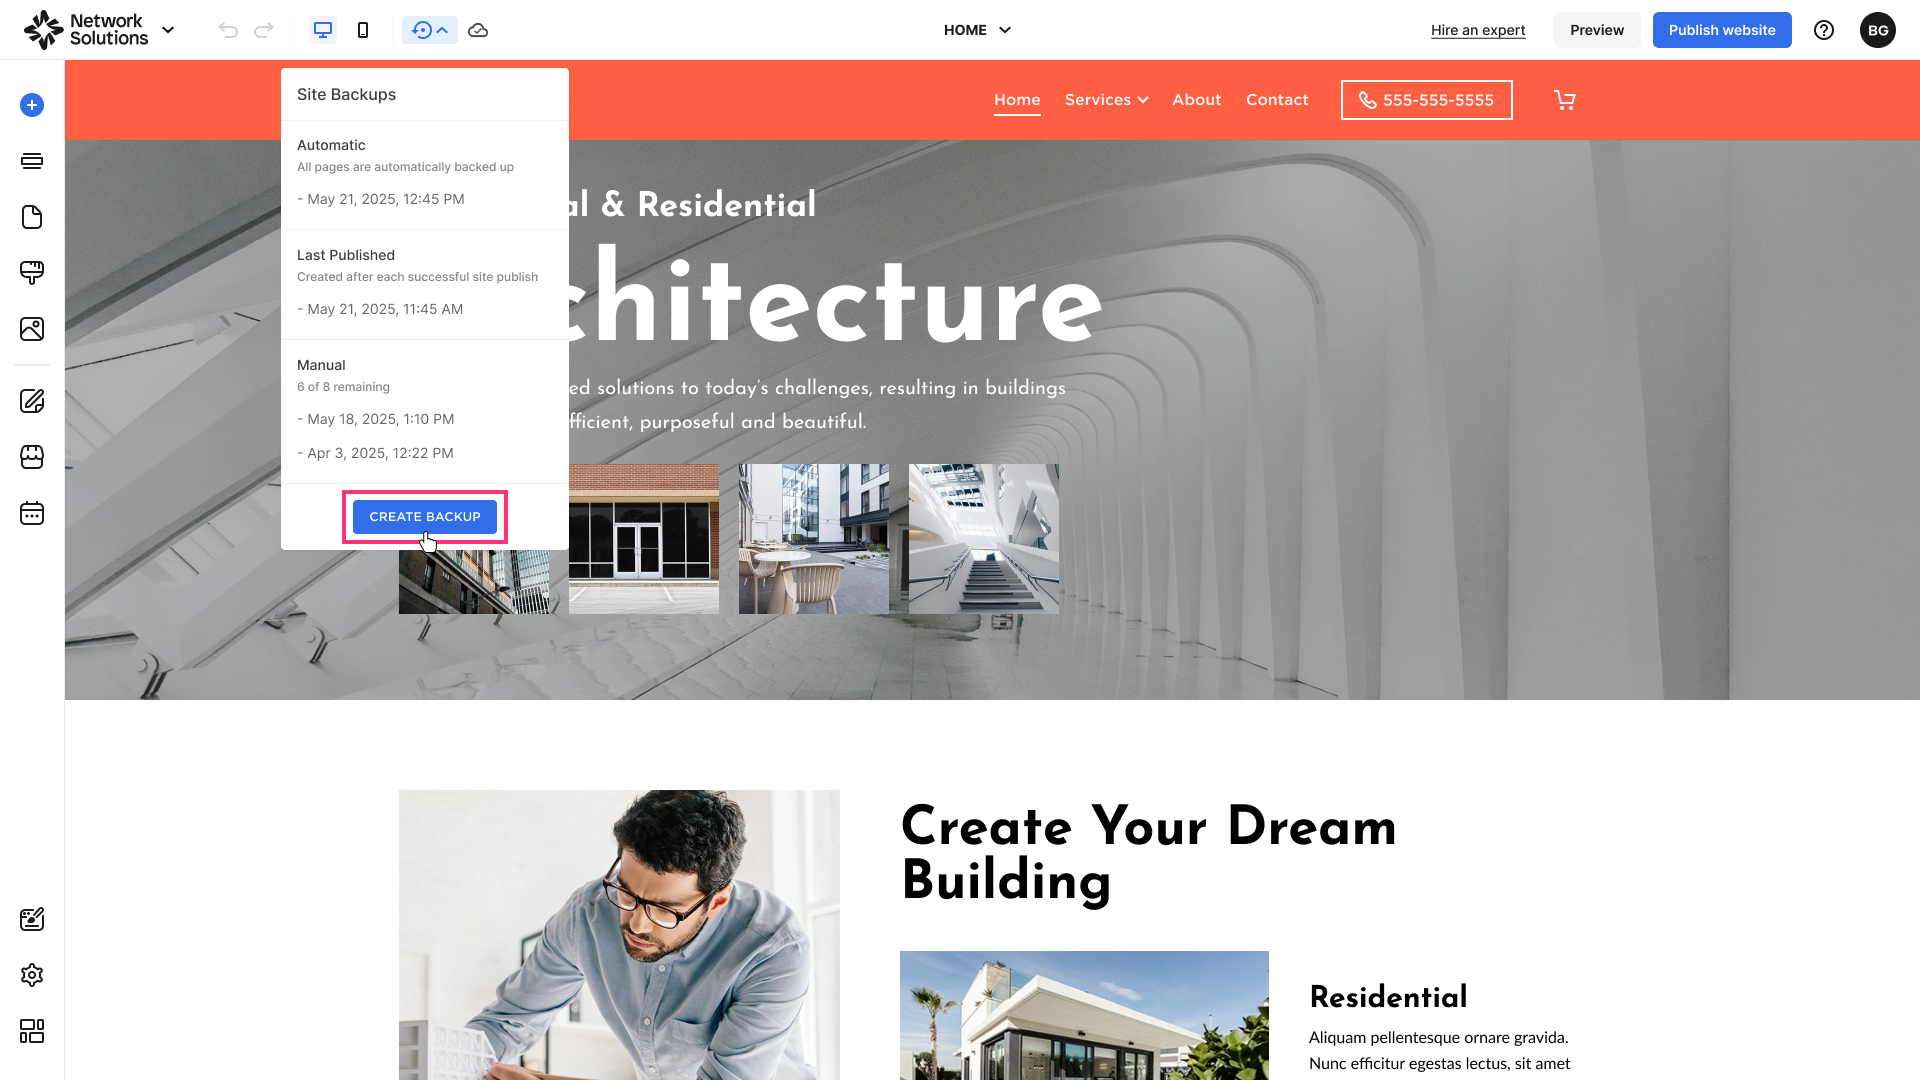
Accessing and Managing Site Backups
To access your site backups:
- Click on the Site Backups icon in the header:
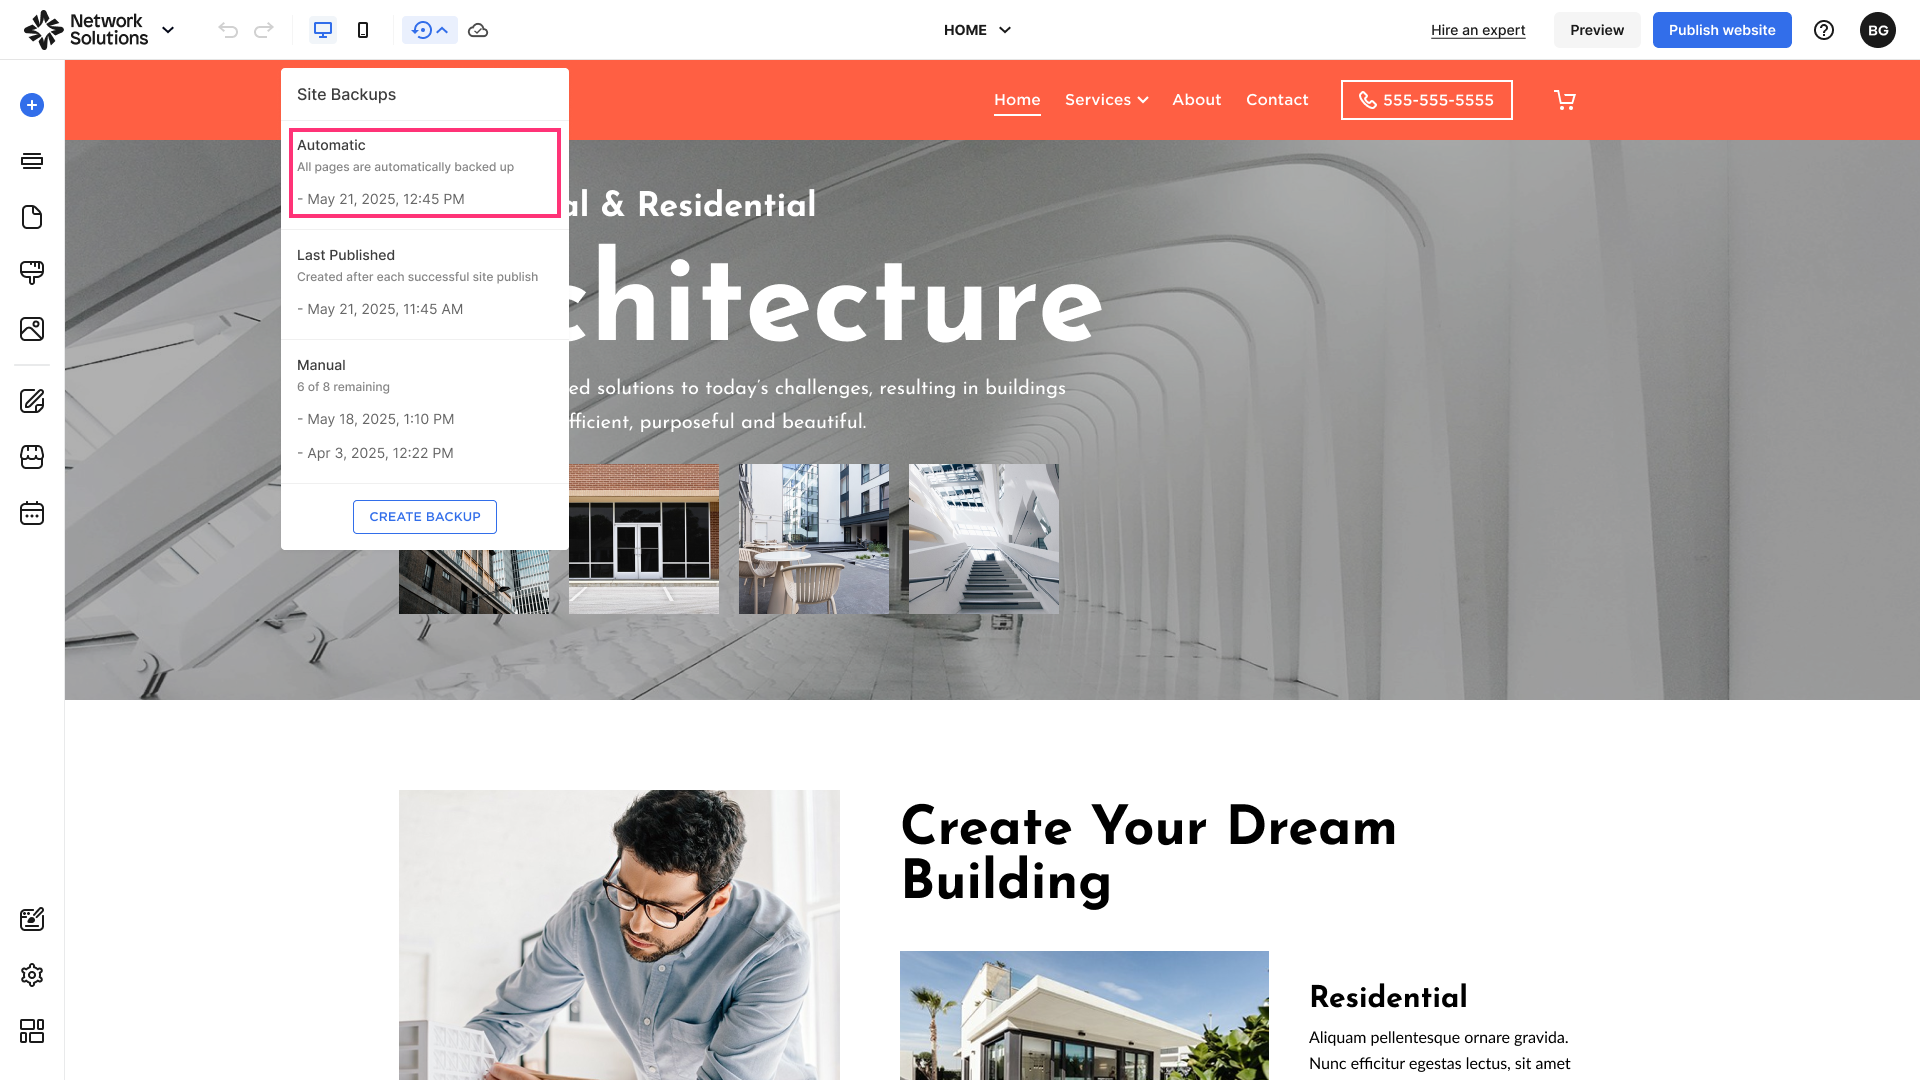
Automatic Backups
To view the automatically saved Backup:
- Select the required backup in the Automatic Backup category:
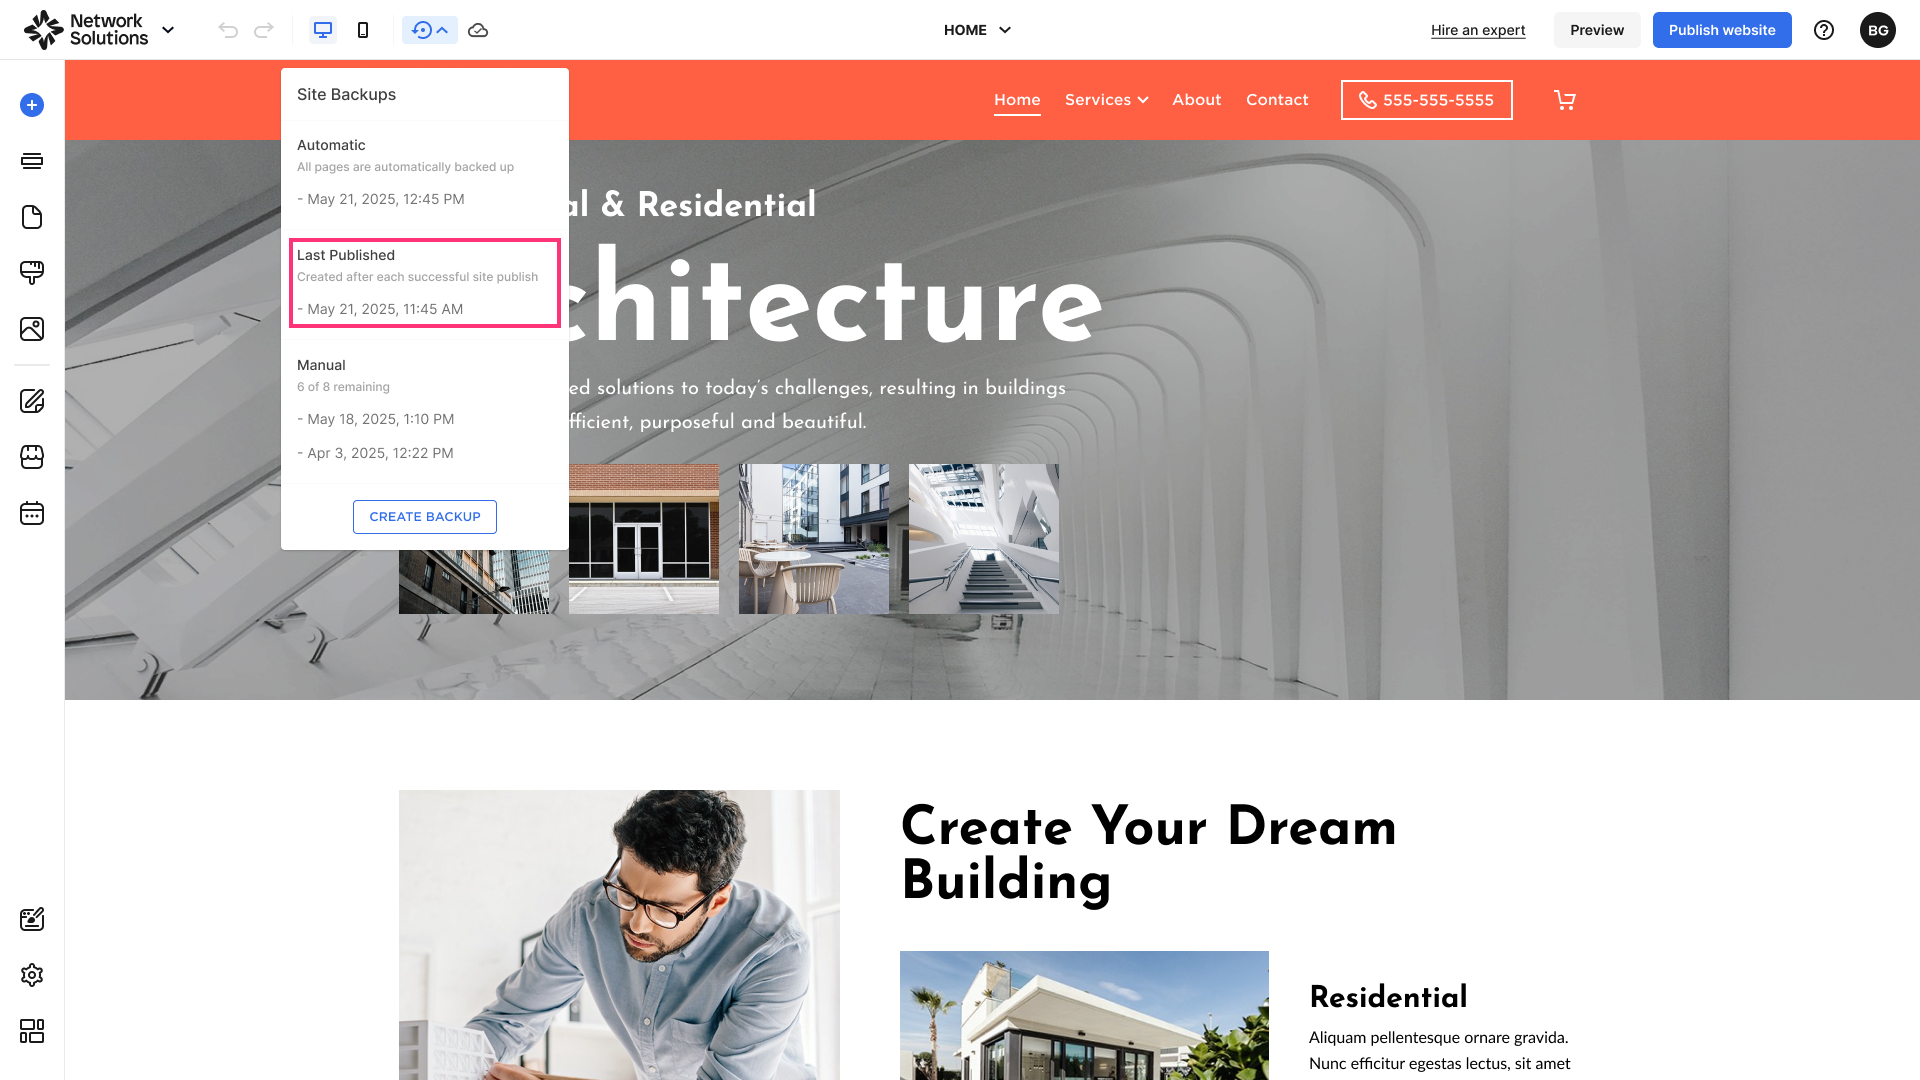
Last Published Backup
To view the automatically saved Last Published Backup:
- Select the required backup in the Last Published Backup category:
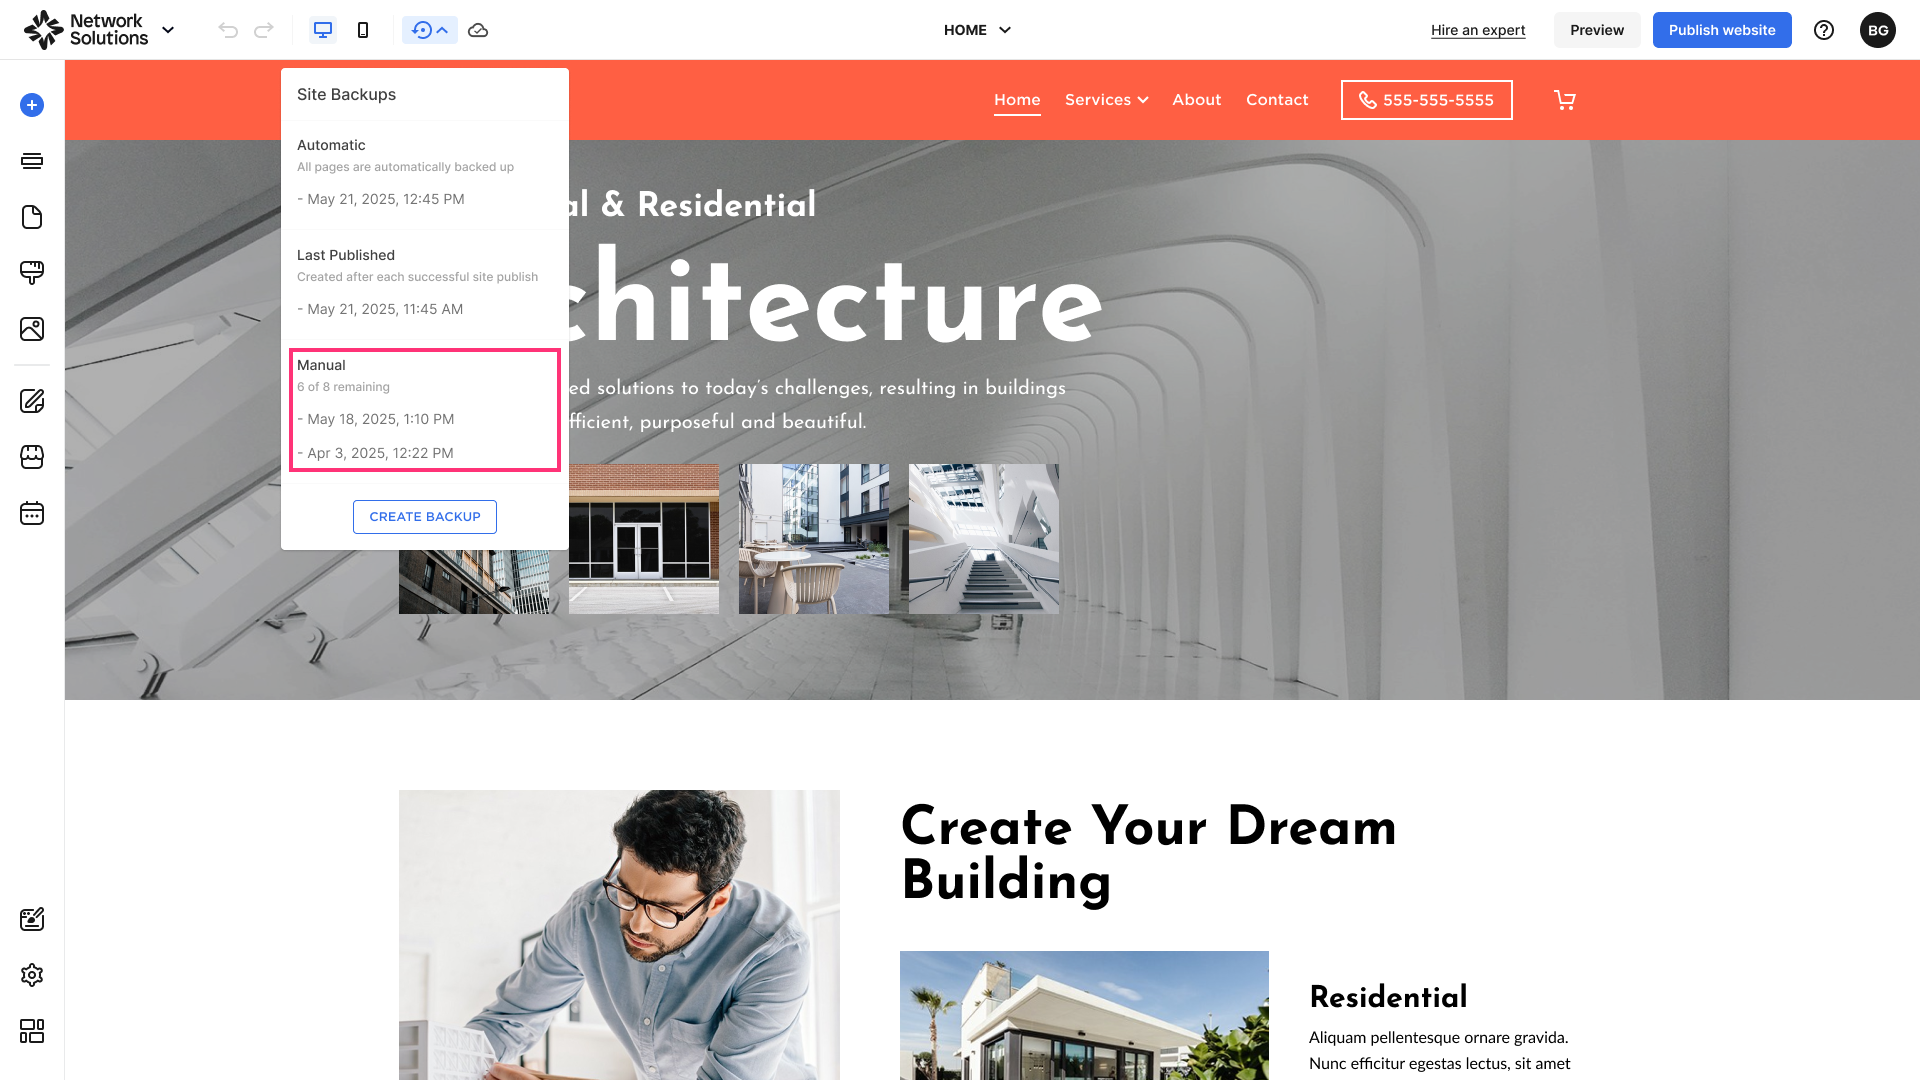
Manual Backups
To view the specific Manual Backup:
- Select the required backup in the Manual Backups category:
Creating Backups
- Click the Create Backup button:
- After a short process of creating the backup, you will receive a confirmation message that backup was successfully created:
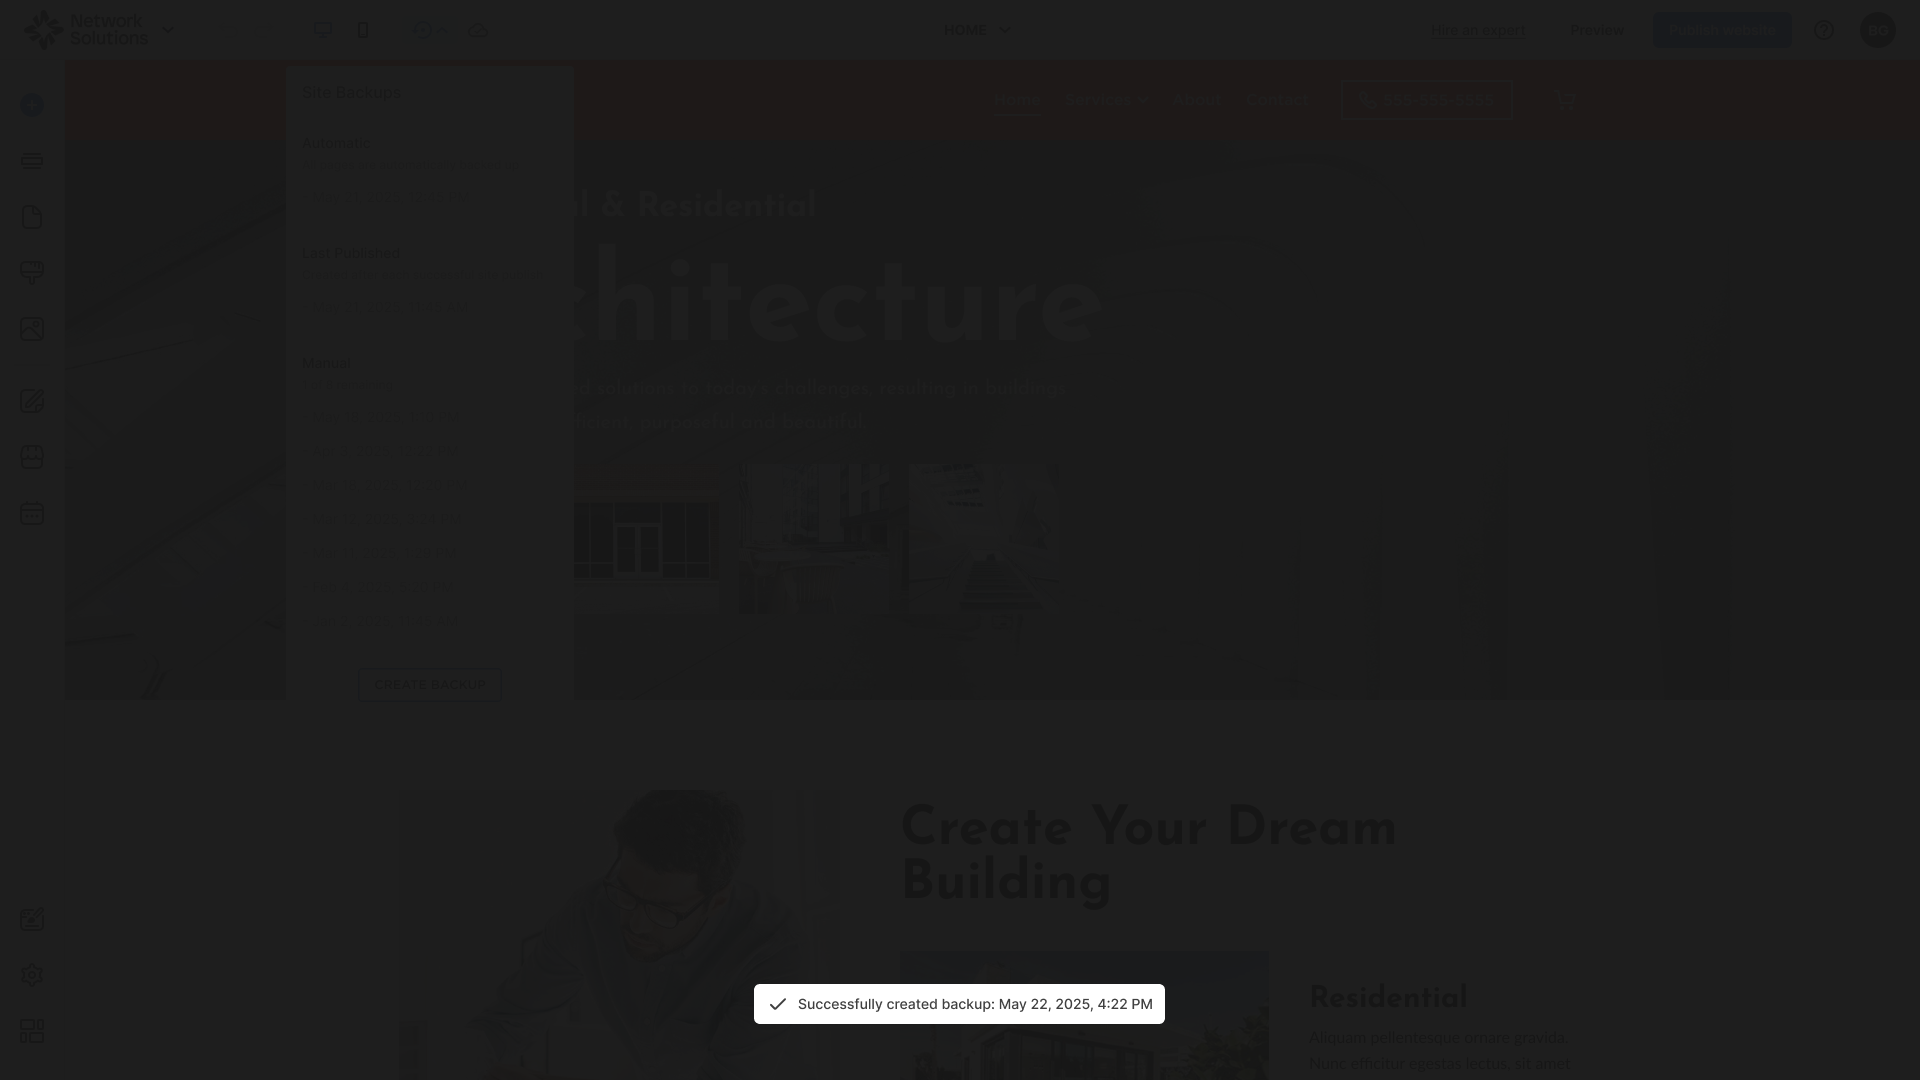
- You will be able to find this backup in the Manual Backups list.
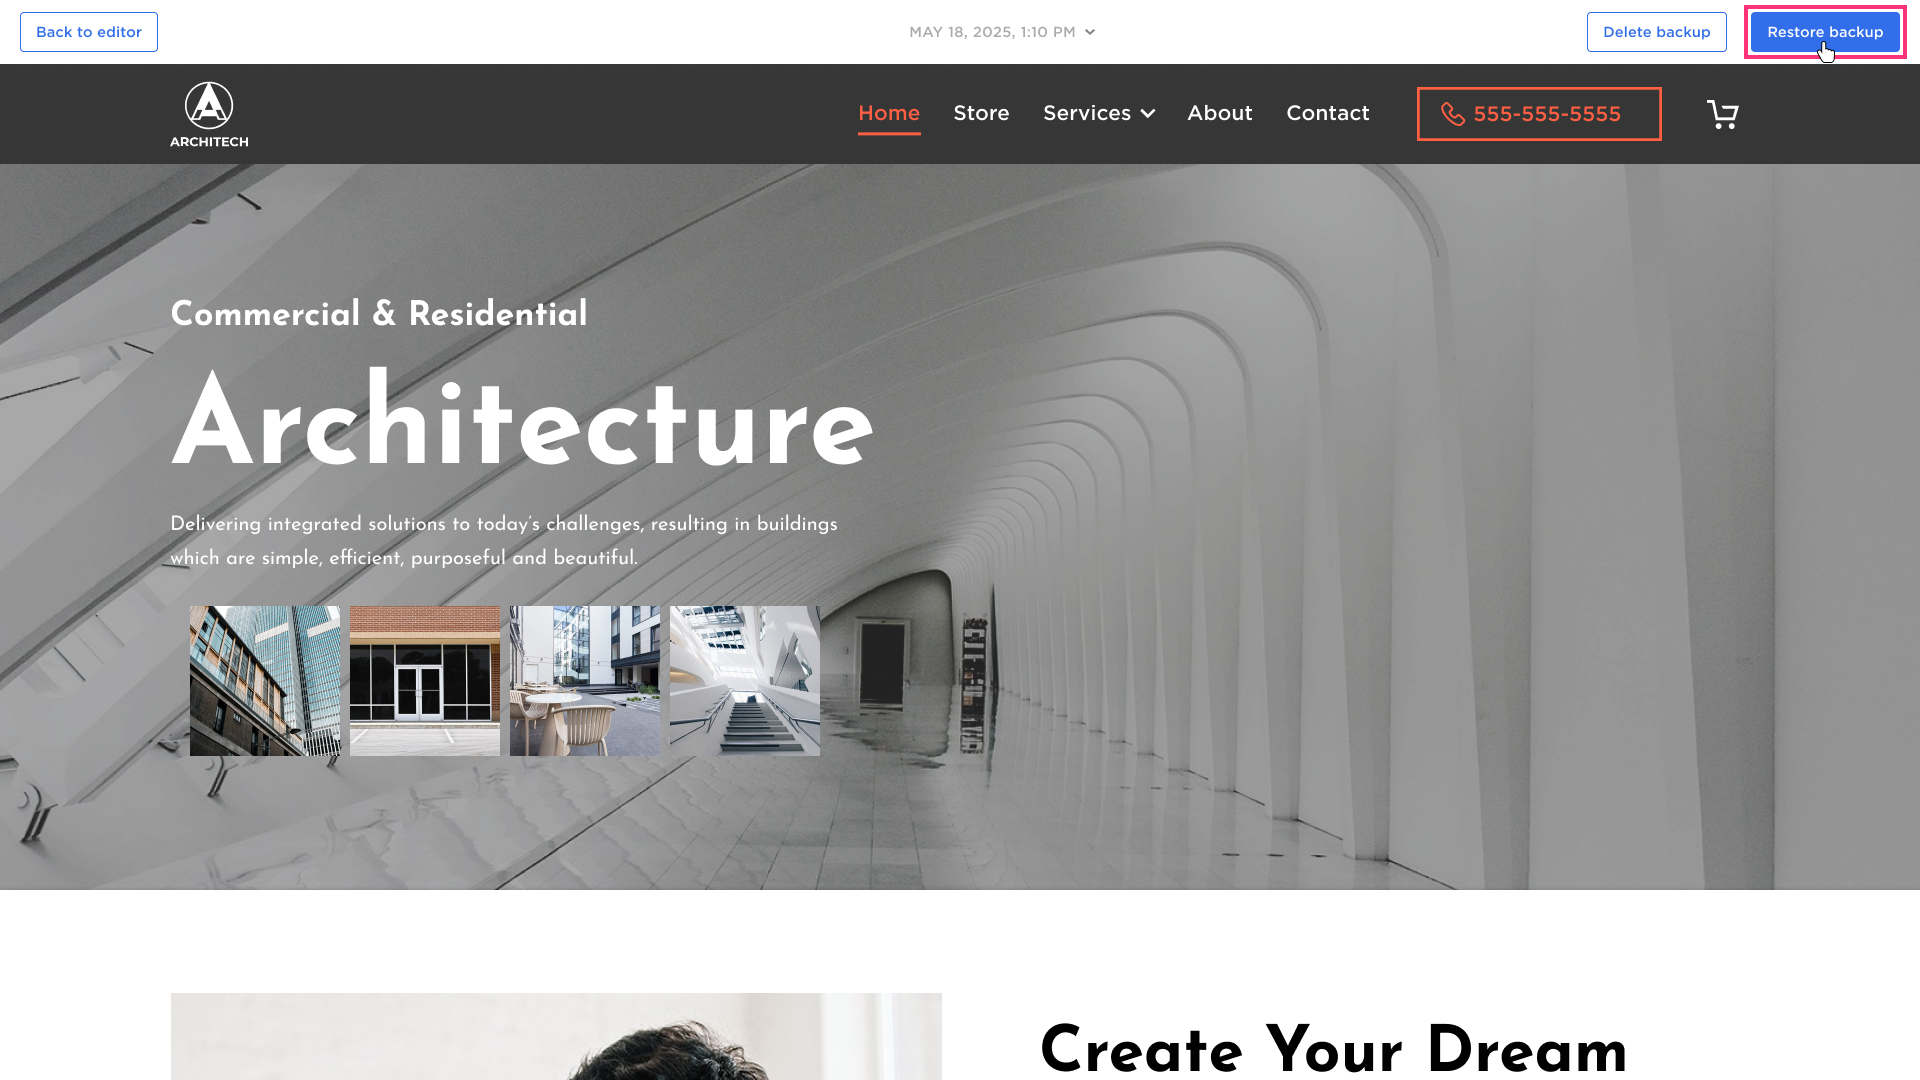
Restoring Backups
- Select the date of the required Backup:

- In site preview mode, click the Restore Backup button at the top-right and confirm your decision on the pop-up:
- After a short process of restoring the backup, you will receive a confirmation message that the backup was successfully restored:

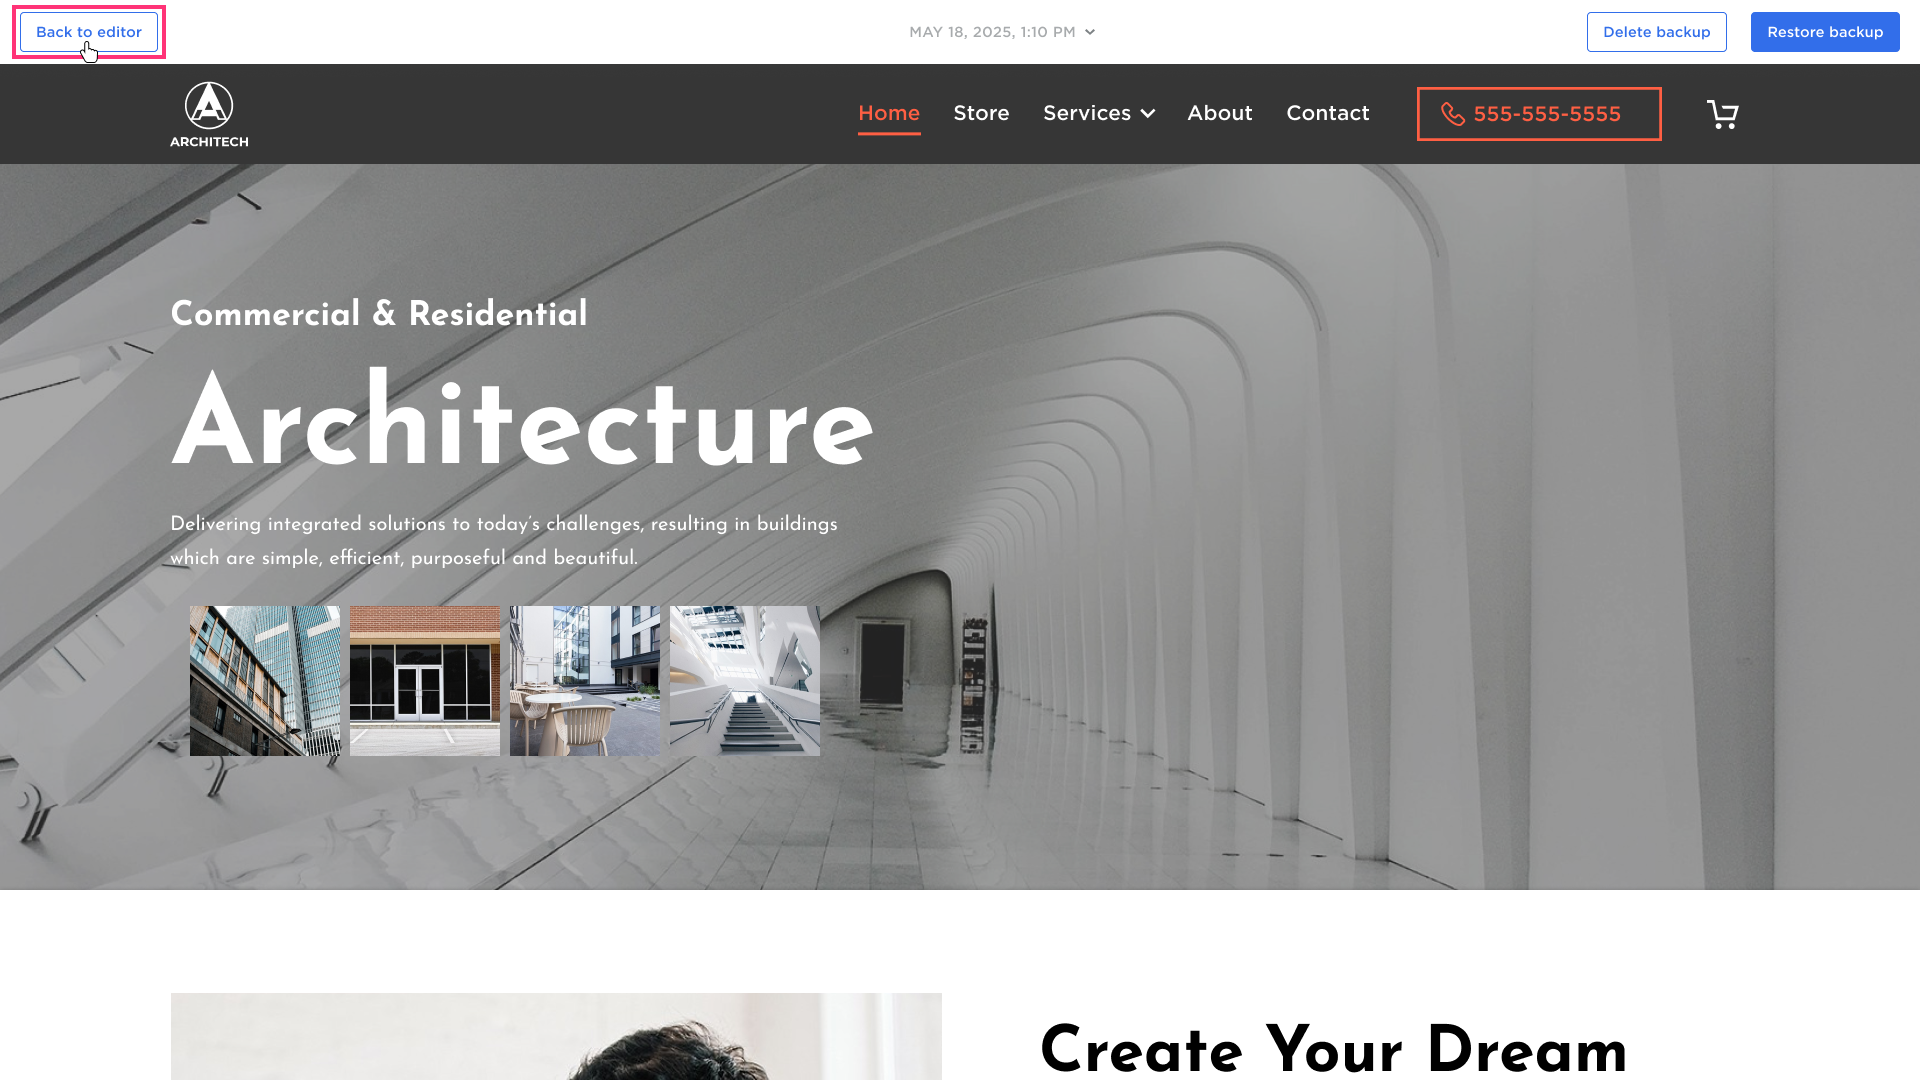
- You can also click Back to Editor button on the top-left to go back to your project:
Please Note: Add-ons (e.g., Store, Blog) are independent and cannot be backed up. They always reflect the current state of your project. For example, if the current version of the project has an Add-on activated, it will show in the backup preview and will remain unchanged after restoring. If the current version of the project doesn't contain a certain Add-on (but it was active at the moment of backup creation), it will not show in the backup preview and will not be restored along with the project.
Deleting Backups
- Select the date of the required Backup:
- In Site Preview mode, click the Delete Backup button at the top-right and confirm your decision.
- After a short process of deleting the backup, you will receive a confirmation message that the backup was successfully deleted:
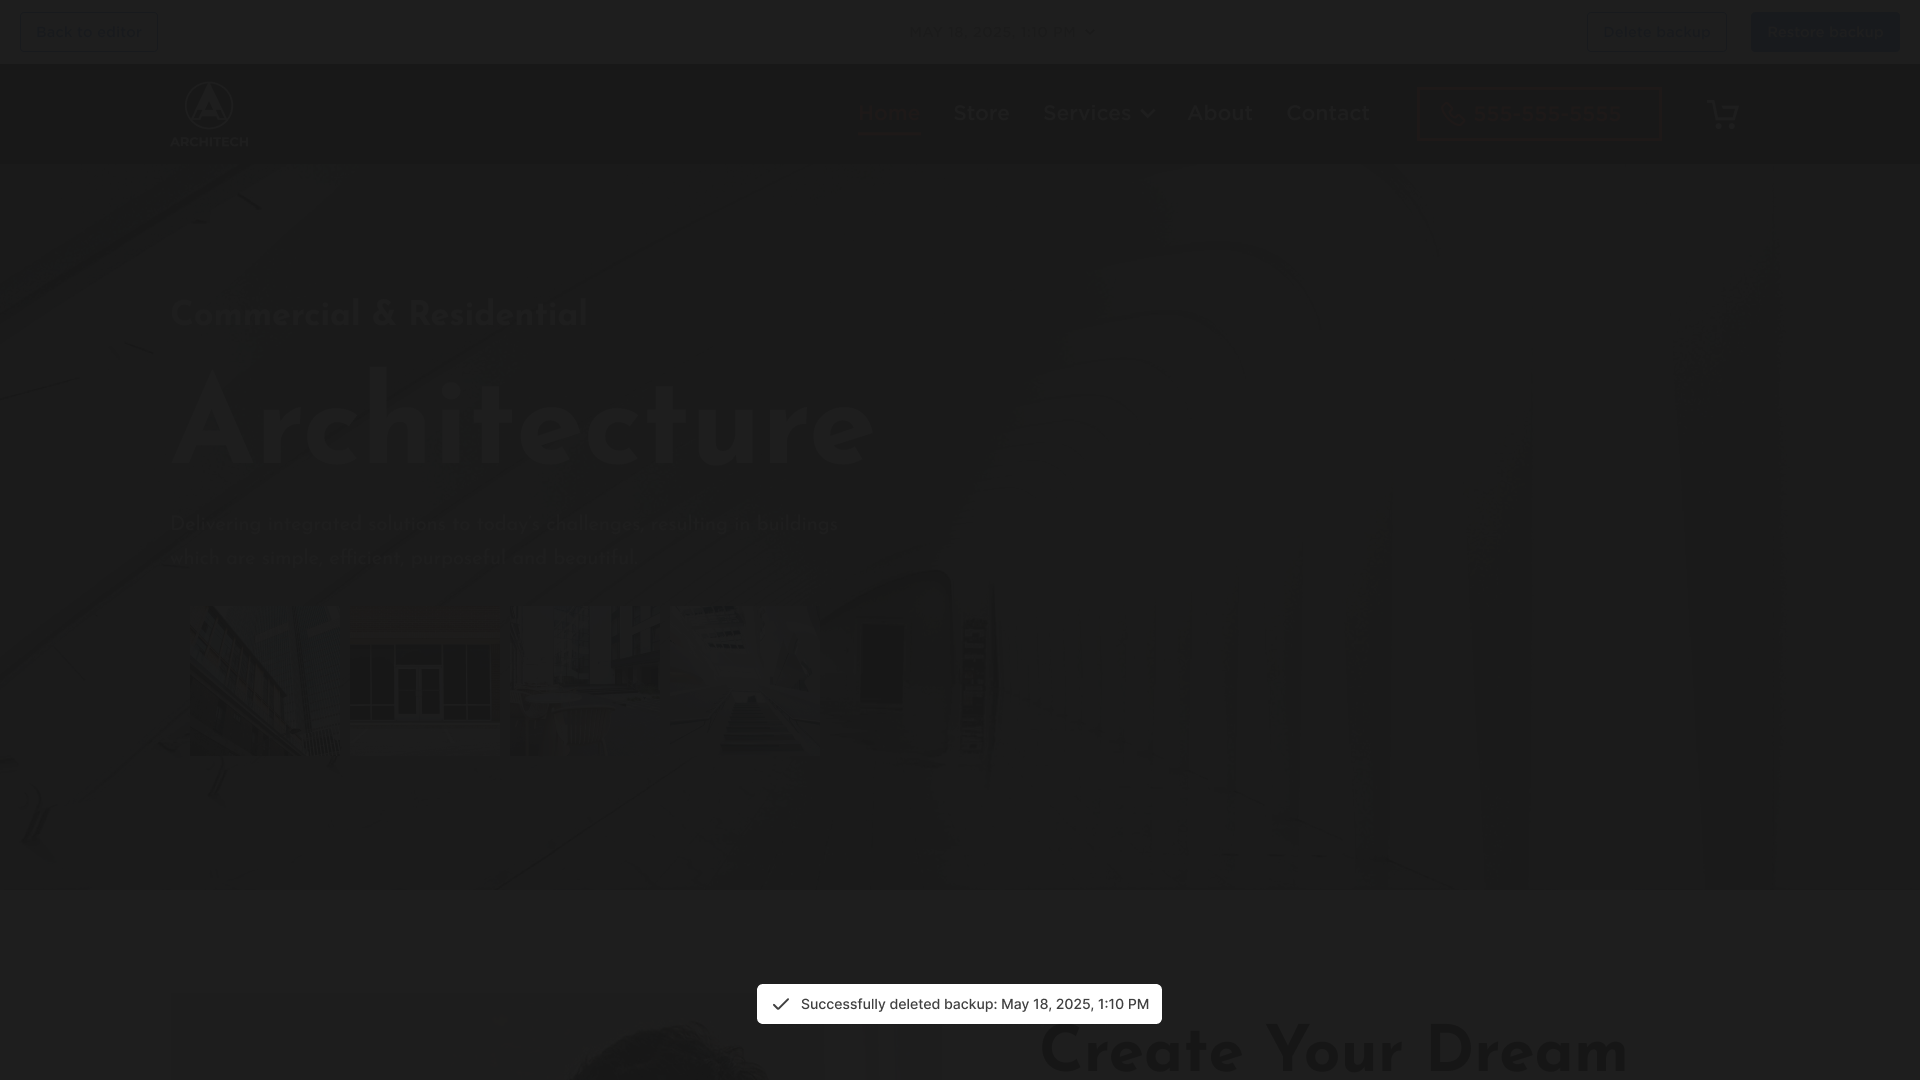
- You can also click Back to Editor button on the top-left to go back to your project: