.png)
Set Time Zone for Appointments in Scheduling
Proper time zones are crucial both to businesses and clients. Through the use of the Scheduling tool, you can easily set the time zone for appointments, allowing you to select your local time zone. This makes it easy so that your clients, no matter where they stay, can make appointments at times that really reflect the local time in the location.
Table of Contents
How to Set the Time Zone for Appointments
- Log in to your account via https://www.networksolutions.com/my-account/login.
- In your Account Manager, go to Websites.
- You will be redirected to the Website Builder automatically if you only have a single Website or eCommerce plan.
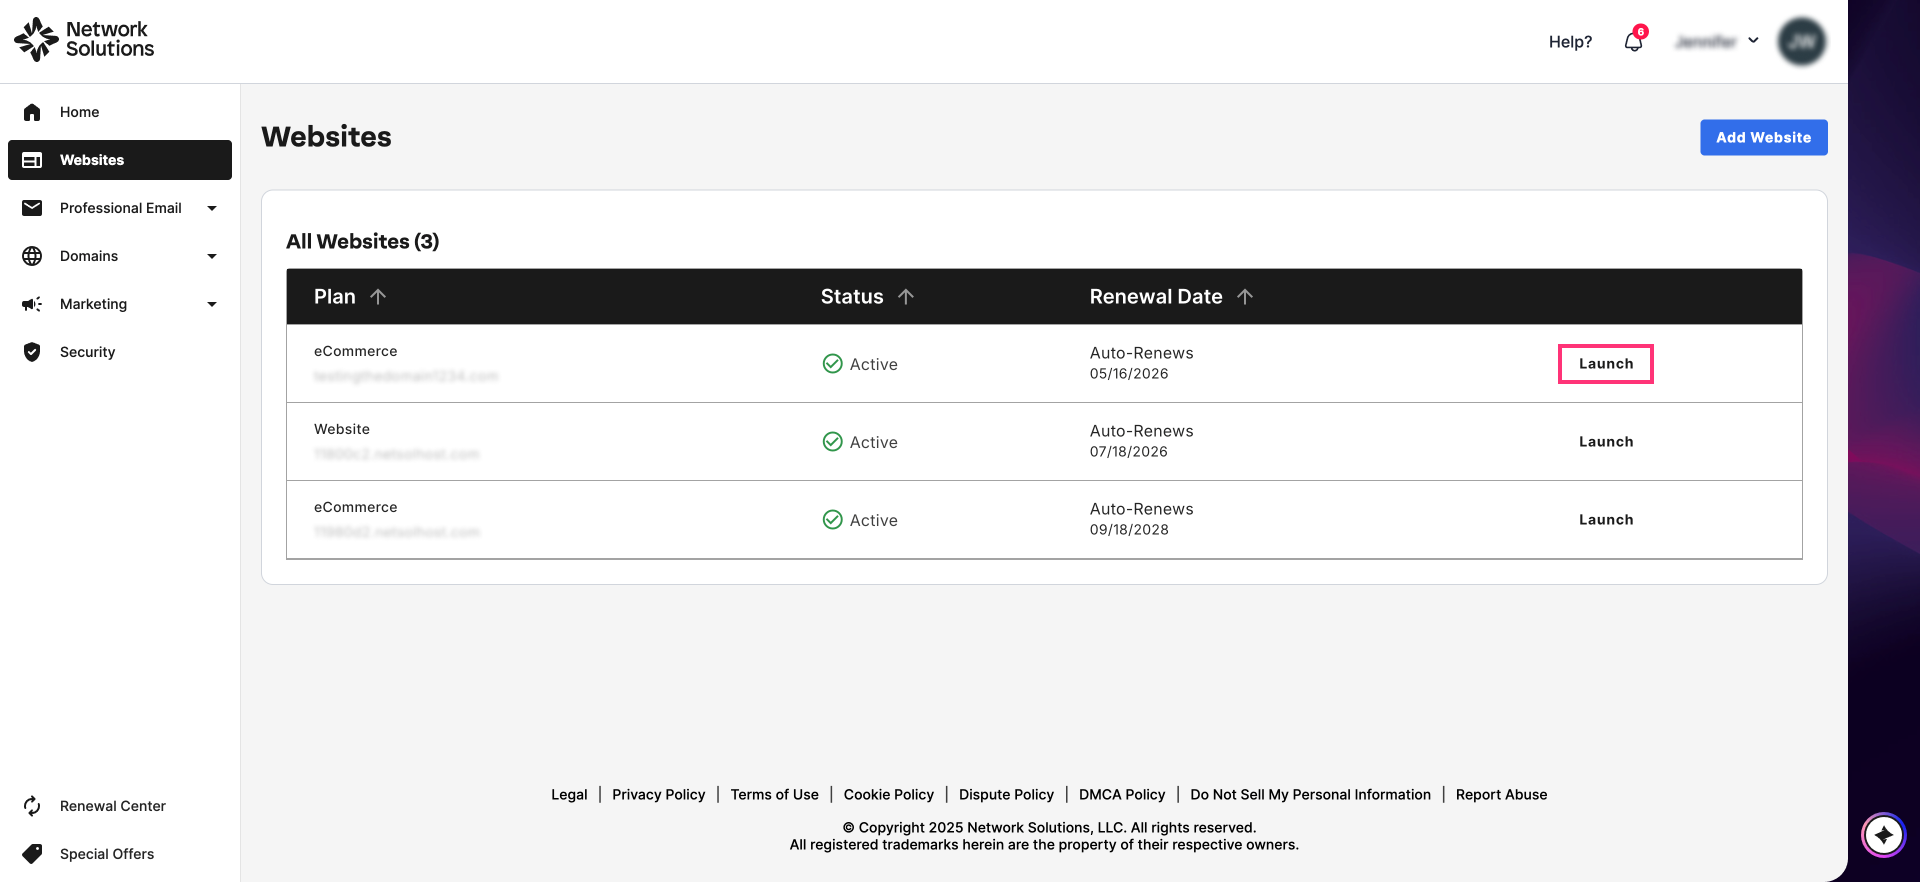
- If you have more than one Website or eCommerce, you will need to select the website you want to manage first and click Launch:
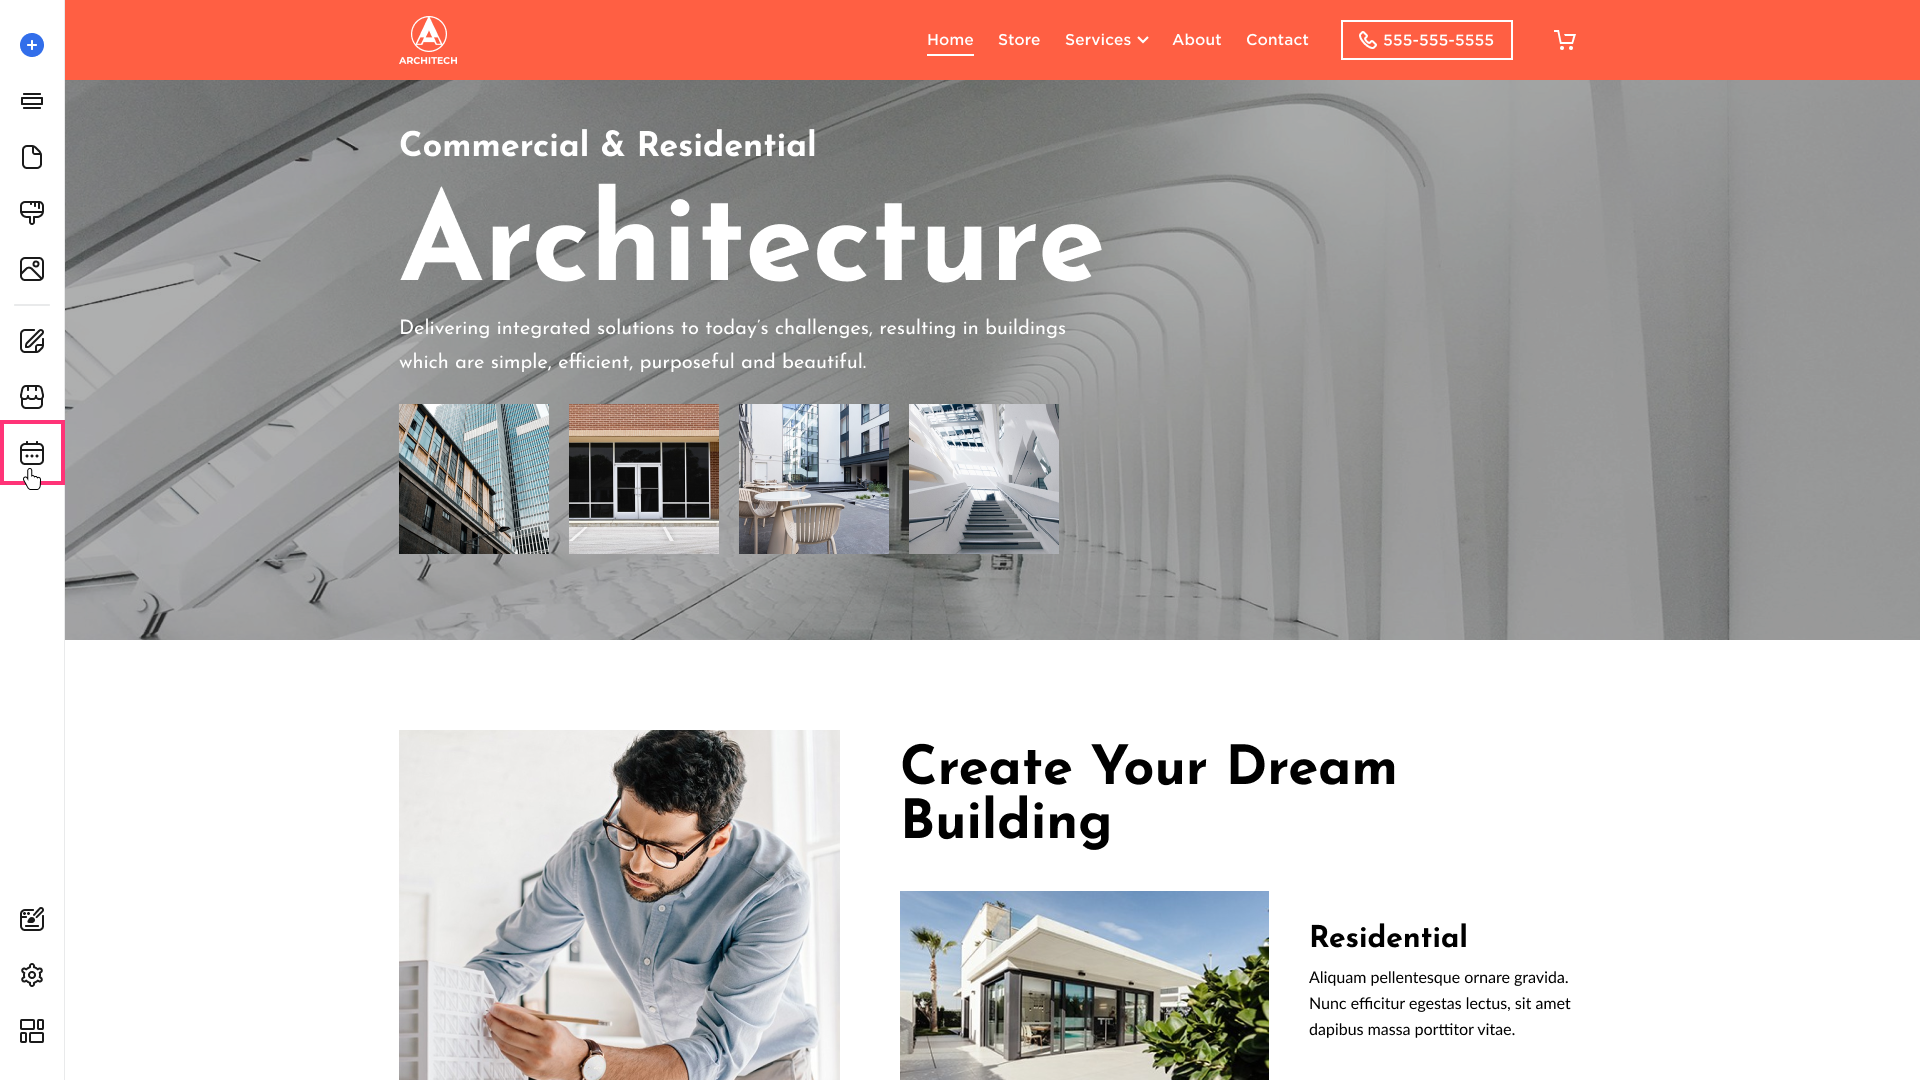
- In the Website Builder, click the Appointments icon on the left sidebar.
- On the Settings page, find the Bookable hours card and click on the Set availability button.

- The Set availability page will show, and you can:

- Choose the time zone by clicking on the Time Zone drop-down menu and it will then show you all of the available time zones.
- Check/uncheck the Checkbox option beside the day if you have bookable hours available.
- Adjust or set the time of your available bookable hours.
- Click on the + icon to add available bookable hours.
- Click on the Trash icon to delete or remove available bookable hours.
- Once done, click Save on the top-right corner of the page.

You have now updated the time zone for your appointments in Scheduling.
Review
It takes just a few extra minutes of effort to set time zone for appointments in Scheduling, but it may really make all the difference in user experience on your service for the clients. It saves confusion and makes you avoid most missed appointments, reflecting a better, professional, and more reliable service.