.png)
How to Set Up Payments for Appointment Scheduling
Taking control of your finances starts with learning how to set up online payments for appointment scheduling. Once you do this, you can link the payments to your services, collect them online, and conveniently track them for better financial management.
Table of Contents
Setting Up Your Payment Providers
Follow the steps below to set up payments for appointment scheduling:
- Log into your account via https://www.networksolutions.com/my-account/login.
- Once logged in to your account, click Websites on the left side of the page.
- If you only have one Website or eCommerce package, you will be automatically redirected to your Website Builder. If you have multiple packages, click Lanch next to the Website or eCommerce product you want to manage.
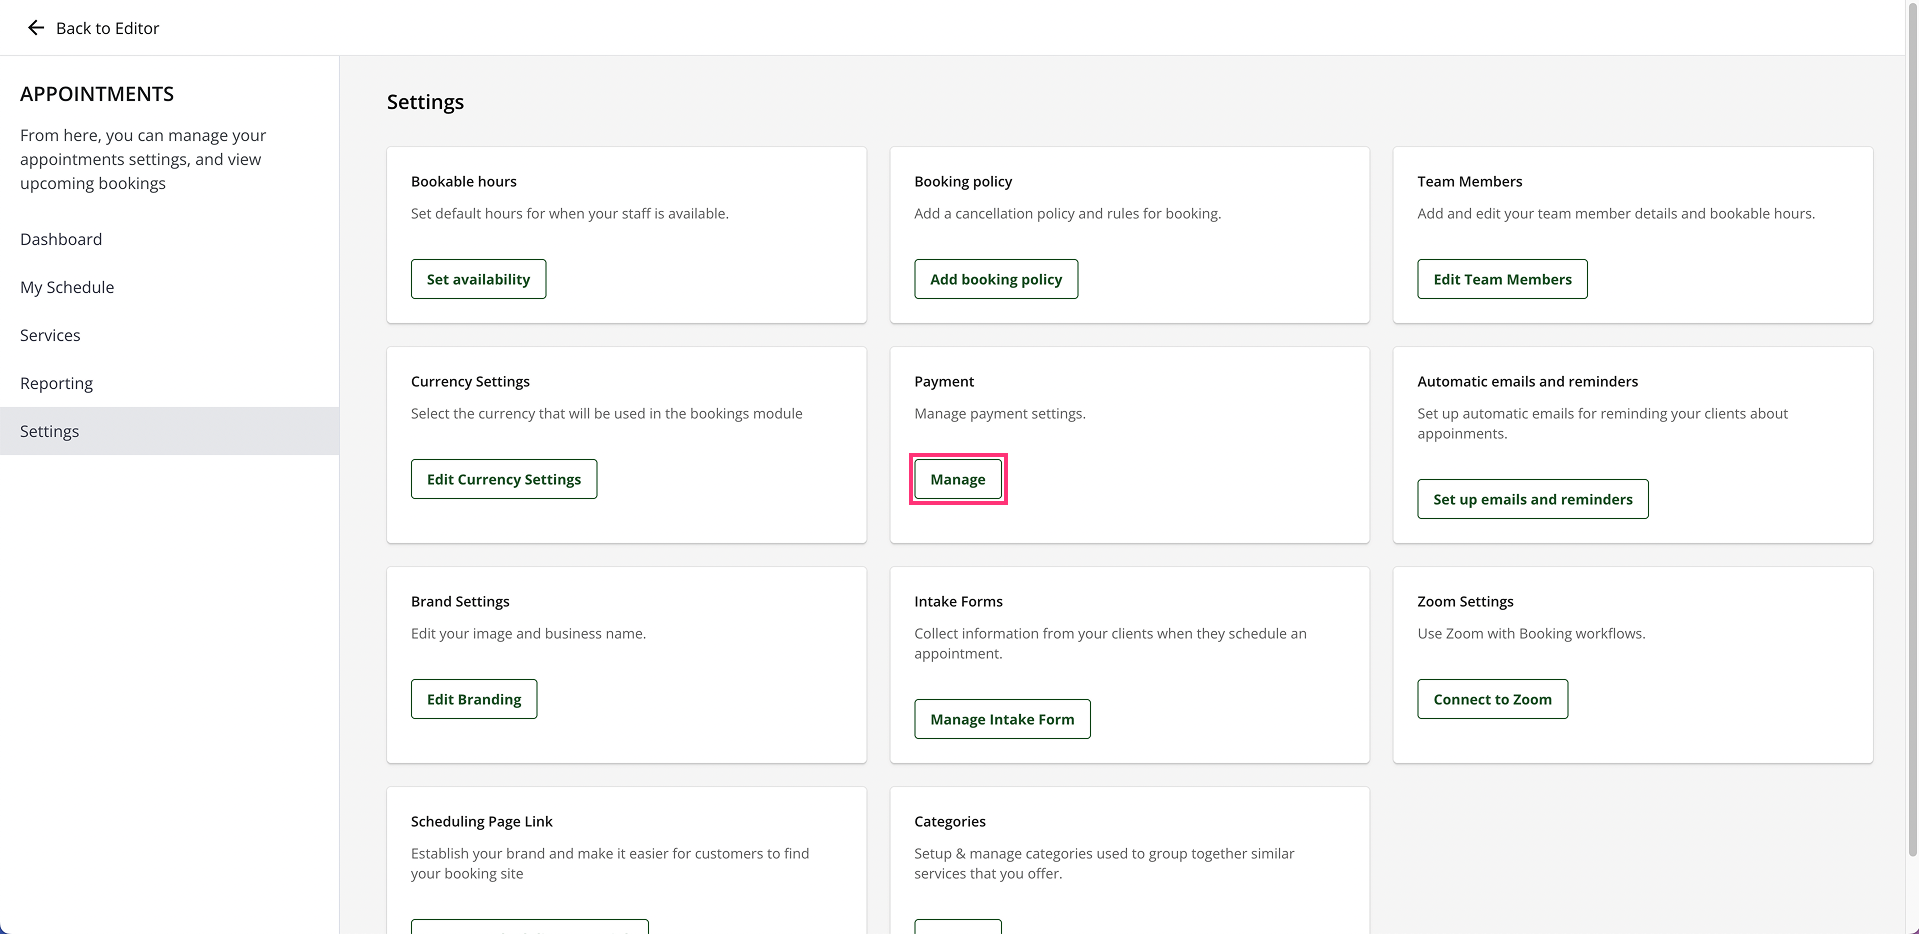
- Once you have accessed your Website Builder, click Appointments on the left sidebar.

- Select Settings. Scroll down and look for the Payment card, then click Manage:
- Click the Edit link within the Payment Provider tile:

- You can enable the following Payment Processors for your store’s checkout.

- Once you have selected your desired payment processor, click the Activate button within the tile.
- Below are the Payment Processors that may be available for you to choose from:
a. PayPal – If you click on the Activate button for PayPal, the next screen will ask you to add your email address associated with PayPal. Click Submit once you have added the email:

In addition to PayPal checkout, users on your website can select Buy Now Pay Later or Venmo (if you configure your PayPal account to accept these payment options):

b. Stripe – Click Connect with Stripe to connect your Stripe account:

c. Cash On Delivery – Click the box to enable Cash on Delivery for your eCommerce Store:

Managing Automated and Manual Tax Settings
- In your Website Builder, click Appointments on the left menu.
-
Select Settings. Scroll down and look for the Payment tile, then click Manage:

- Click the Edit link within the Taxes tile:

- You will have the following options:
- Set up automated tax settings
- Charge taxes – Enable this toggle switch to show tax values within your store.
- Automatic taxes – Enable this option if you do not need to set up your manual taxes.
- Calculate tax over shipping - This indicates whether sales state tax is applied to the shipping costs.
- Set up automated tax settings
b. Set up manual tax settings – Be sure to disable the Automatic taxes toggle switch to set up your manual tax settings.

Review
You can integrate a payment gateway for appointments to manage your finances effectively. Doing so allows easy payment collection for the services you offer, therefore improving financial tracking and management. Not only does this simplify the payment process, but it also ensures accurate tax calculations and flexibility of tipping options.