.png)
Scheduling: How to Add and Manage Appointment Services
This guide walks you through managing appointment services in the Appointments section of the Website Builder. It shows you how to add new services, change existing ones, and remove services you don't offer anymore. You'll also learn what details you need to include when adding a service, like its name, what it involves, how much it costs, how long it takes, and which staff members can do it.
Table of Contents
Managing a Service in Website Builder
- Log in to your Account Manager via https://www.networksolutions.com/my-account/login.
- In your Account Manager,
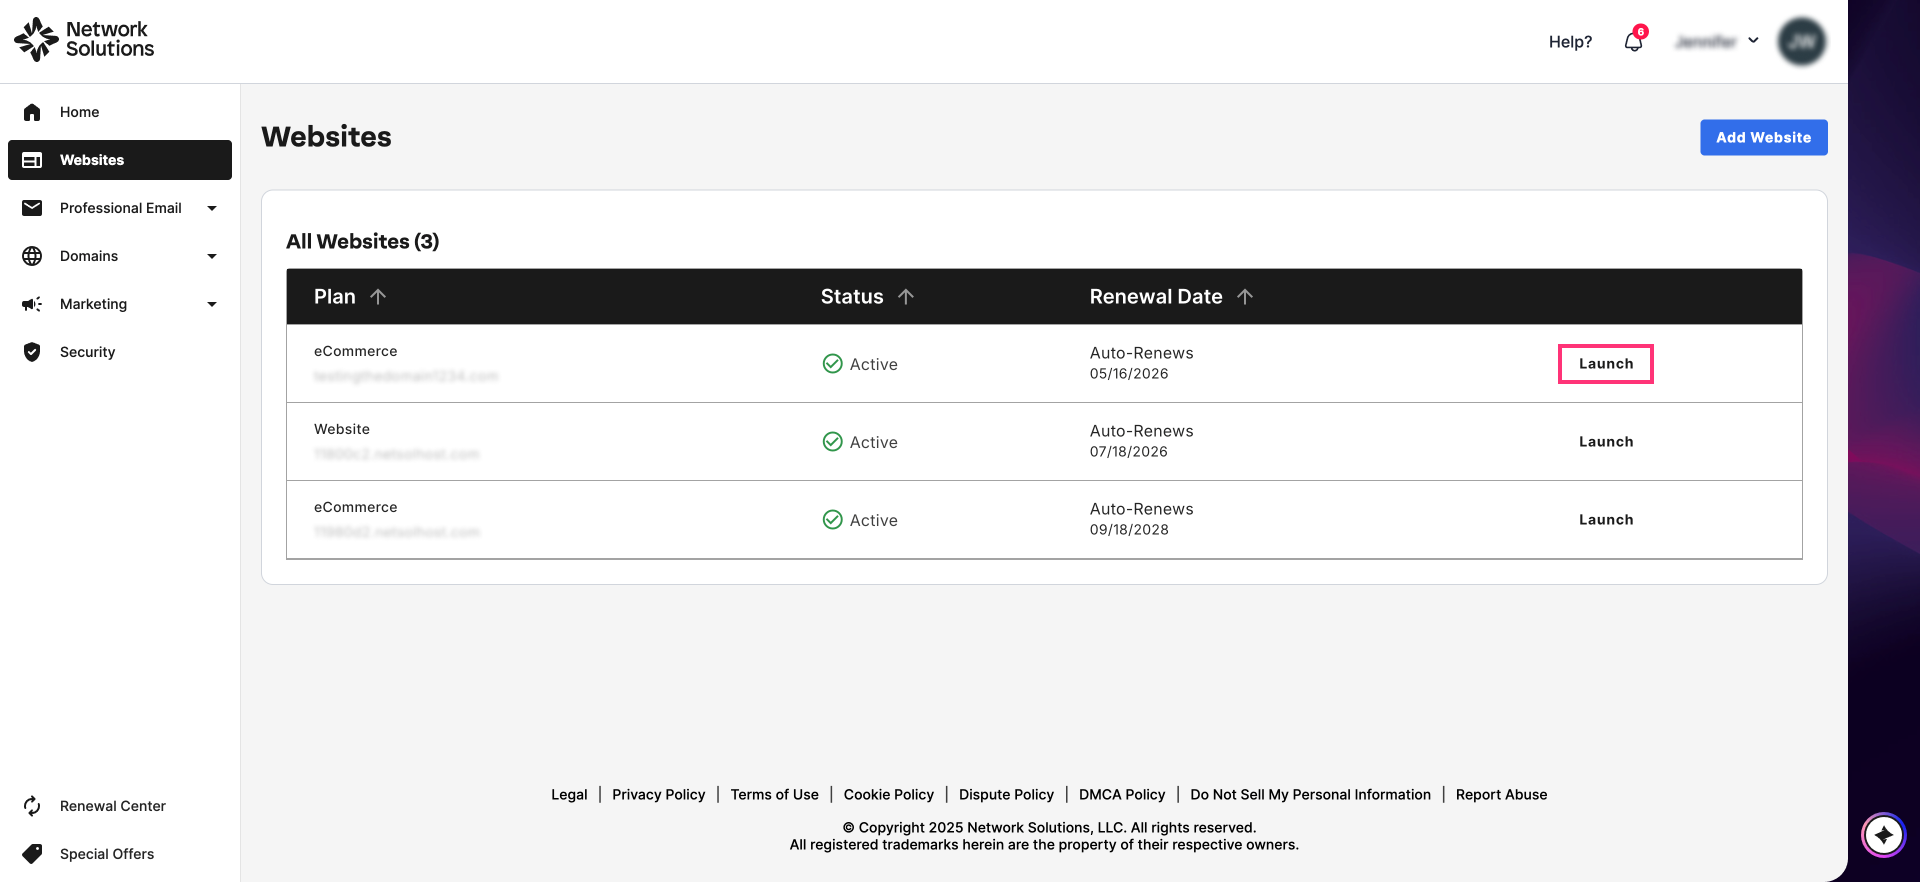
- If you have one Website or eCommerce product, you will be redirected to the Website Builder right away.
- If you have more than one eCommerce product, you will see a list of your Website and eCommerce products. Click Launch next to the product you would like to set up to go to the Website Builder.
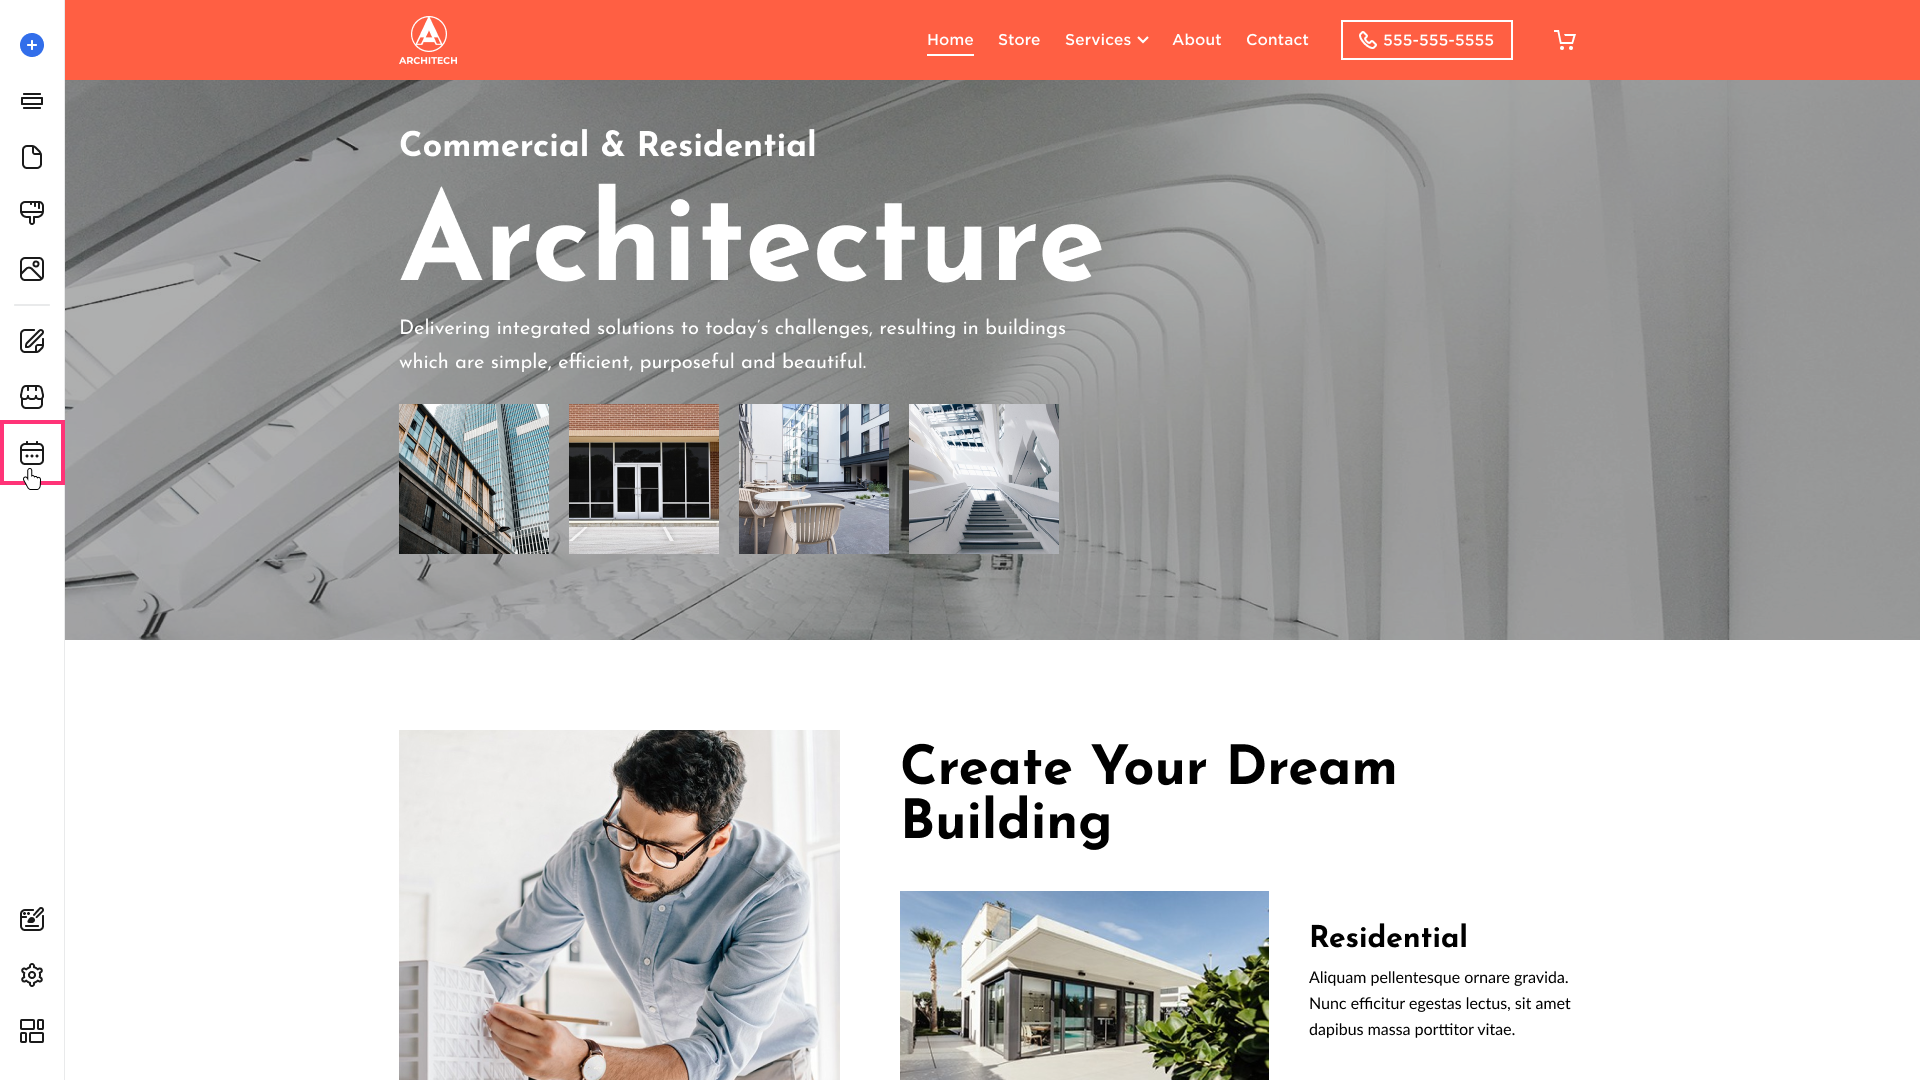
- In the Site Editor, click Appointments in the left sidebar. If you do not see this icon, enable Appointments first.
- Click Services in the Appointments navigation menu.

Adding a Service
- Click the Add service button in the top right corner to add a new service.

- Choose a Service type:
- 1-to-1 Service: One client books one appointment based on your team’s availability and business hours.
- Group Service: Multiple clients can attend the same session (classes, tours, webinars).
- Fill in the service details, pricing, checkout, and staff sections.


- Hit the Save button at the bottom right of the page to add the service.

Please Note: As an alternative to opening the Appointments app, you can create a service directly while configuring a Service element via the Quick Create feature. For the complete walkthrough, see Adding and Editing Services via Quick Create.
Editing a Service
- On the Services page, find the service.
- Click the vertical ellipsis (⋮) on the service row.
- Click Edit.
- Update any fields, then click Save.

Duplicating a Service
- Click the vertical ellipsis (⋮) on the service.
- Click Duplicate.
A copy of the service is created so you can adjust details without rebuilding from scratch.

Hide from Website
You can hide the service from your website if for any reason the service is not available.
- To hide the service from your website, you can click the vertical ellipsis (⋮) on a service and choose Hide from website.

- You can click Show on website to bring it back to your website.

Deleting a Service
- You can delete a service by clicking the vertical ellipsis (⋮) on a service you want to delete, then clicking Delete.

- In the confirmation dialog, click Delete again to confirm.

Review
The article covers how to add a new service, edit an existing one, and delete a service that you no longer offer in Scheduling. It further explains information that should be included in its creation by stating what the service is named, what type of service it is, and all else that involves the service, how long it will take to do, what cost, and who on your team can do it.
Common Questions
I cannot find Scheduling or Appointments in the editor — what do I do?
In the Site Editor left sidebar, go to Settings → Advanced → App Settings and turn on Appointments. Complete onboarding to make the Appointments icon and booking elements available. If they remain unavailable, confirm that your package includes Appointments.
Where is the Add service button?
In Site Editor, open the Appointments section and go to the Services tab. Add New Service is in the top-right corner.