.png)
Add Product Categories: A Step-by-Step Guide
A product category is a collection of several products. These category names appear on the storefront above the product list. Product categories serve as filters that enable store customers to narrow down the list to a certain collection of products when browsing. It is also a way of organizing your inventory. Learn how to add product categories to Online Store and eCommerce.
Table of Contents
Add Product Categories
Follow the steps below on how to add product categories to your Store.
- Log in to your account via https://www.networksolutions.com/my-account/login.
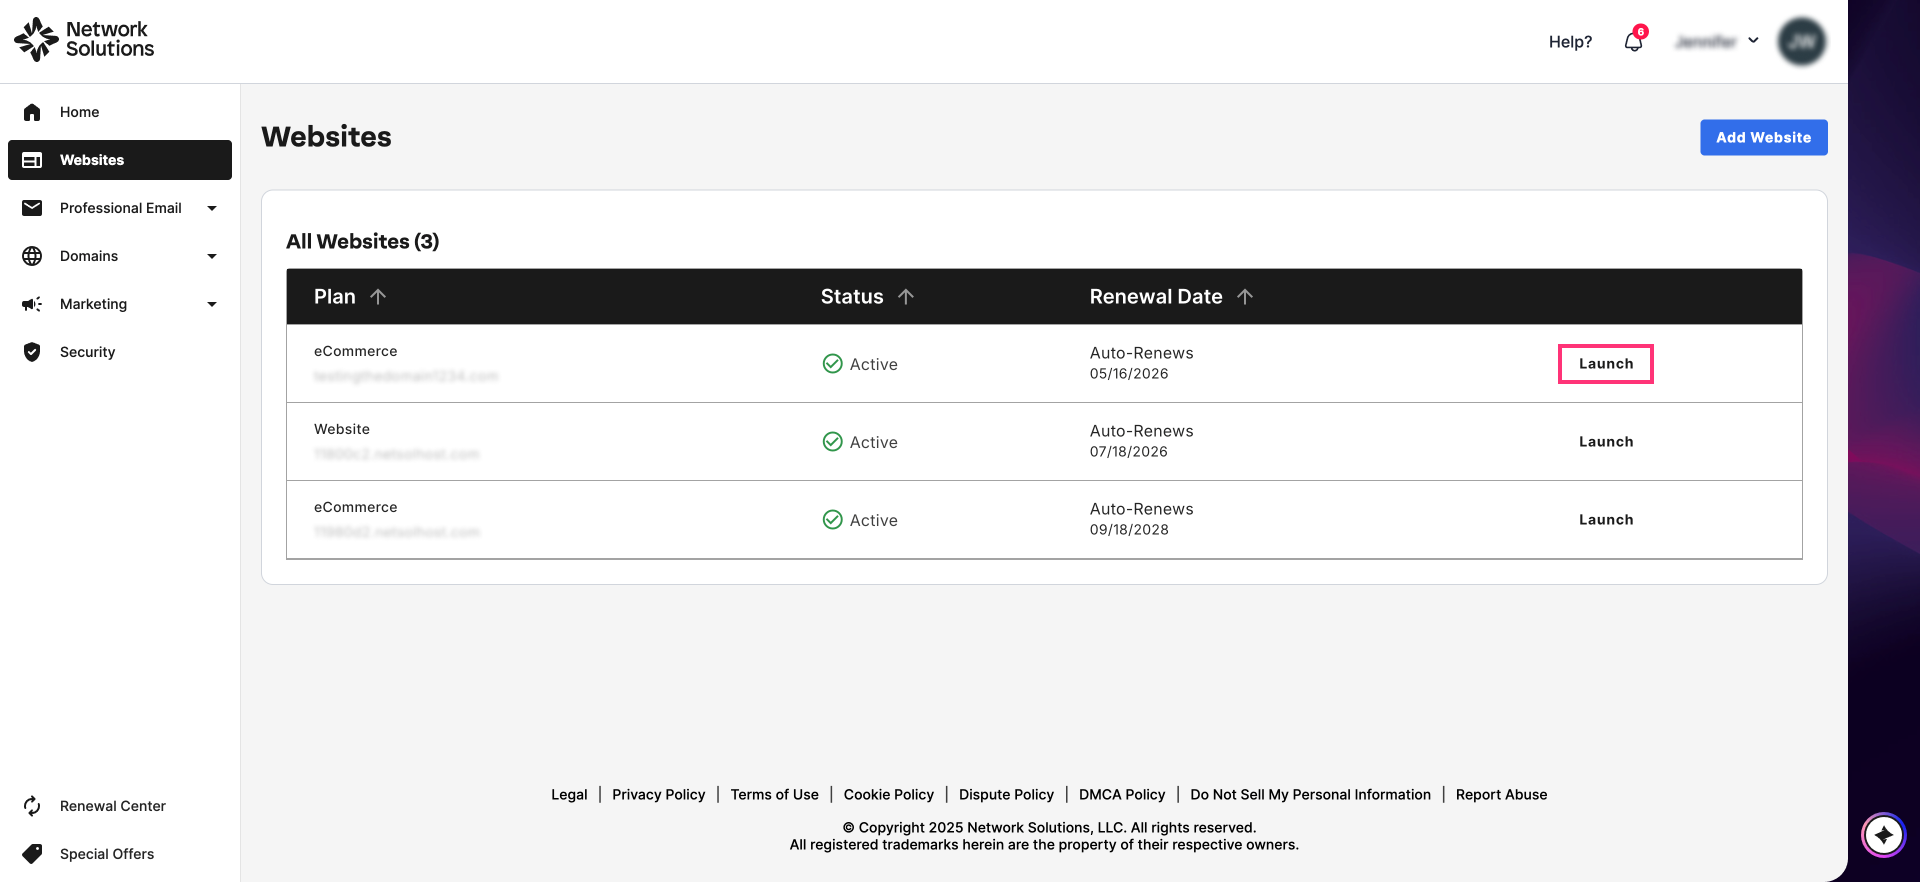
- On your Account Manager homepage, click Websites on the left menu.
- If you have multiple eCommerce products, click the Launch button next to the product you would like to update. If not, proceed to the next step below.
- Once inside your Website Builder, click Store on the left sidebar.

- In the Settings section, click on the Manage button for Online Store.

- Click the Manage button on the Product Category card.

- Click on the Add Product Category button on the Product Category page.

- In the Create a Category page, enter the category name in the field provided. This is where you can create a product category for Online Store and eCommerce.

- Click Continue.
- The product category has been created. You can view it on the Product Category page. This is also where you can manage product categories in your Online Store or eCommerce.

Please Note: You can either edit or delete the existing product category by clicking on the vertical ellipsis icon (⋮) beside the toggle button.
Review
Struggling to organize your online store or eCommerce inventory? Product categories can help you! This guide walks you through adding product categories to your online store and eCommerce. You'll learn how to navigate the eCommerce product, create clear category names, and manage your product organization with ease.