.png)
How to Connect Amazon to Your eCommerce Website
Integrating your Amazon account with your online store and eCommerce platform is a pivotal step for any seller looking to streamline their online operations. This guide on Amazon Account Integration will walk you through the essential steps to connect Amazon with your eCommerce Platform Integration, allowing you to efficiently manage sales orders, list new products, and update existing listings.
For detailed instructions on enabling and managing auto-sync for your online store and marketplaces, refer to our guide on How to Enable Auto Sync. This integration ensures your inventory is consistently accurate and reflective of your latest business activities.
Table of Contents
How to Integrate your Amazon Account?
- Once inside your Website Builder, click Store on the left sidebar.
- Navigate to the Settings section. First, you need to activate the Marketplace Selling add-on for your Online Store. On the Add-Ons card, select Manage. If you have already activated it, please skip to step 5.

- Find Marketplace Selling and click Learn More.

- Confirm by clicking Activate in the modal window.

- Once the add-on is activated, you can connect Sales Channels via Settings -> Manage button on the Sales Channels card.

- Click the Connect Marketplaces button.

- You will see the different sales channels. Click the connect button under the specific Amazon marketplace you want to connect.

- This will bring you to an integration page for Amazon. Click the Sign in to Amazon button and log in to your account.
For example:

- Once logged in, you will see the User Permissions page of the Amazon Seller Account. Navigate to the Third-party developer and apps section, then click the Visit Manage Your Apps button.

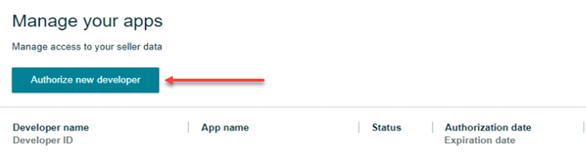
- In the Manage your apps section of your Amazon Seller Account, click the Authorize new developer button.
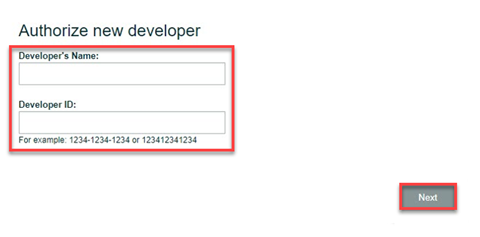
- Once done, you will see the page shown below where you need to enter "Ecommerce" in the Developer's Name field and the 12-digit code you see on the Ecommerce integration page for Amazon (this code will differ for each country). Click the Next button to continue.
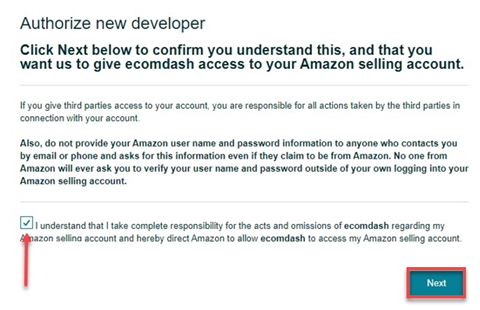
- You will be prompted with a message to authorize Ecomdash, our eCommerce dashboard integration app, as a new developer. Make sure to tick the checkbox before you hit the Next button.
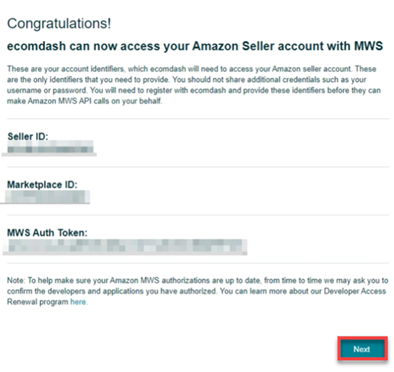
- From there, you will need to capture this information from your seller account before you click the Next button.
- Input the captured information to your eCommerce account, then click Connect Store.
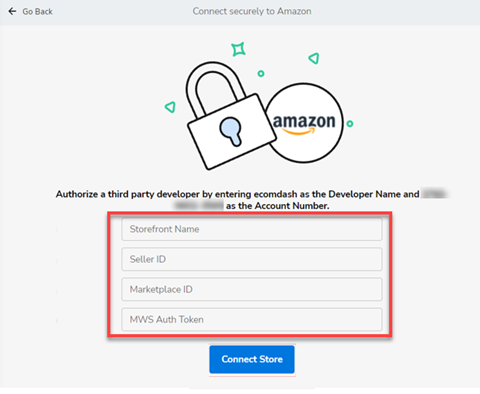
- Storefront Name - this is custom to how you want to name this channel in your eCommerce account.
- Seller ID
- Marketplace ID
- MWS Auth Token
- Click Next in Amazon, and it will reload your list of apps/developers and save it in your eCommerce account. You will also be able to see Amazon listed in your integrations now.
Review
This is an article about how to integrate your Amazon account with your eCommerce account. It discusses what information is needed to make the integration. You will need your storefront name, seller ID, marketplace ID, and MWS Auth token. Once you have this information, log in to your Amazon account to complete the process.