.png)
How to Use Form Checkbox for Email Marketing Consent
Please Note: This article applies to Website, Website+Marketing, and eCommerce packages since they are integrated with Contact CRM.
Start building your email list for future marketing campaigns by utilizing the form checkboxes and Contact CRM.
Please note that building an email list relies on consent: individuals must have either personally opted in or explicitly agreed to have their email address added. It's the website owner's responsibility to clearly inform site visitors that by providing their email, they're consenting to email marketing.
Table of Contents
- Using Checkbox for Email Marketing Consent
- Using the Subscribe Form for Email Marketing
- Option 1 (Recommended)
- Option 2
Using Checkbox for Email Marketing Consent
Follow these steps to set up a checkbox field as an opt-in option for email marketing:
- First, add a Contact Form element to your website. Please refer to the Form tutorial on how to add and customize forms.
- Once the form is added, set up your form fields. This includes the site visitors' email address and name (required), an opt-in checkbox for email marketing, and any other custom fields that you want to collect.
- To add the checkbox and start collecting site visitors' info for email marketing campaigns:
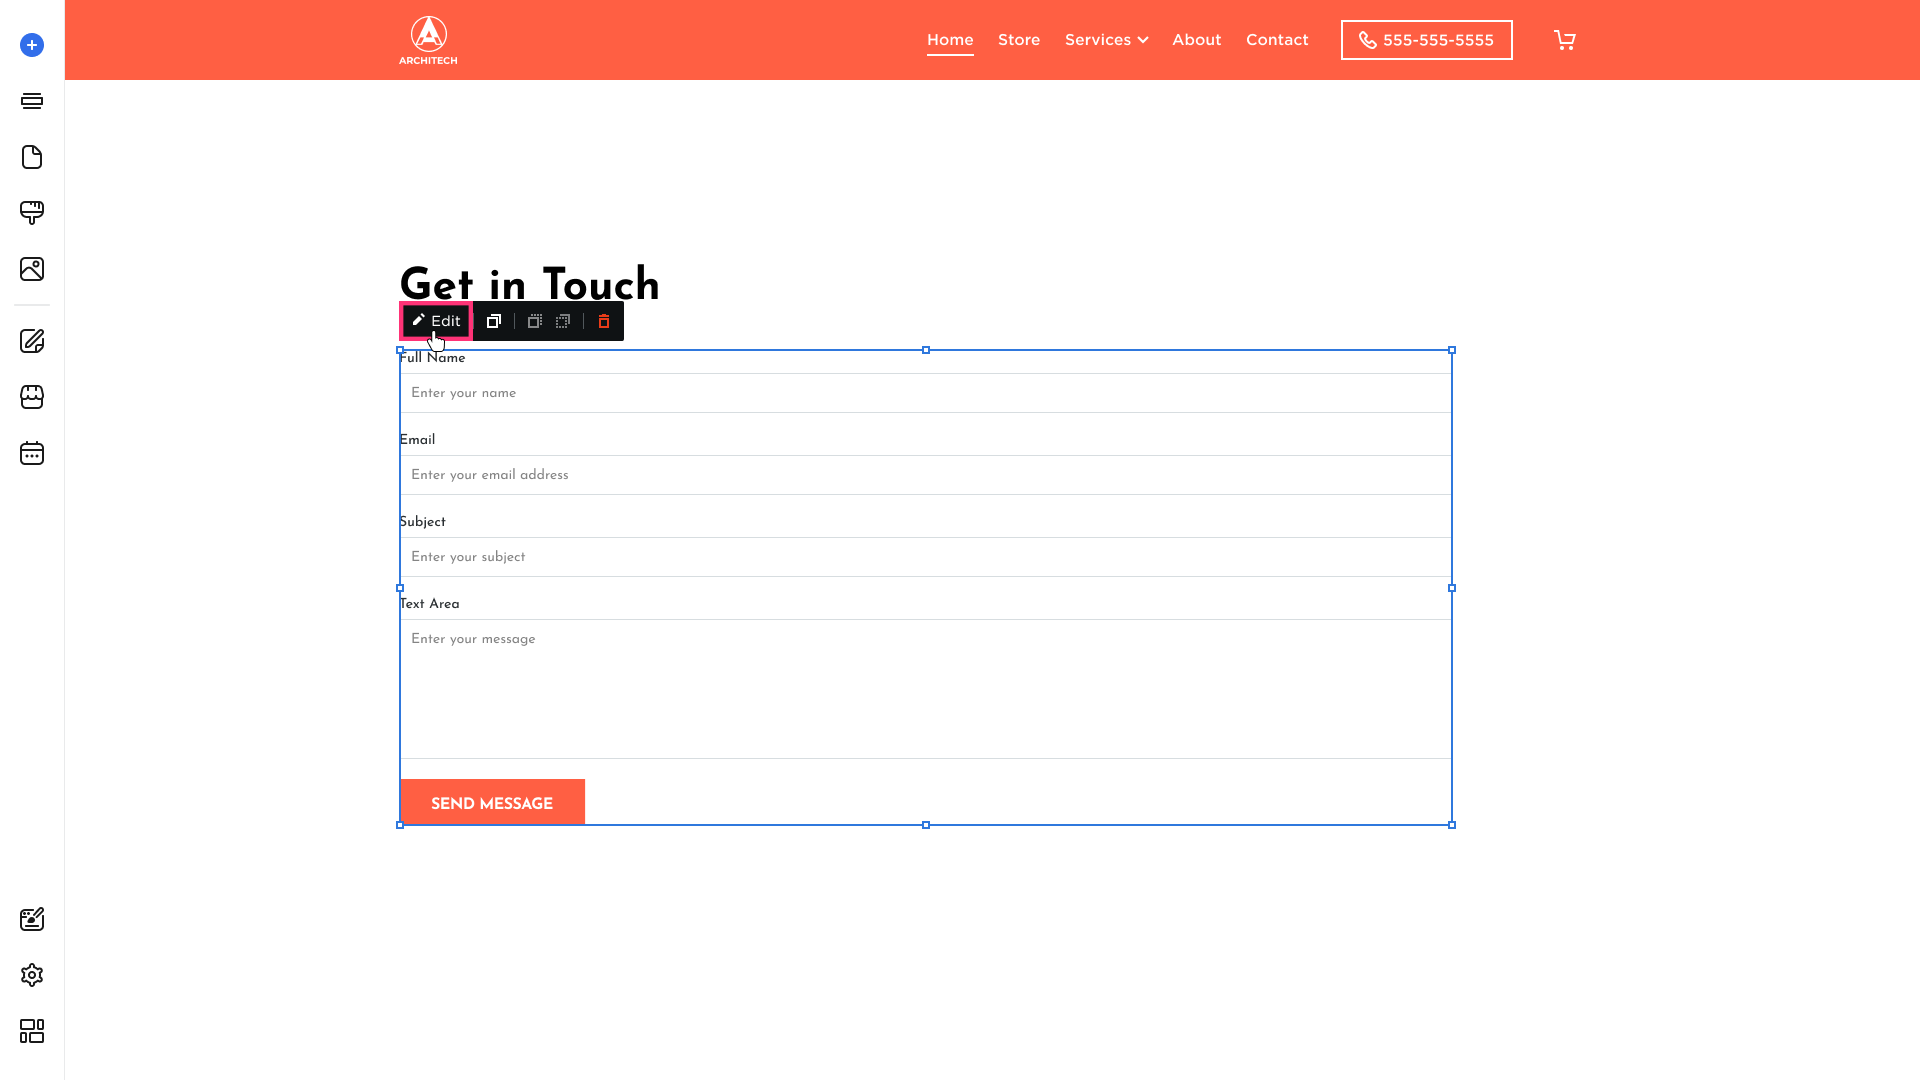
- Click on the contact form element and choose the Edit button that appears in its toolbar:
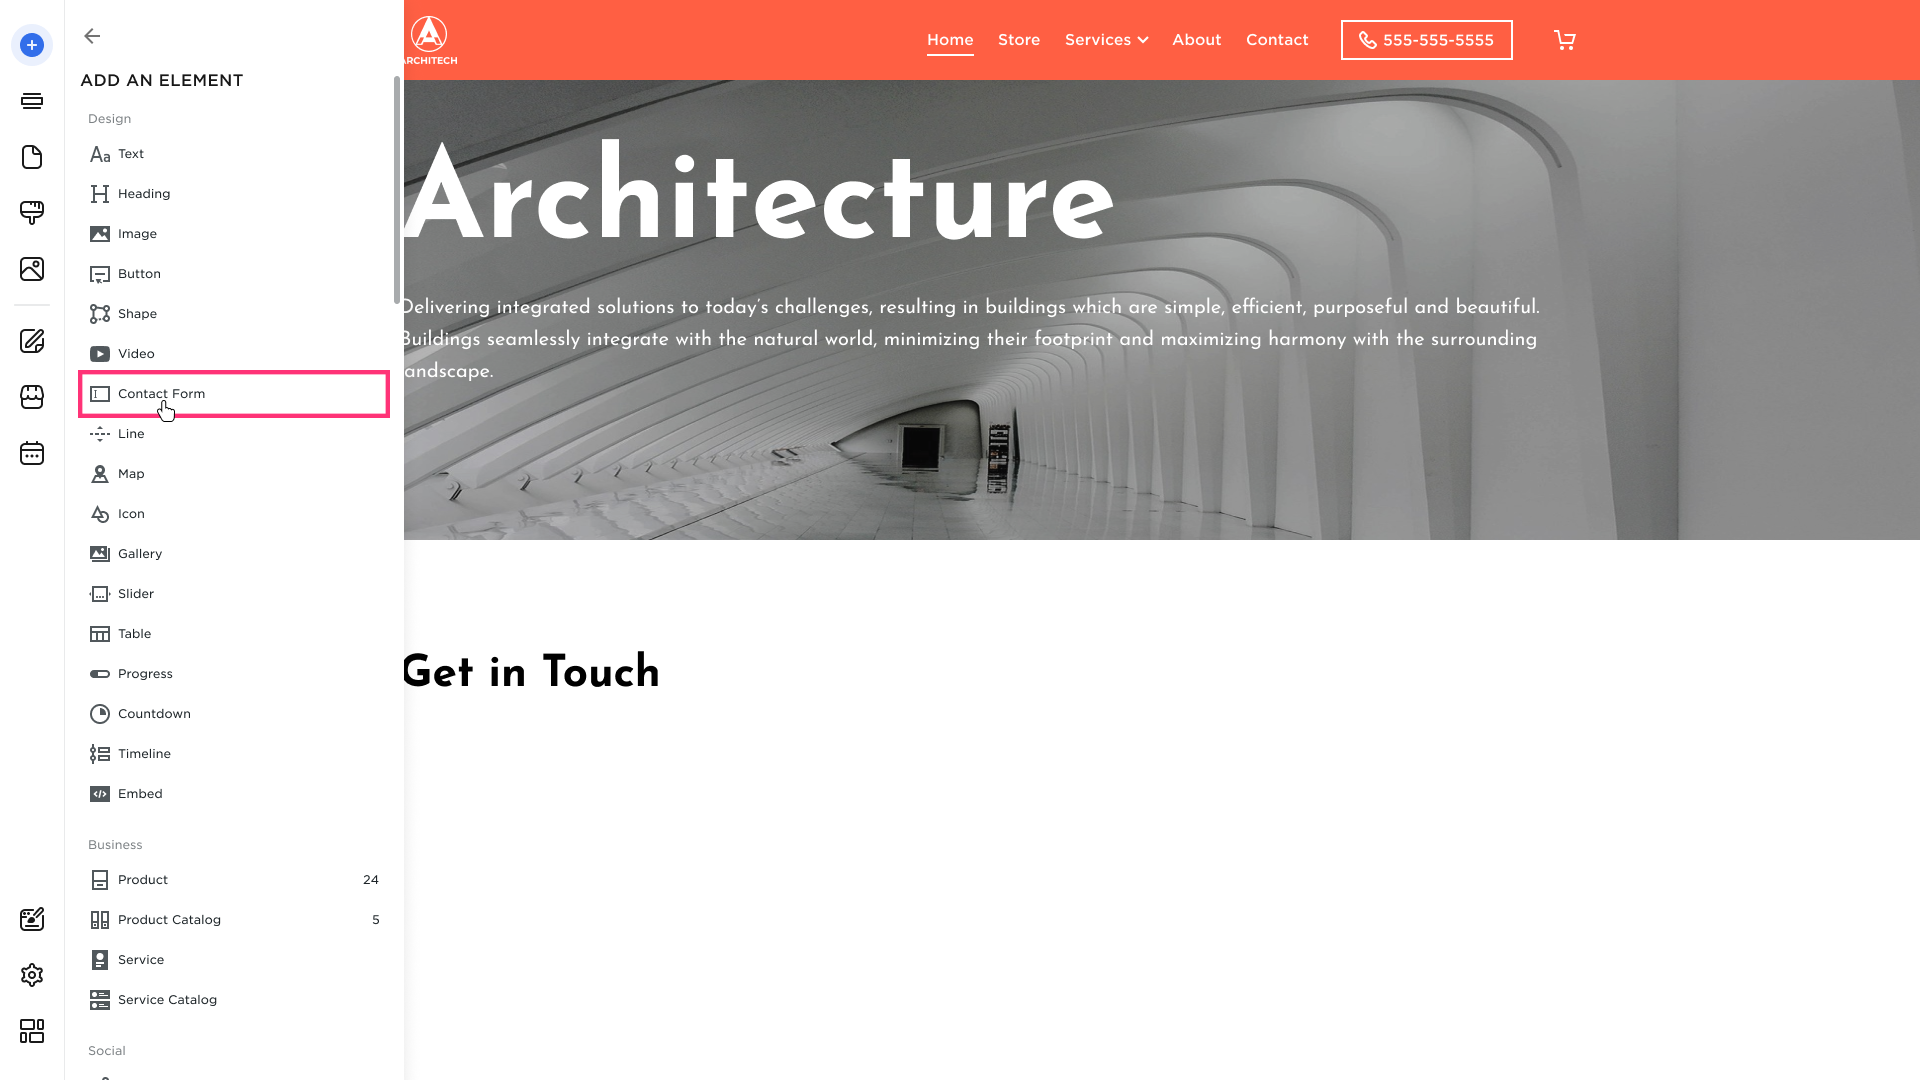
- In the Layout tab, click Add Form Field:

- Select the Checkbox from the list:

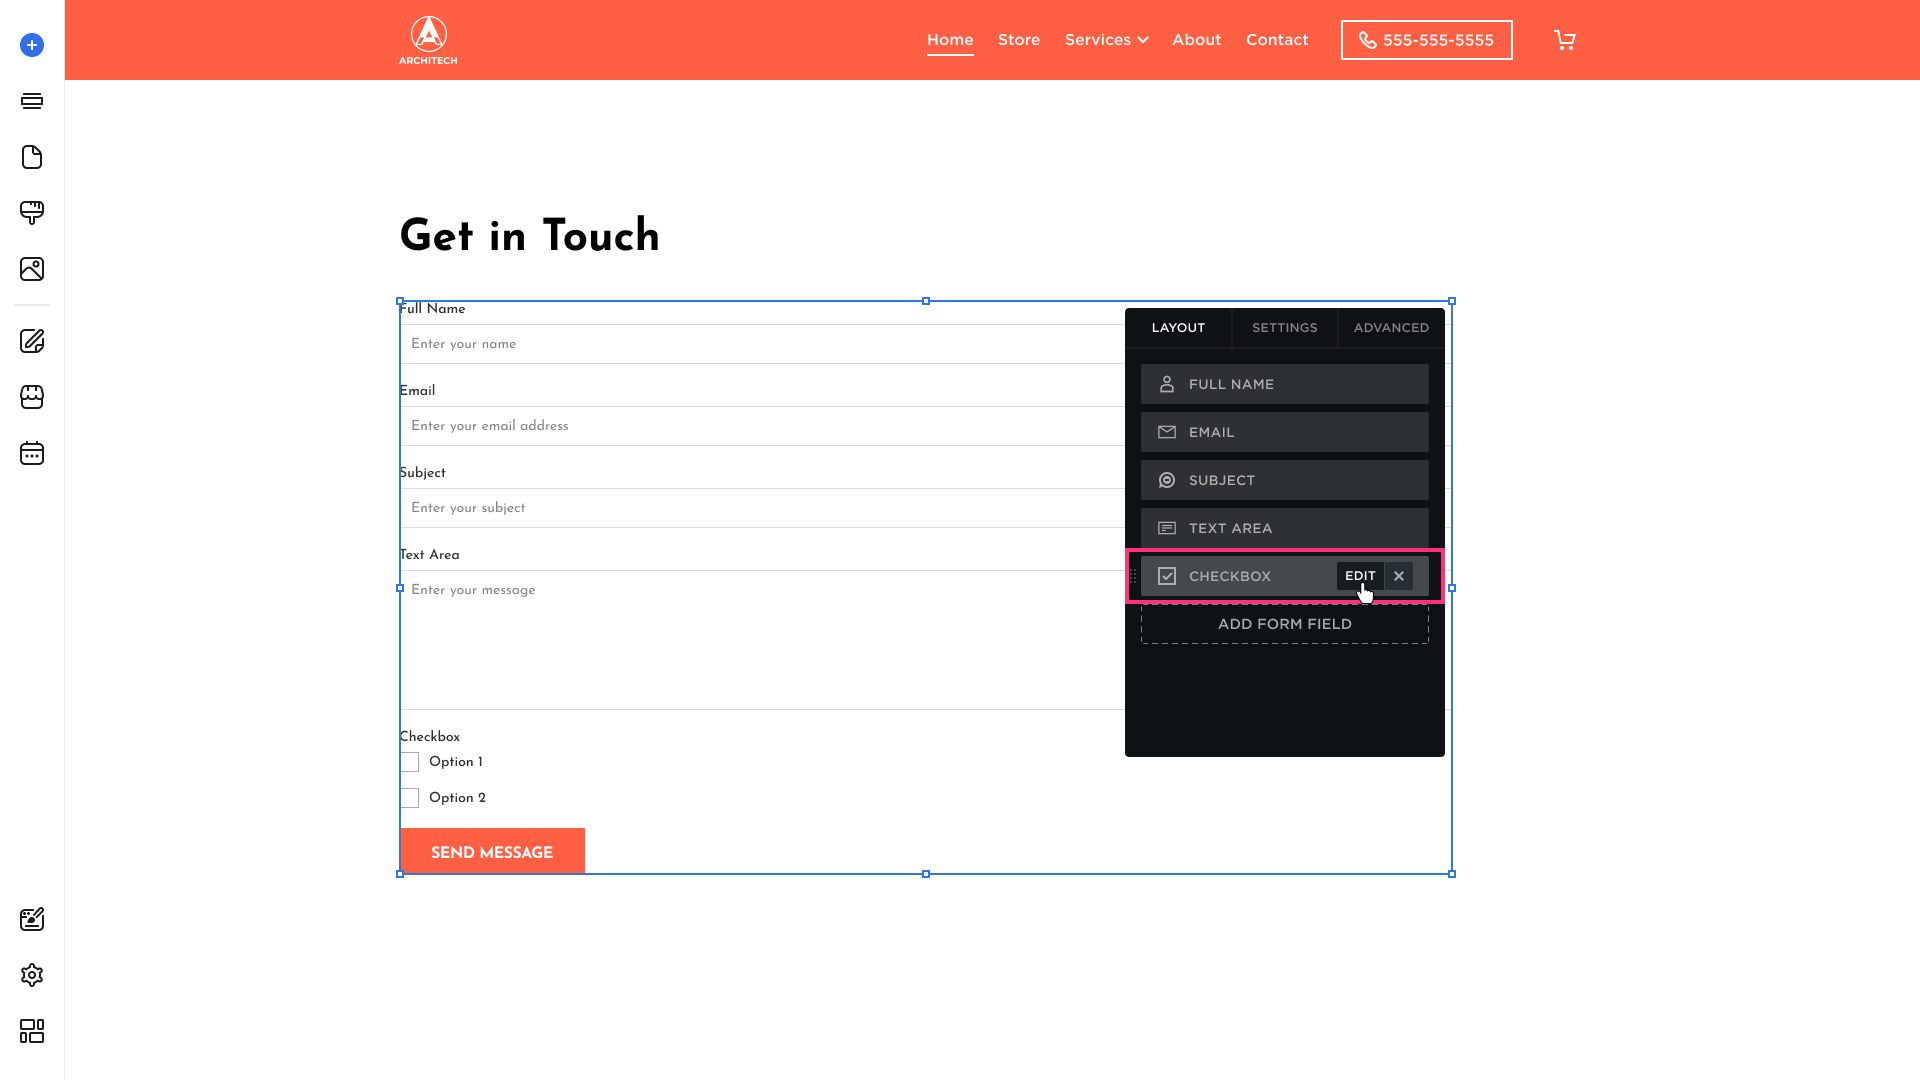
- A checkbox with two default options will be added. Proceed to edit the checkbox:
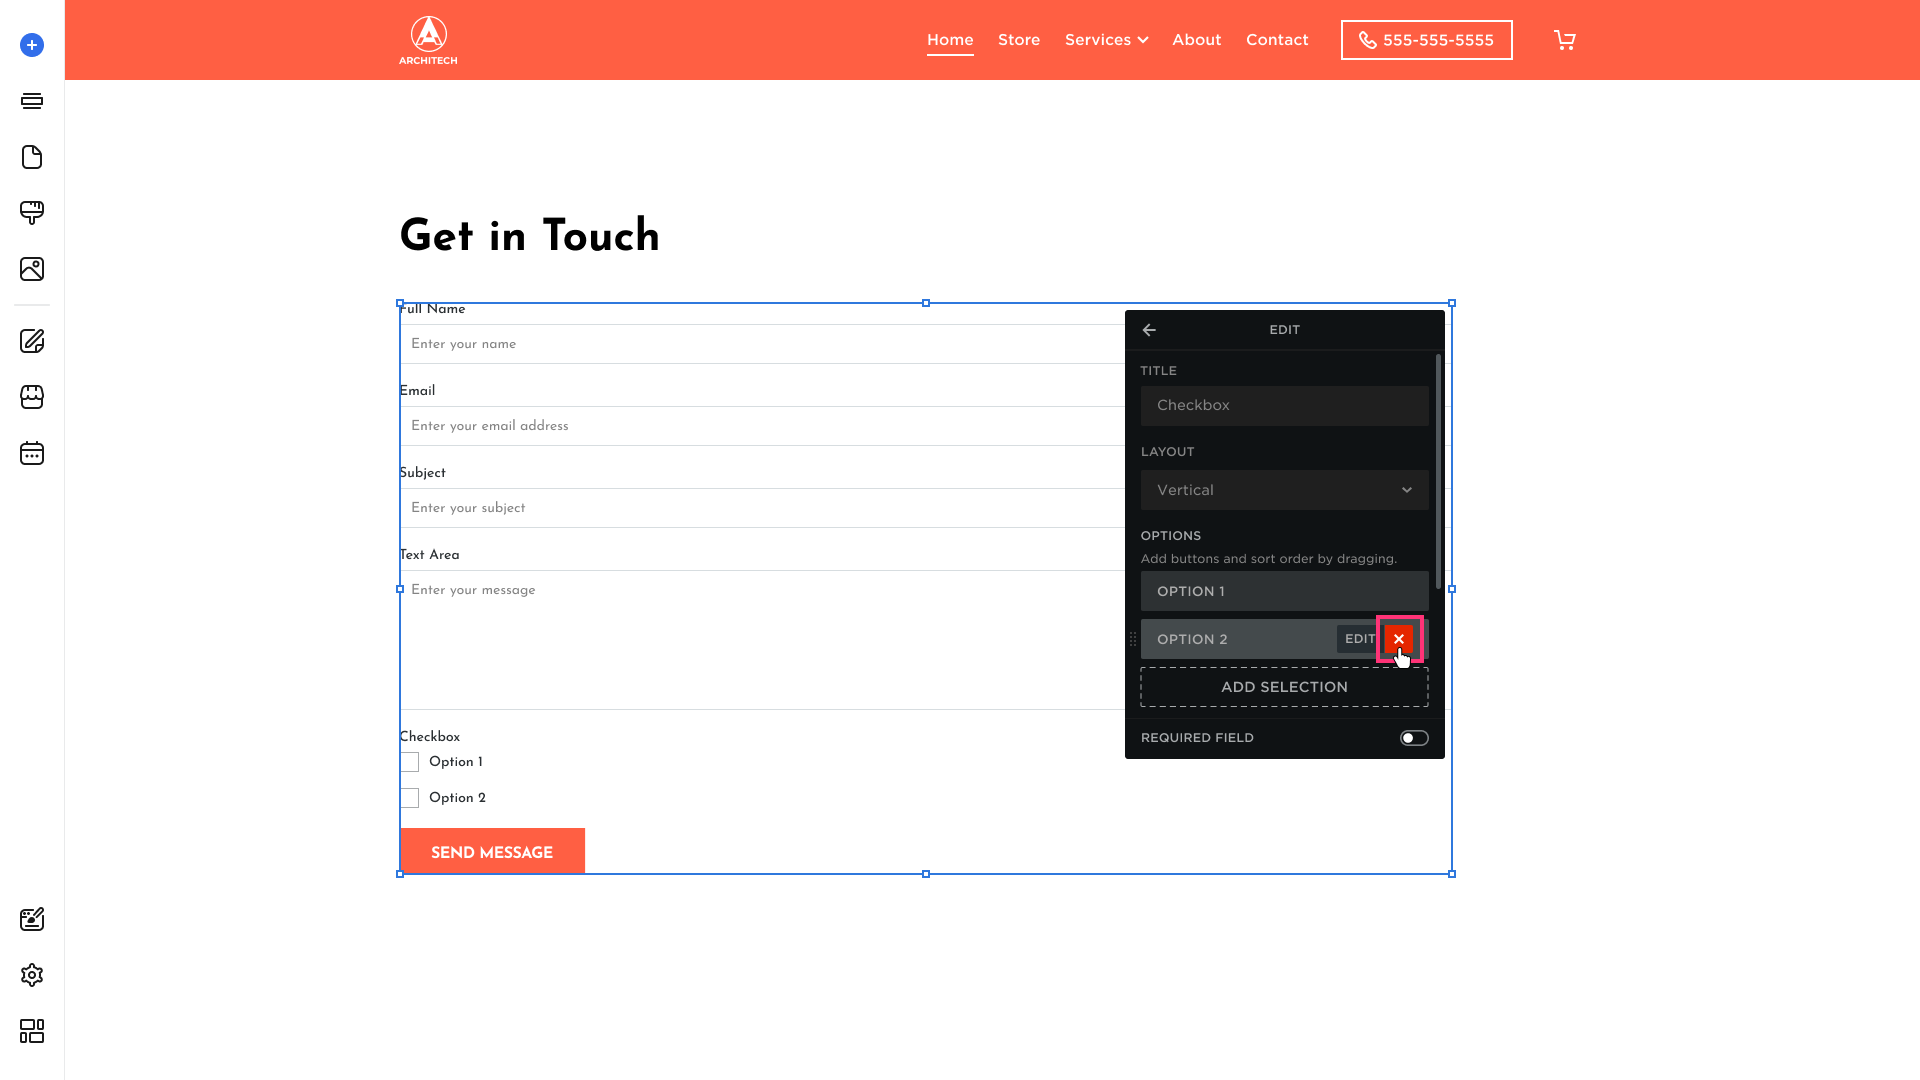
- Remove the extra checkbox option if needed by clicking the X button.
- Then add the checkbox title and description, clearly indicating this field is for email marketing opt-in:
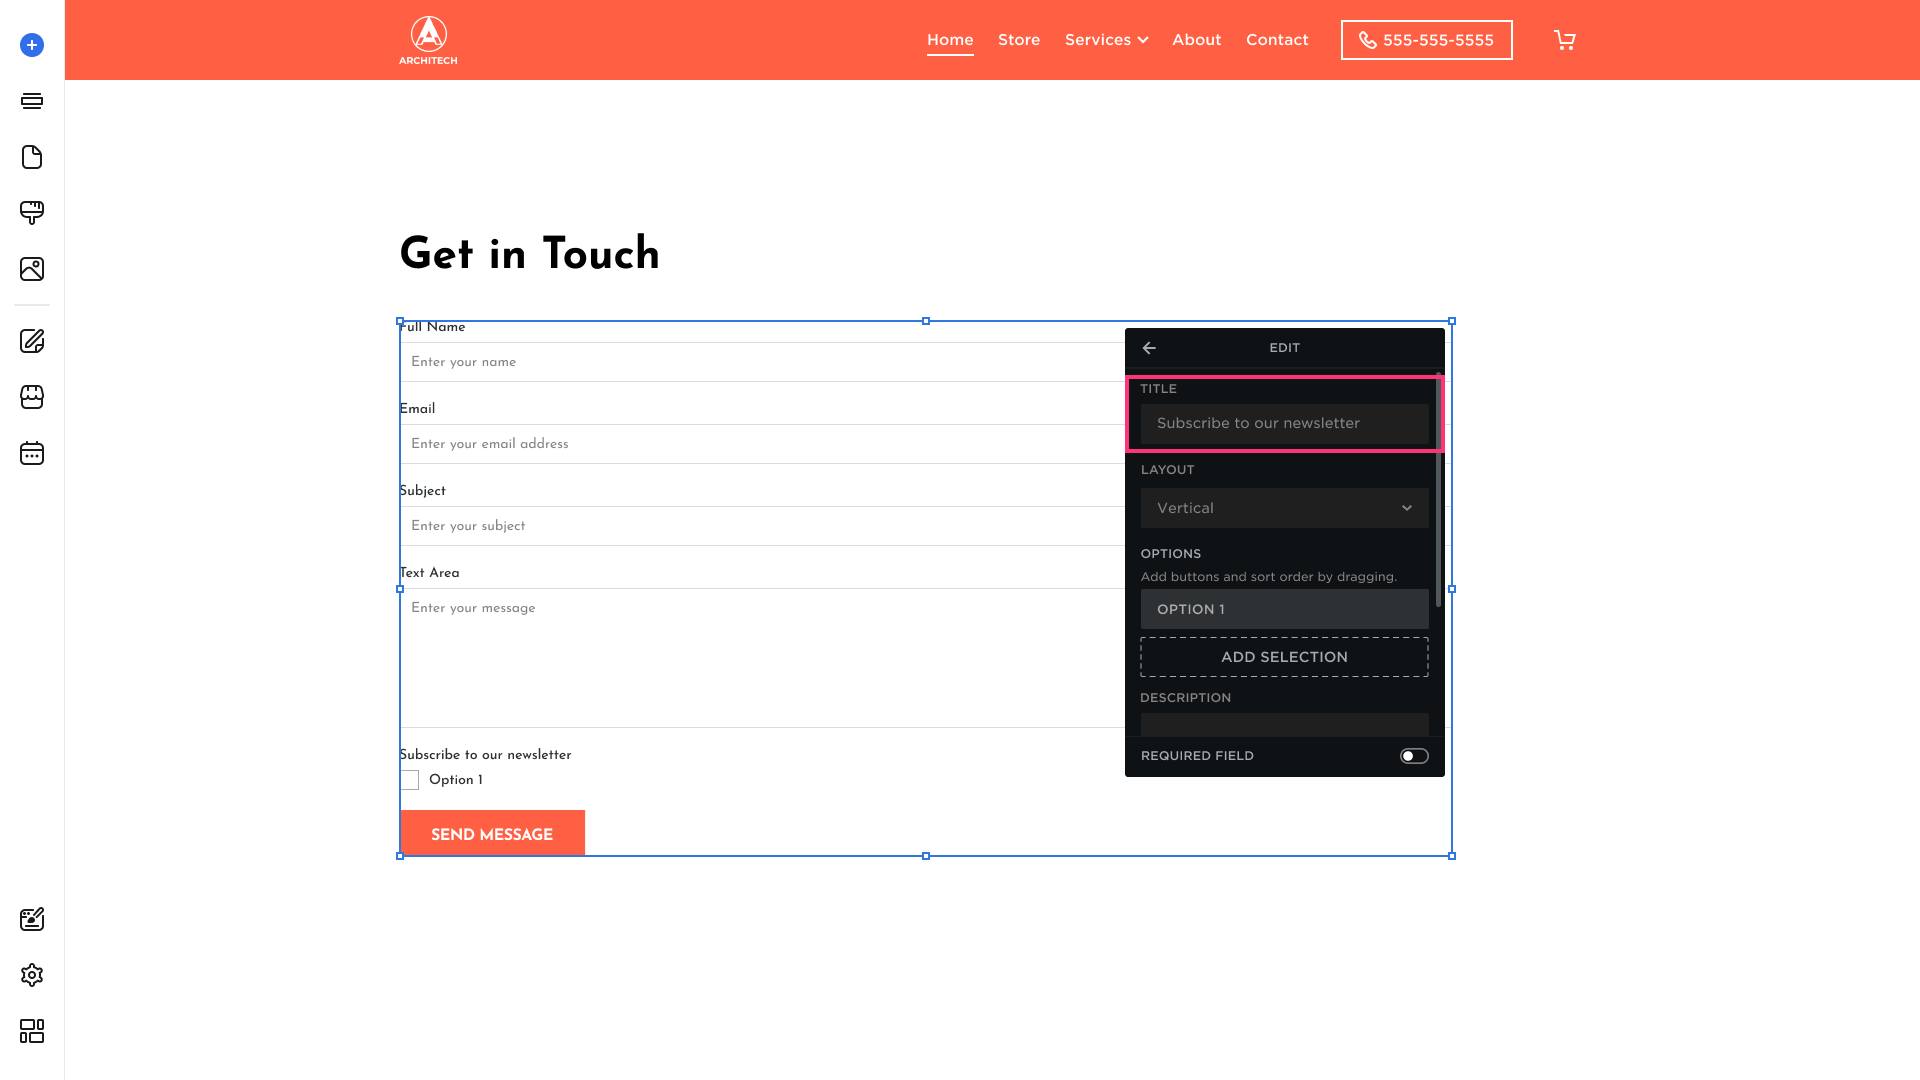
Please Note: If you enable the Required Field toggle, your site visitors will have to check the box in order to submit the form.
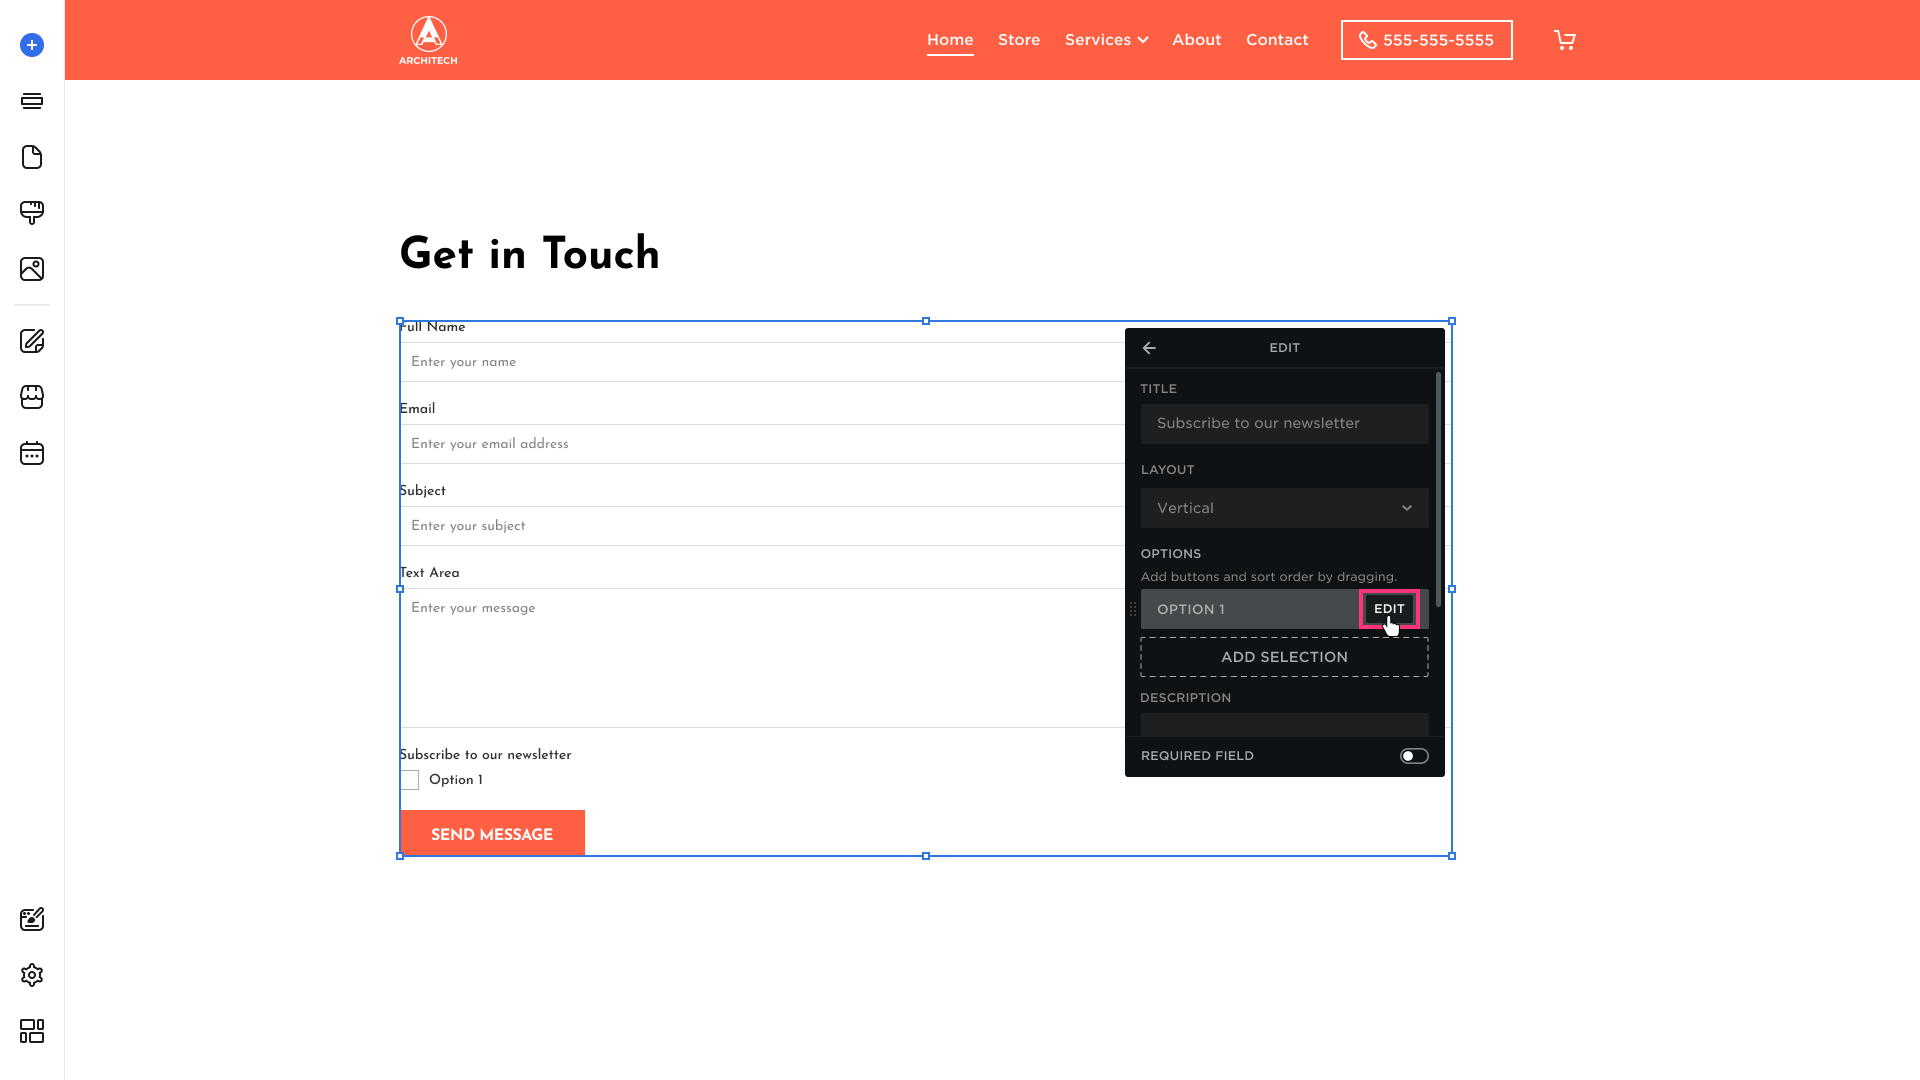
- Proceed to edit the checkbox option:
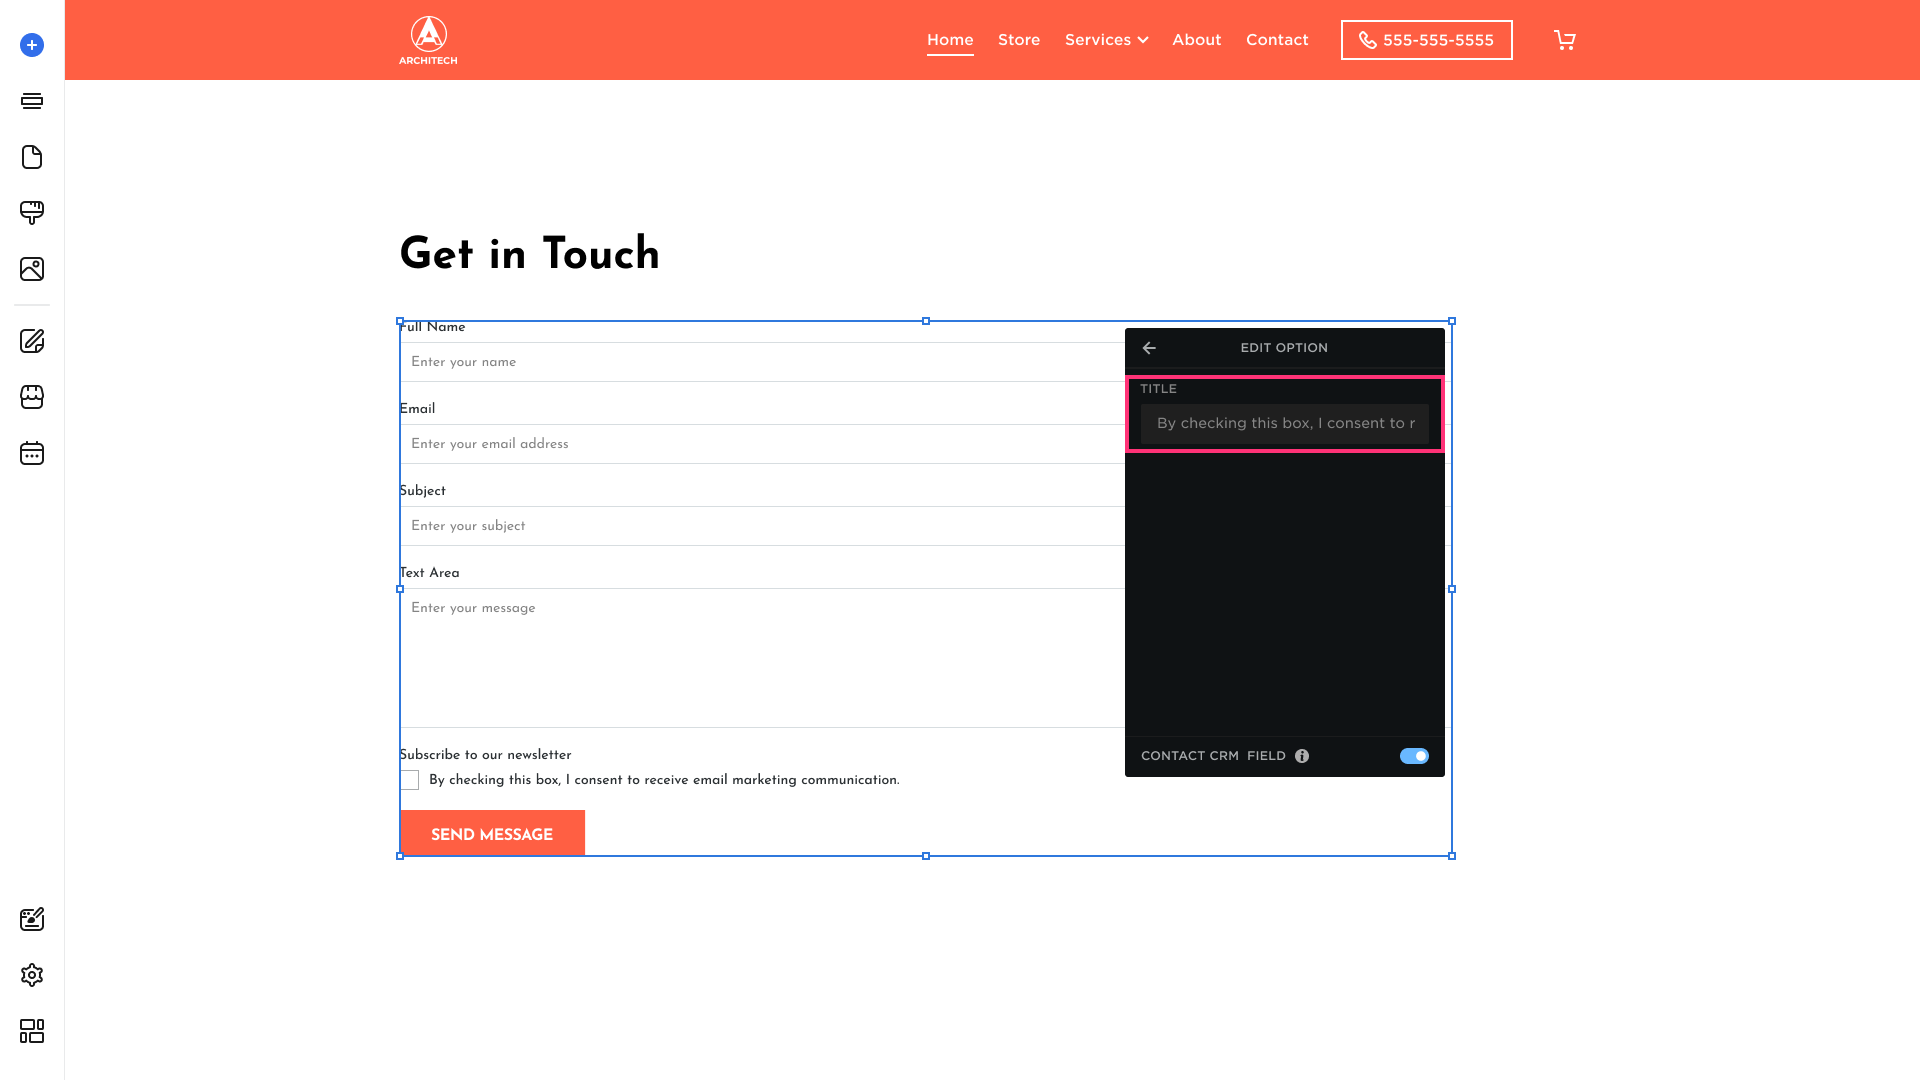
- Provide the checkbox option title that informs site visitors that by checking the box, they provide their consent for email marketing:
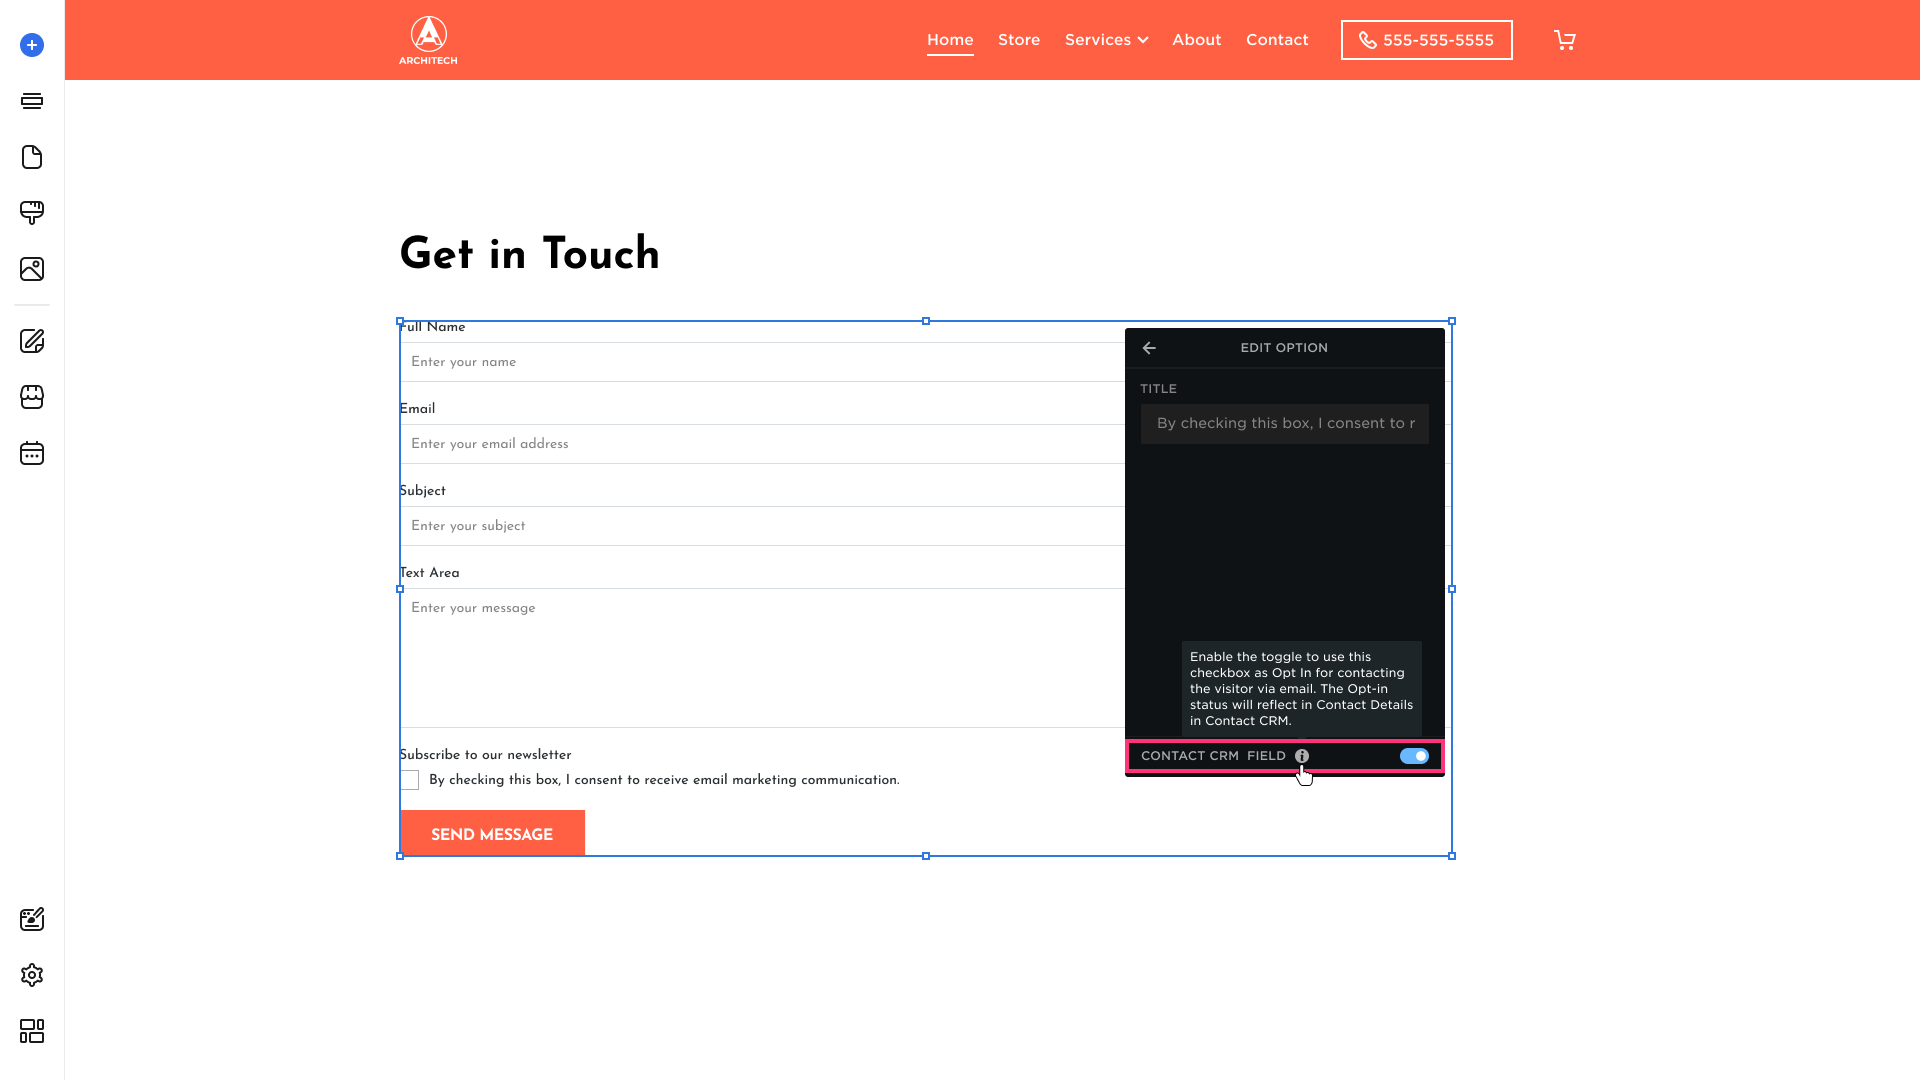
- Enable the Contact CRM Field toggle so that the site visitors' opt-in (or opt-out) email marketing choice is saved in the Contact details of the Customers area:
- Republish the site.
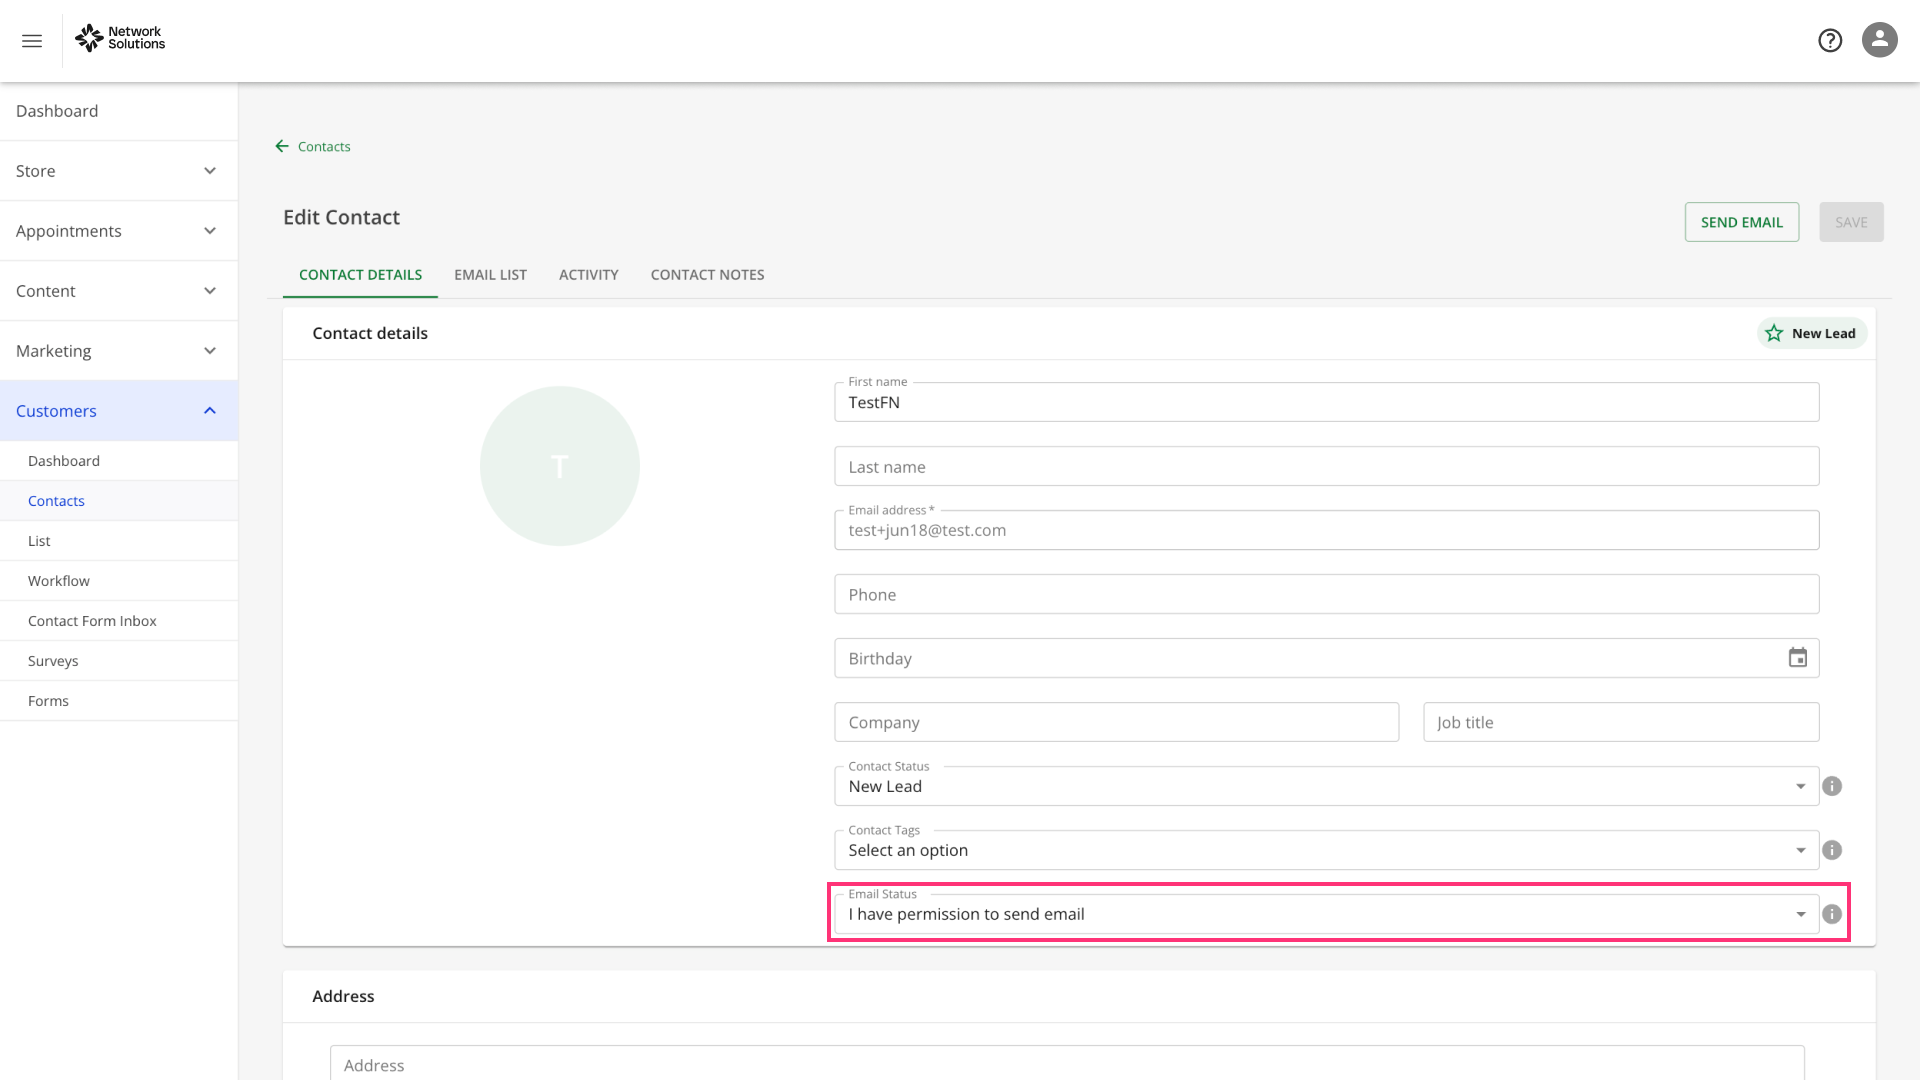
That's it! You have set up the Opt-In checkbox for your contact form that will allow your site visitors to provide explicit consent to email marketing. Once a site visitor fills out the form, you will be able to see their information in the Customers → Contact section. The email marketing consent will be reflected in the Email Status field:
- If a site visitor has checked the Opt-In box, the status will be "I have permission to send email". You will be able to include such customers in mailing lists for your email marketing email marketing campaigns.
- If a site visitor hasn't checked the Opt-In box, the status will be "No permission specified".
Please Note: Full Name and Email fields are required for the contact info to be saved in the Contact CRM. The Subject or Text Area field is required for the contact to be saved in the Contact Form Inbox area.
Using the Subscribe Form for Email Marketing
Alternatively, you can add a subscribe form to your website. In this case, the Opt-In permission for email marketing will be automatically set to "I have permission to send email" in Contact CRM. However, please make sure you explicitly indicate on the live site that visitors agree to receive email marketing communications by submitting the form. Website owners are responsible for transparently informing visitors that filling out the subscribe form and sharing their email implies permission for marketing emails.
Follow these steps to add a Subscribe Form section to your website:
Option 1 (Recommended)
- Hover over the left sidebar of the Site Editor and click Sections:

- Choose the Subscribe Form section:

- Drag and drop the section to the desired area. Add new fields and customize the form to your needs.
- Republish the site. The form is set to the Subscribe type by default, and the notification for the site visitors is already available in the section. Filling out the subscribe form on the live site means that an email marketing consent is provided and the Email Status field in the Contact CRM will be set accordingly.
Option 2
Follow these steps to add a Subscribe Form element to your website:
- Hover over the desired section and click Add Element:
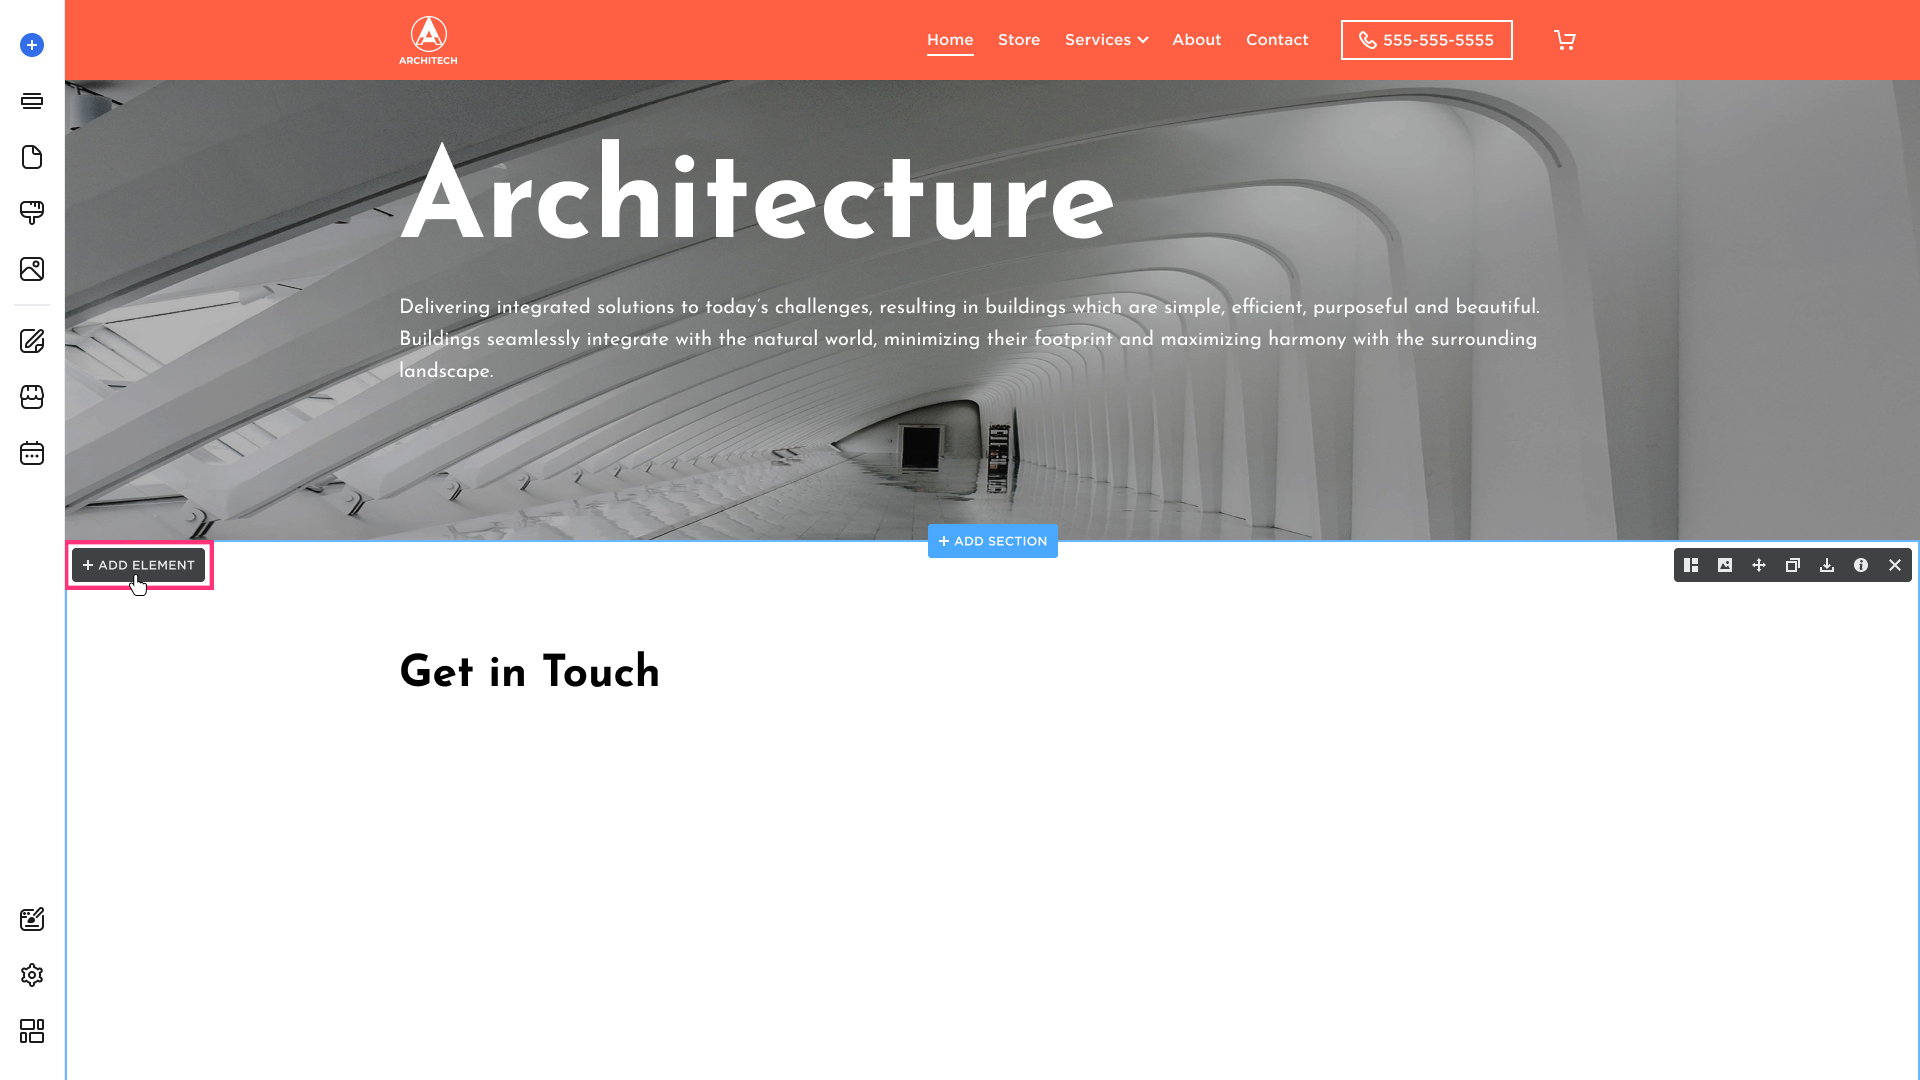
- Choose the Contact Form element from the modal that appears:
- After you choose the element from the list, drag it to the desired section and drop it using the grid.
- Click on the contact form and choose the Edit button that appears in its toolbar to be able to modify the Layout, Settings, and Advanced tabs:
- In the Settings tab, switch to Subscribe form type:

- Republish the site. Please be aware that if you change the Form type to Subscribe, it is your responsibility to inform your site visitors that filling out the subscribe form and sharing their email implies permission to send marketing emails.