.png)
Form
Table of Contents
- Adding the Contact Form
- Option 1
- Option 2
- Moving and Resizing a Contact Form
- Customizing a Contact Form
- Editing the Contact Form
- Settings
- Deleting the Contact Form
Adding the Contact Form
Option 1
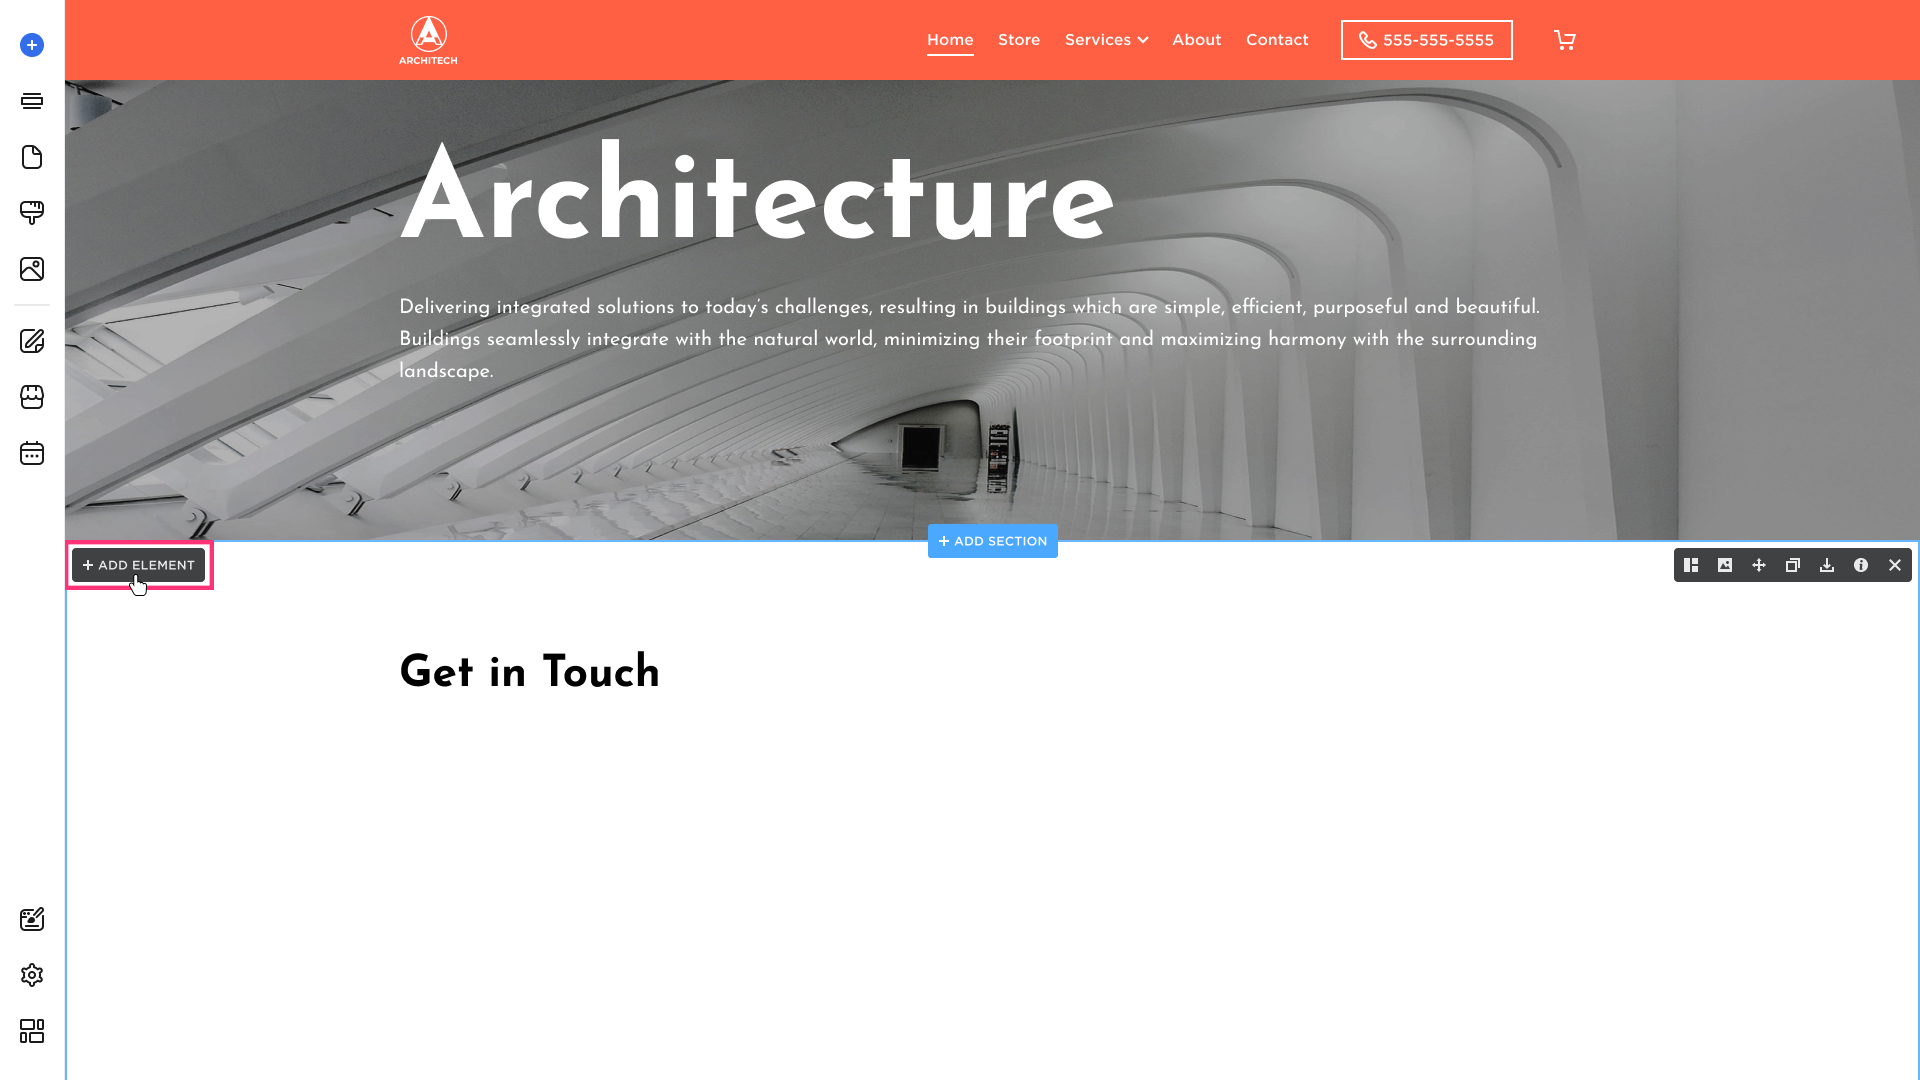
- Hover over the desired section and click Add Element:
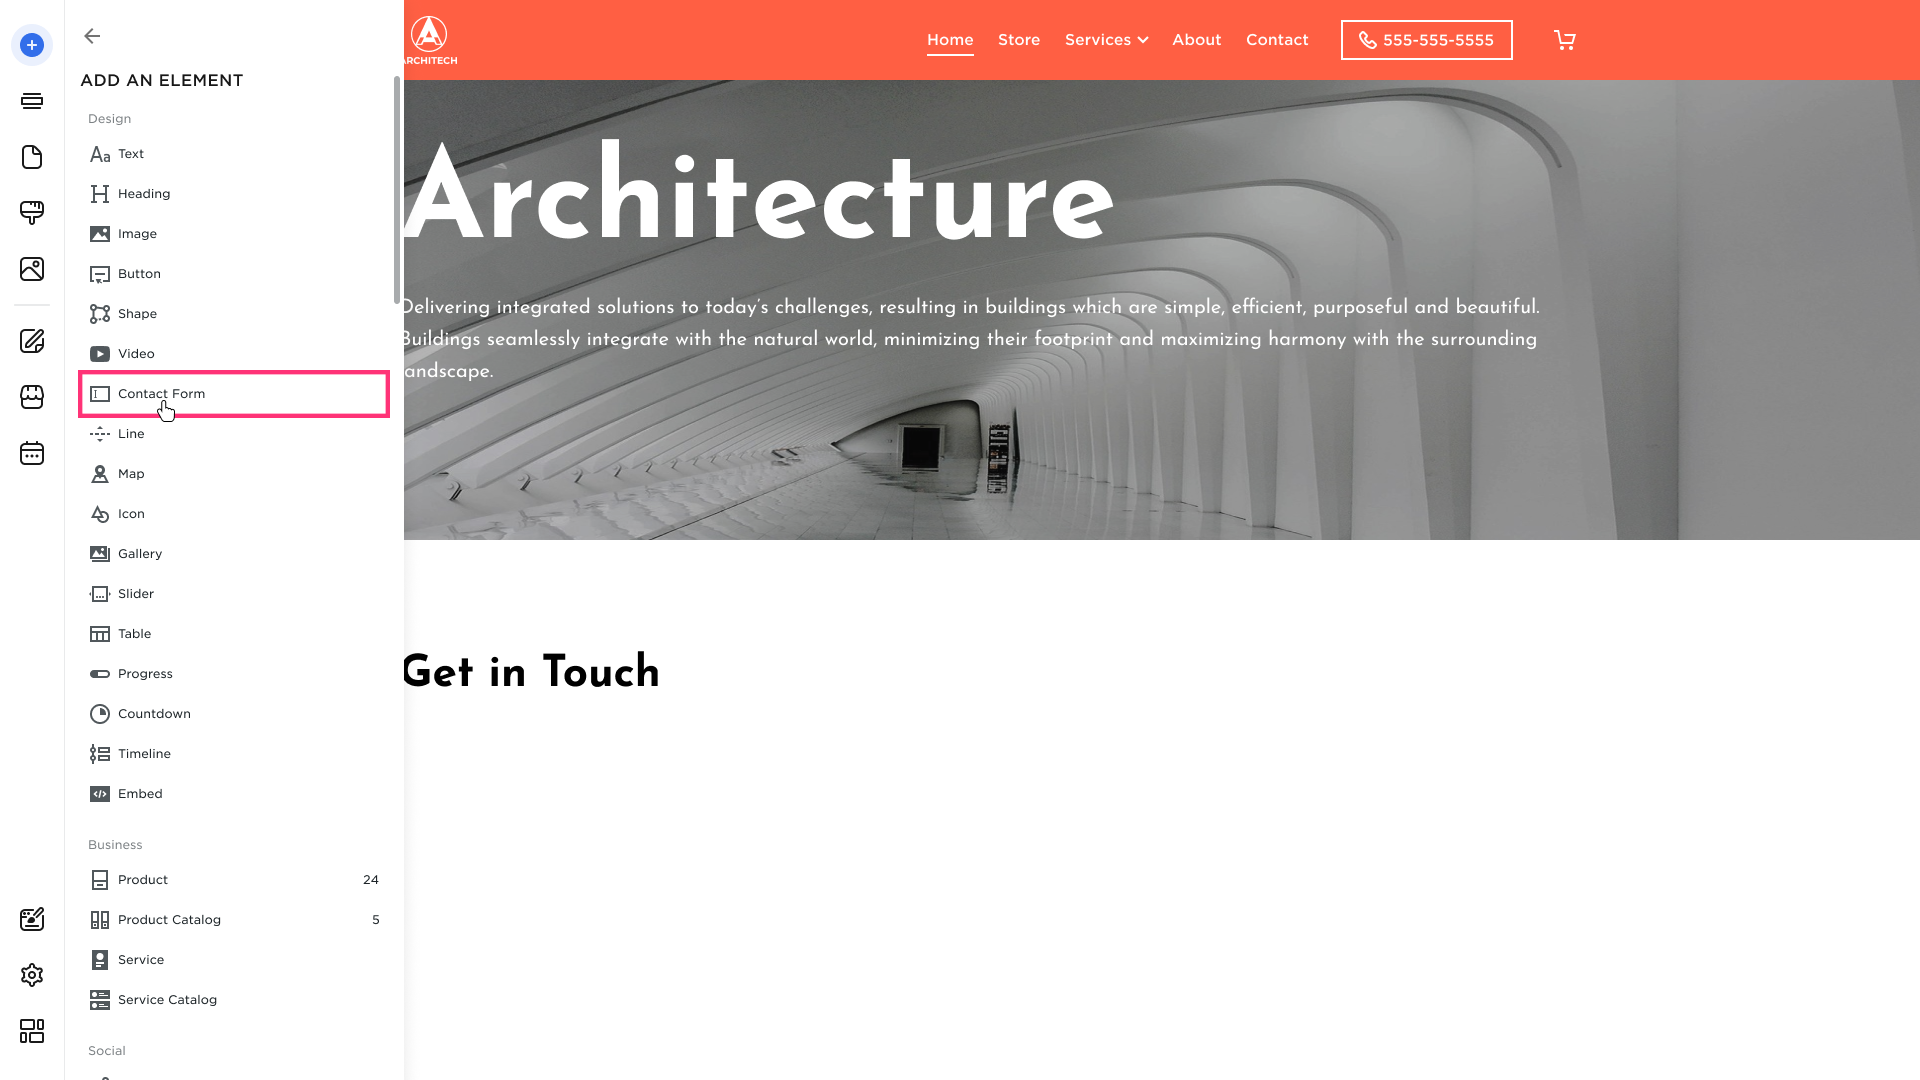
- From the modal that appears, select the Contact Form element:
- After selecting the element from the list, drag it to your desired section and drop it using the grid.
Option 2
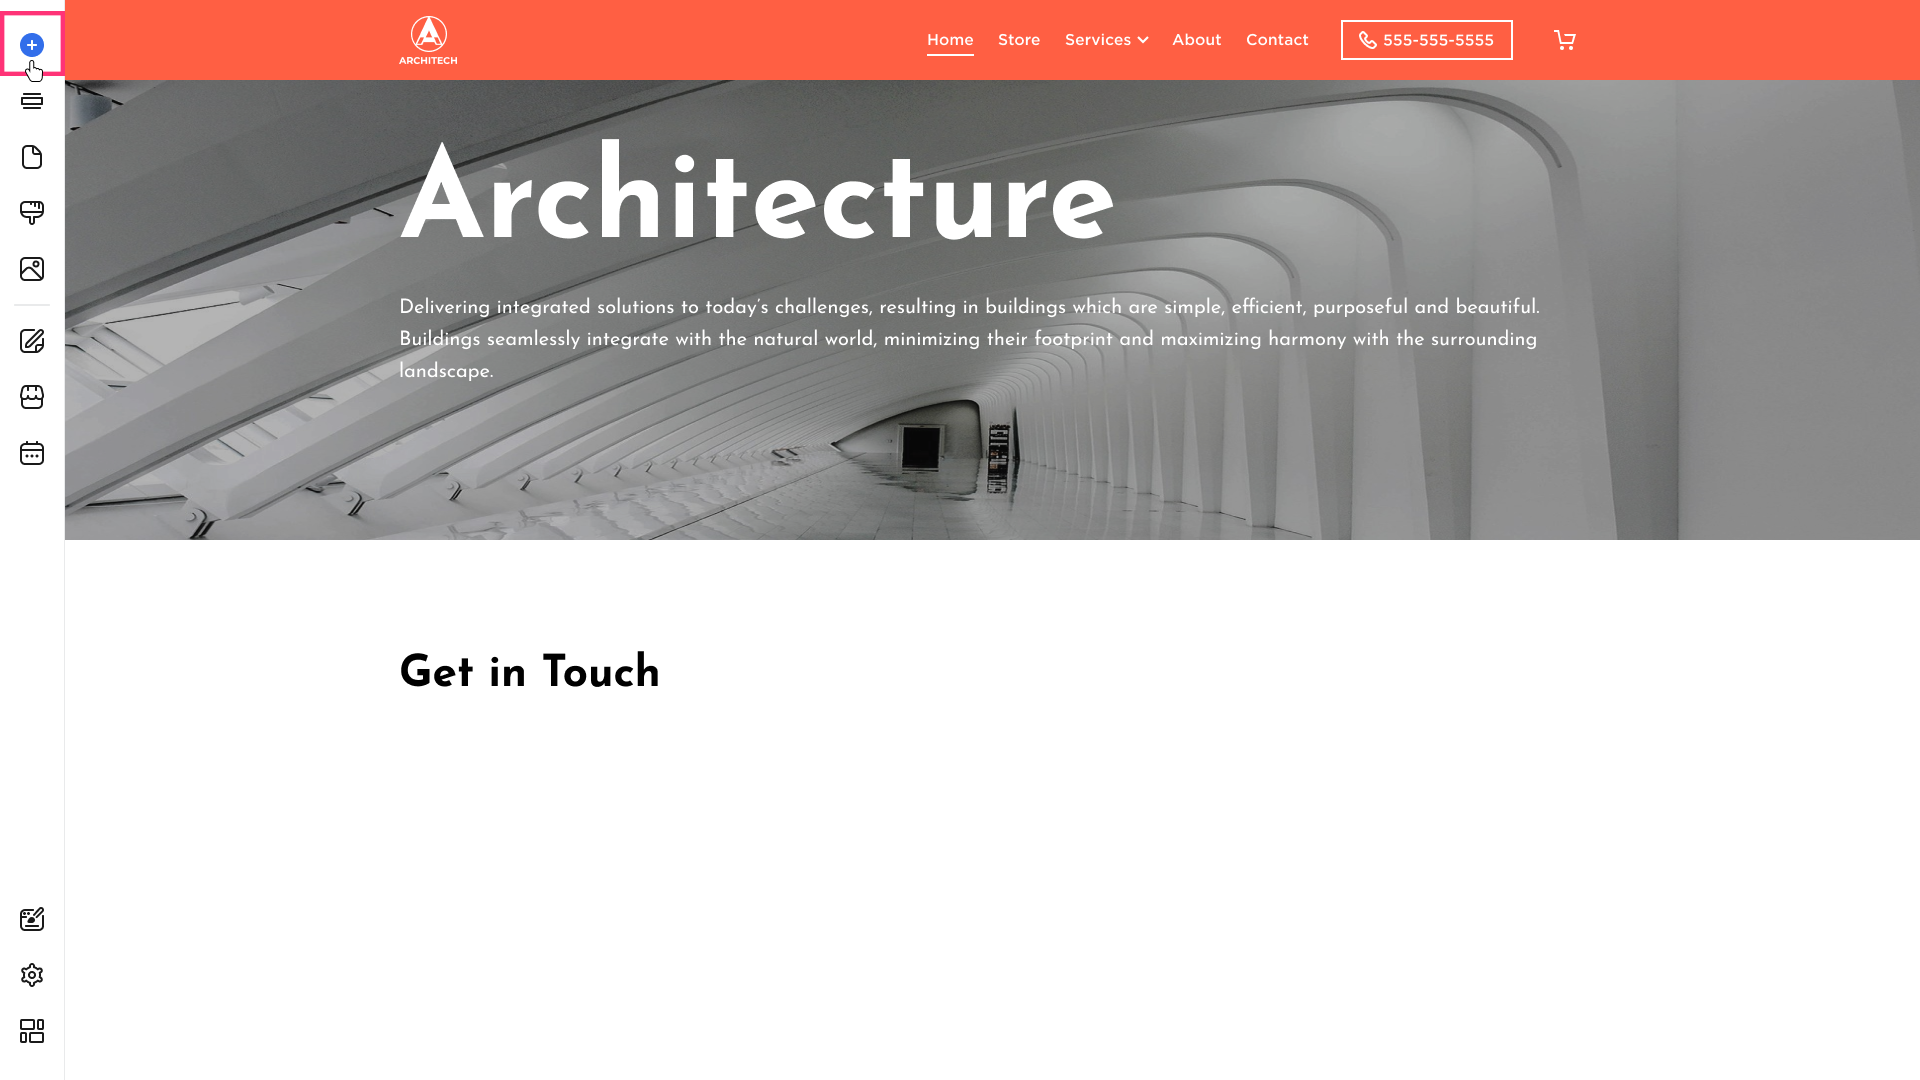
- Hover over the left sidebar of the Site Editor and click the Build (+) button:
- Choose the element:
- After selecting the element from the list, drag it to the desired section and drop it using the grid.
Moving and Resizing a Contact Form
For detailed instructions on moving and duplicating elements, please refer to the Elements Management (Drag and Drop Grid) article.
Customizing a Contact Form
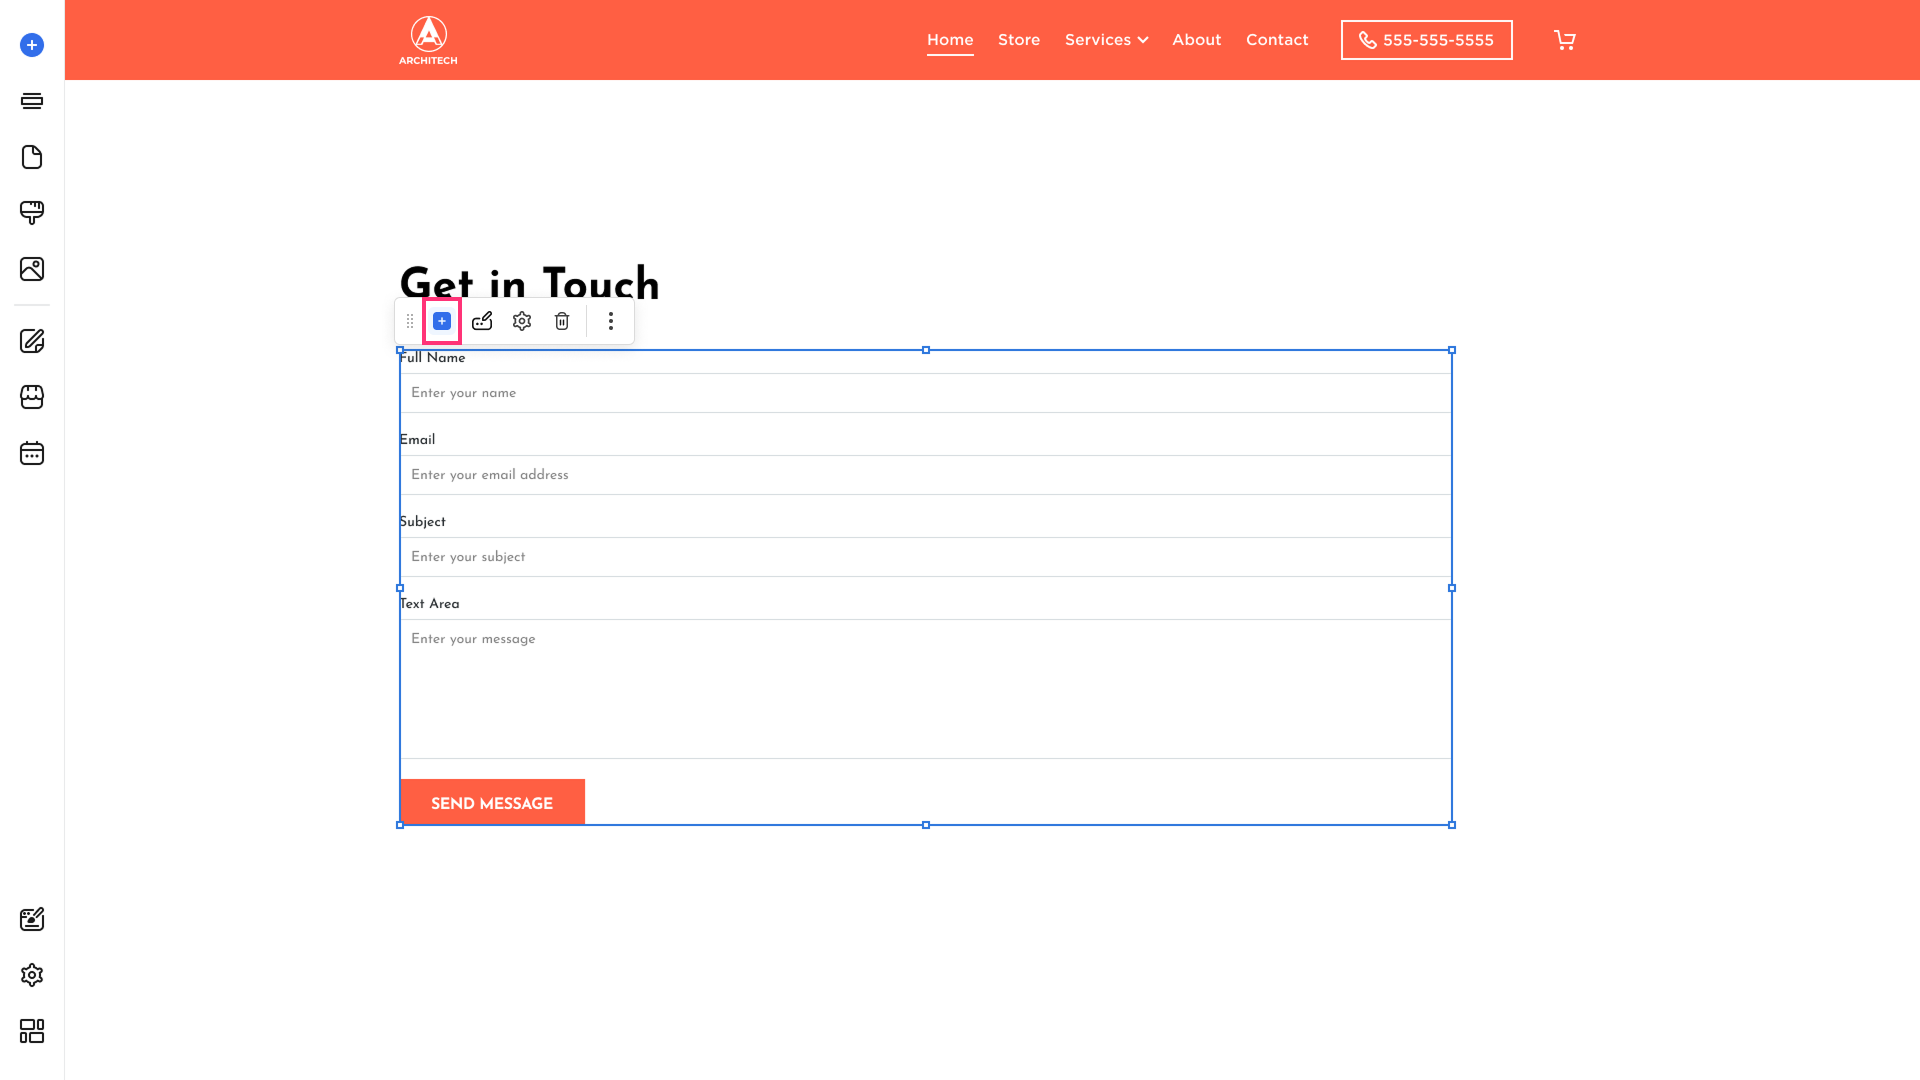
To edit, duplicate, layer or delete the element, click on it and switch between the buttons that appear in its toolbar:

Adding Form Field
You can customize the form layout by adding or removing fields, rearranging them via drag & drop, and editing their contents.
- Click Add the Form Field to insert a new field:
- Select the field type from the following options: Text, Text Area, Dropdown, Radio, Checkbox. Full Name, Subject, Address, Email, Phone, Facebook, Twitter, Link, Date, Number, Currency, File Upload:

- The selected field will appear on your Contact Form immediately.
Please note: The file upload is restricted to existing, supported file types and a maximum size of 10MB per file:
- Images: jpg, jpe, jpeg, png, gif, bmp, svg, tiff.
- Documents: css, html, htm, xml, doc, docx, pdf, otf, rtf, xls, eps, zip, gzip, csv, ppt, pptx, odt, ods, odp, odf, odc, xlsx, txt, js, sketch, ai, psd, psb, cdr, cad, max, obj, rar, 7z, tar, tar.gz, bz2, stl, fbx, vrml, .odt, .odp, .ods, .odg, .odf, .sxw, .sxi, .sxc, .sxd, .stw, .dwg, .dwt, .dxf, .dwf, .dst.
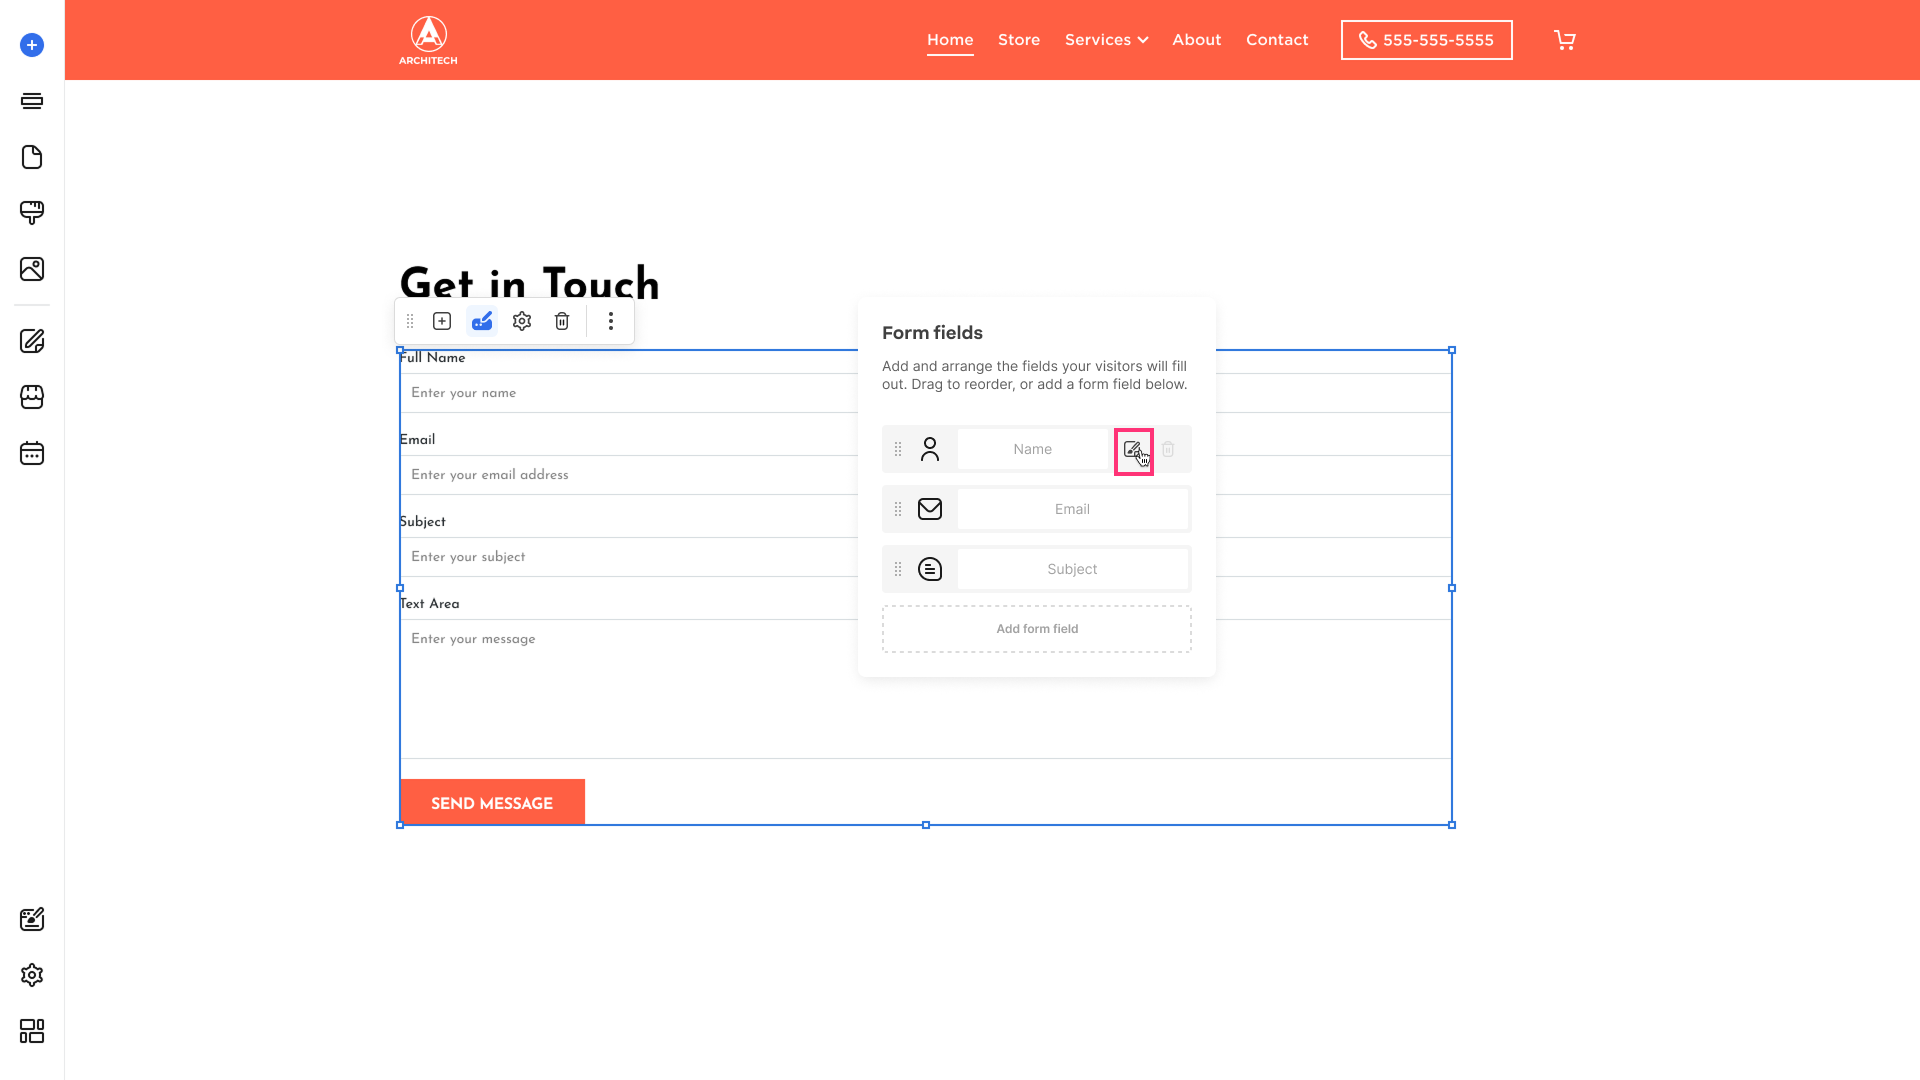
Form Fields
- Click Form Fields to manage existing fields:

- Select the form field you want to modify, hover over it, and click Edit:
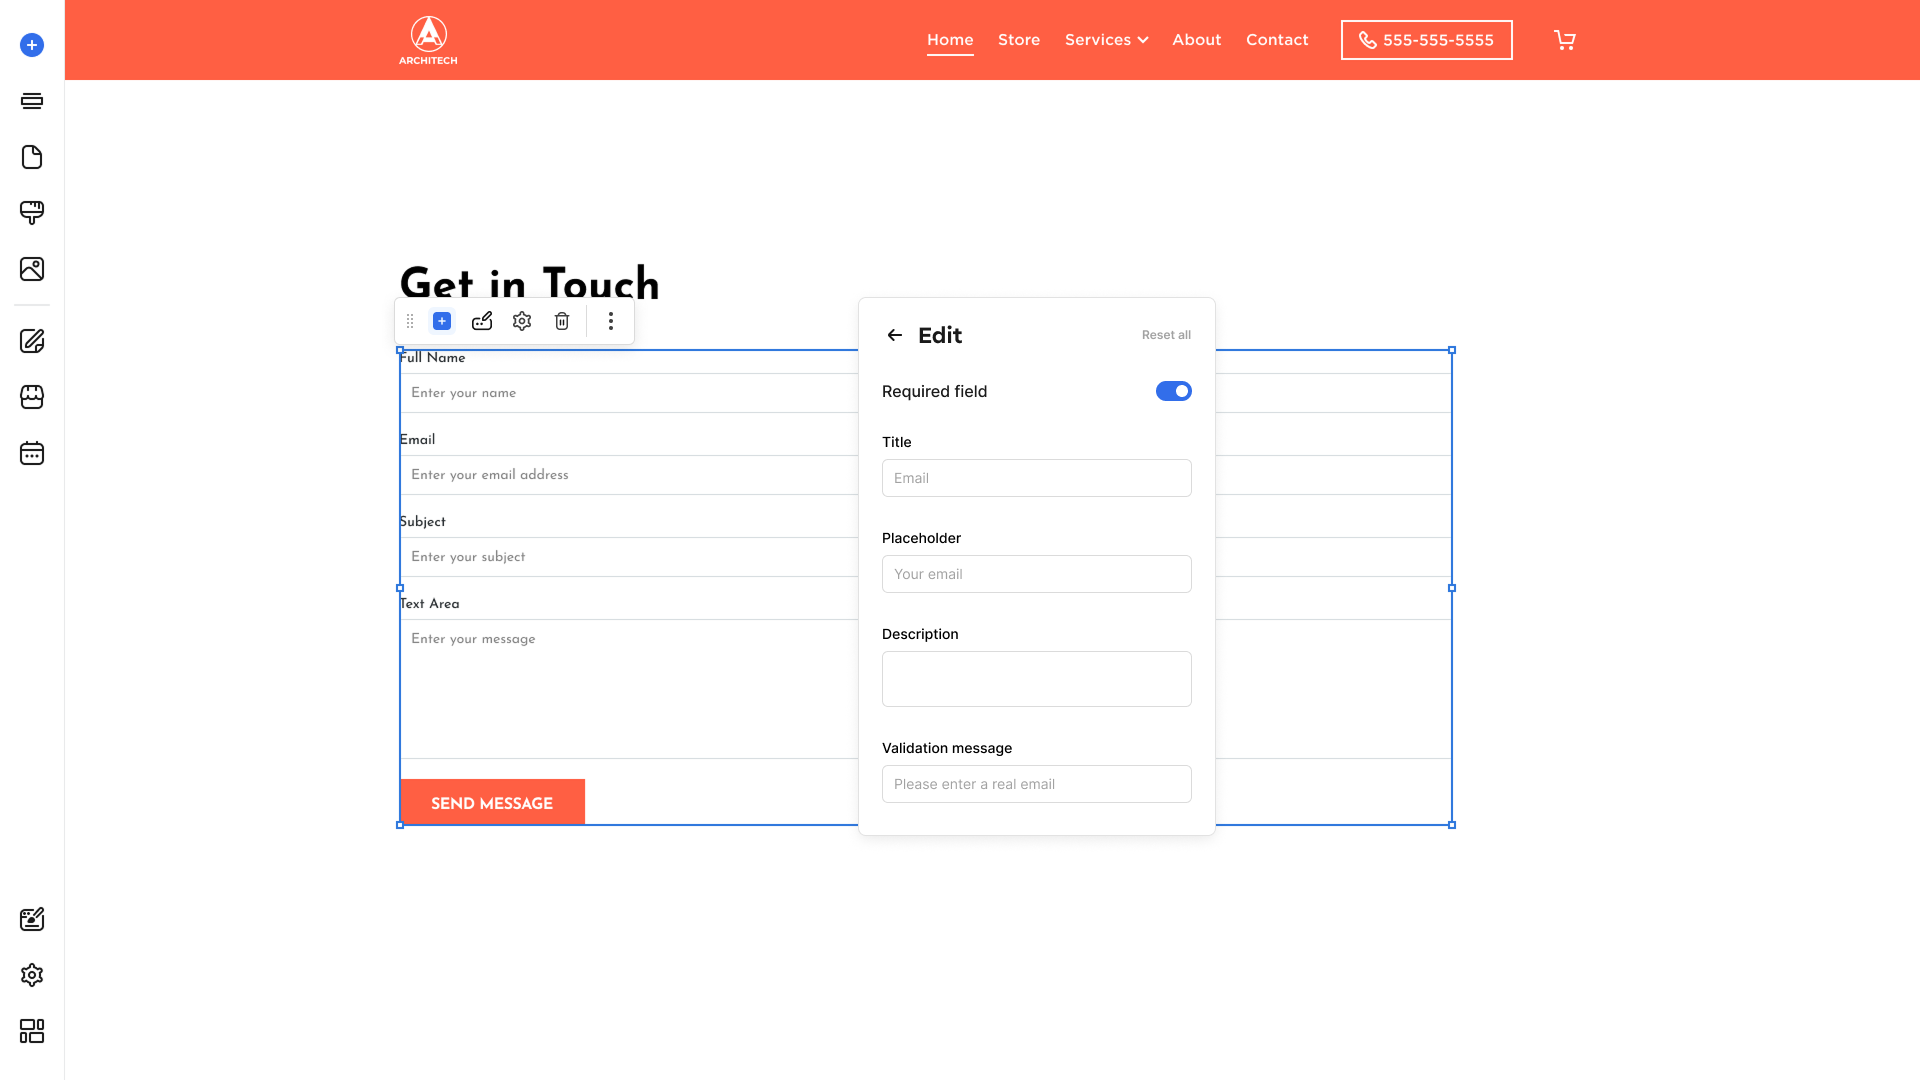
- You can change the Title, Placeholder, Description, and Validation Message of the field:
Please note: Custom validation messages can be added to these field types: Full Name, Address, Email, Phone, Facebook, Twitter, Link, Number, and Currency.
Visitors will see a validation message if they enter disallowed symbols in a field. If no custom message is set, the default message will display: "Please enter a real (field name)."
- For the Сheckbox field, you can change the Title, Layout, quantity, and names of the checkbox options:
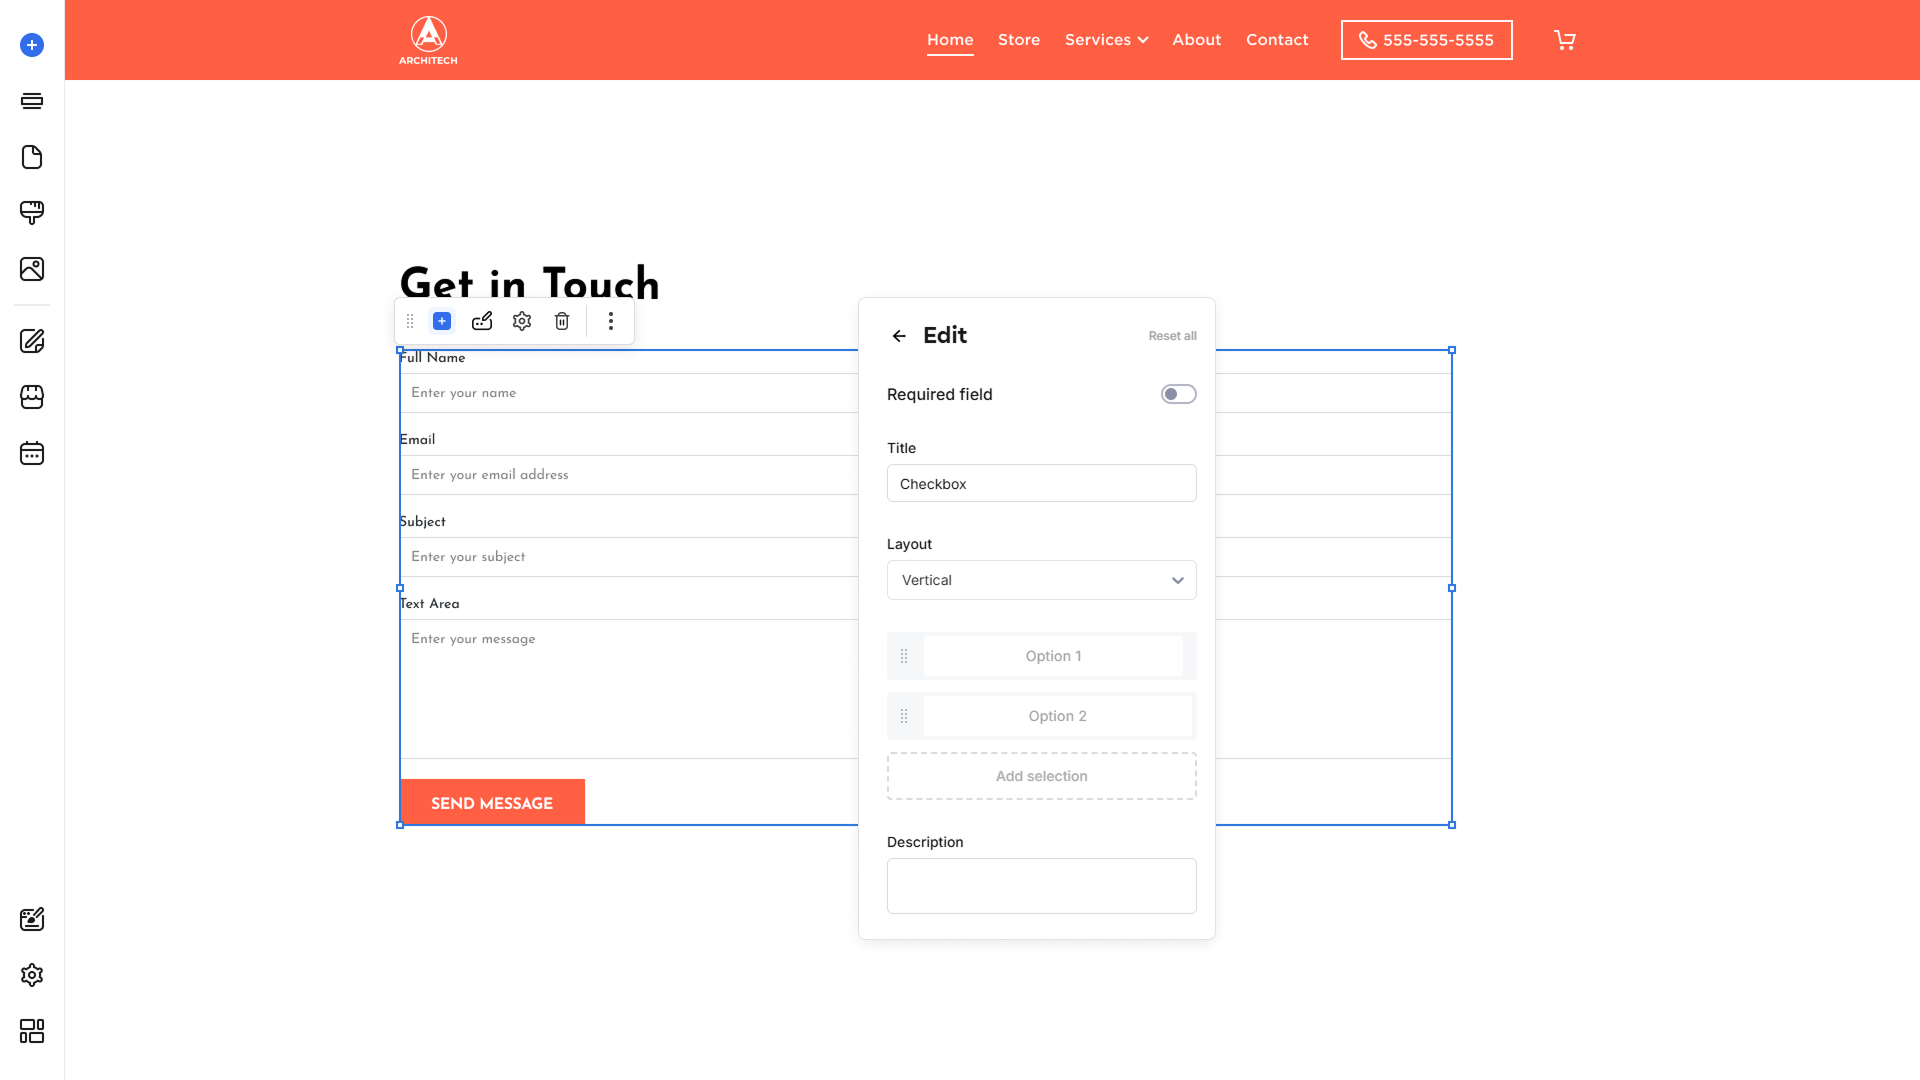
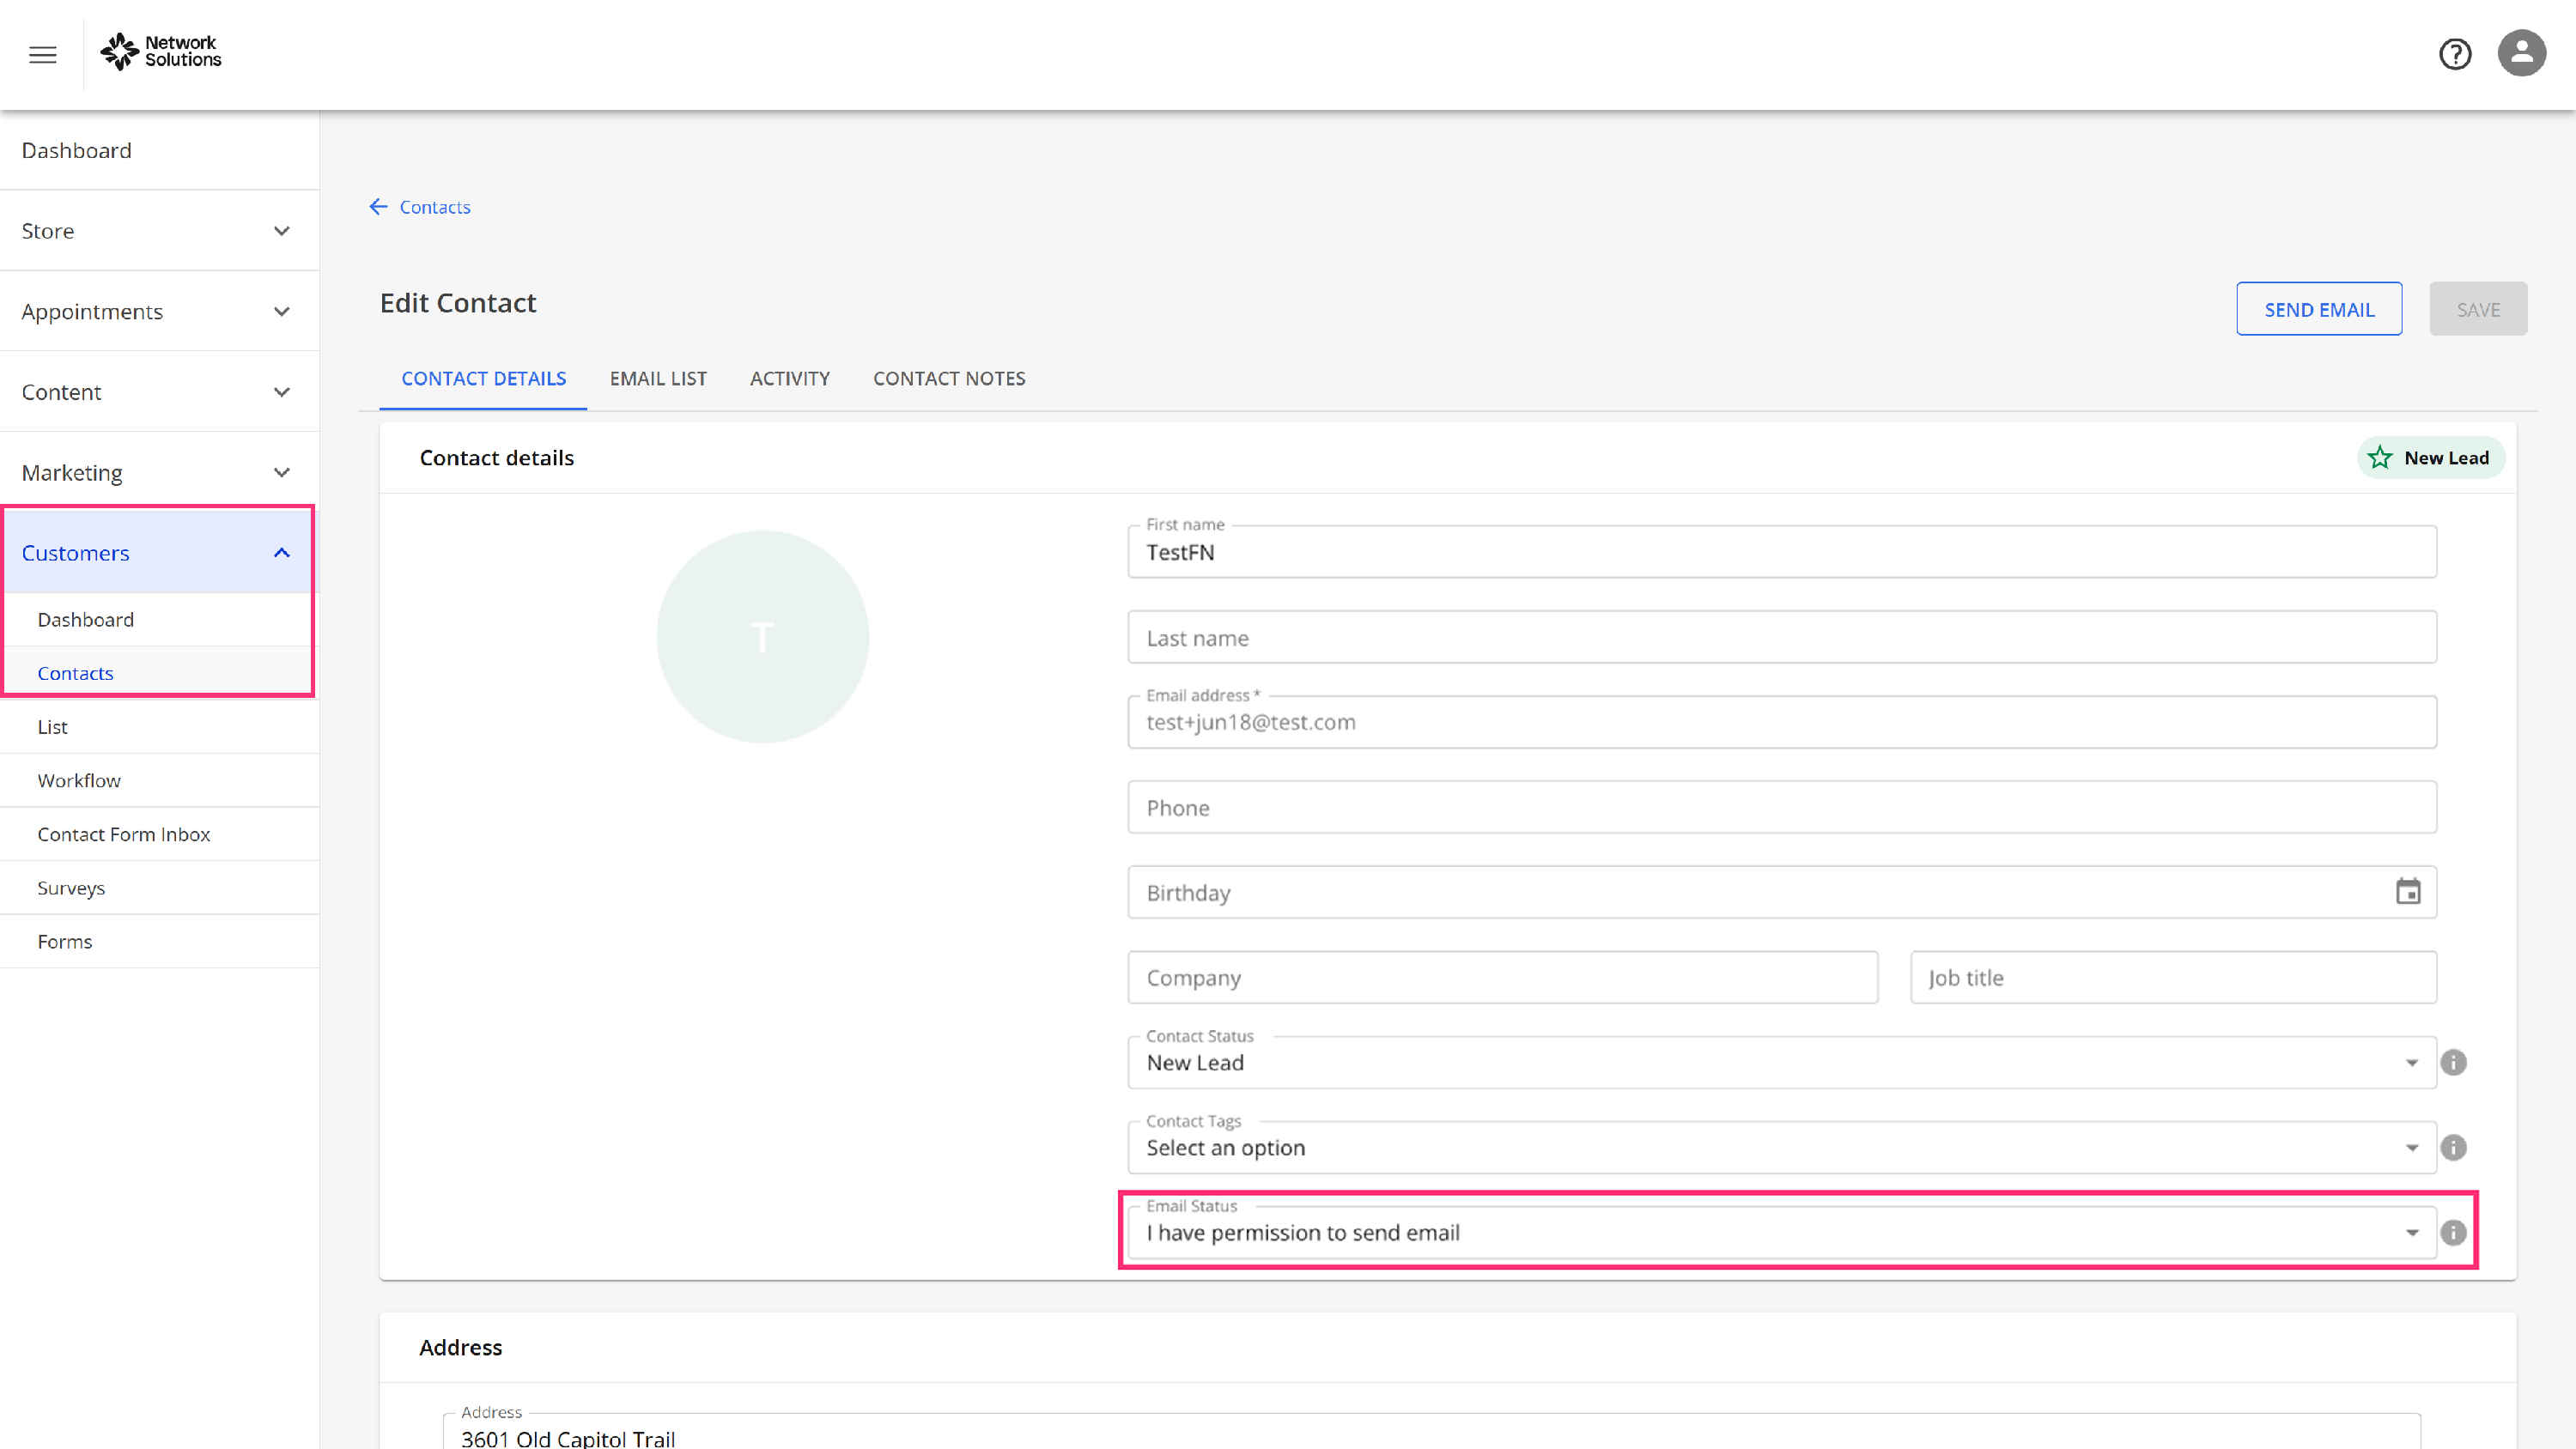
- If you have access to the Contact CRM system, you can enable the Contact CRM Field toggle to designate this checkbox as the opt-in for email communication. Ensure the checkbox label clearly informs visitors that they consent to be contacted via email. You can monitor Opt-In status in Contact Details within your Contact CRM. Contacts who check the opt-in box will have their Email Status marked as "I have permission to send email," allowing you to include them in email marketing lists:
Please refer to the How to Use Form Checkbox for Email Marketing Consent tutorial for more details.
Settings
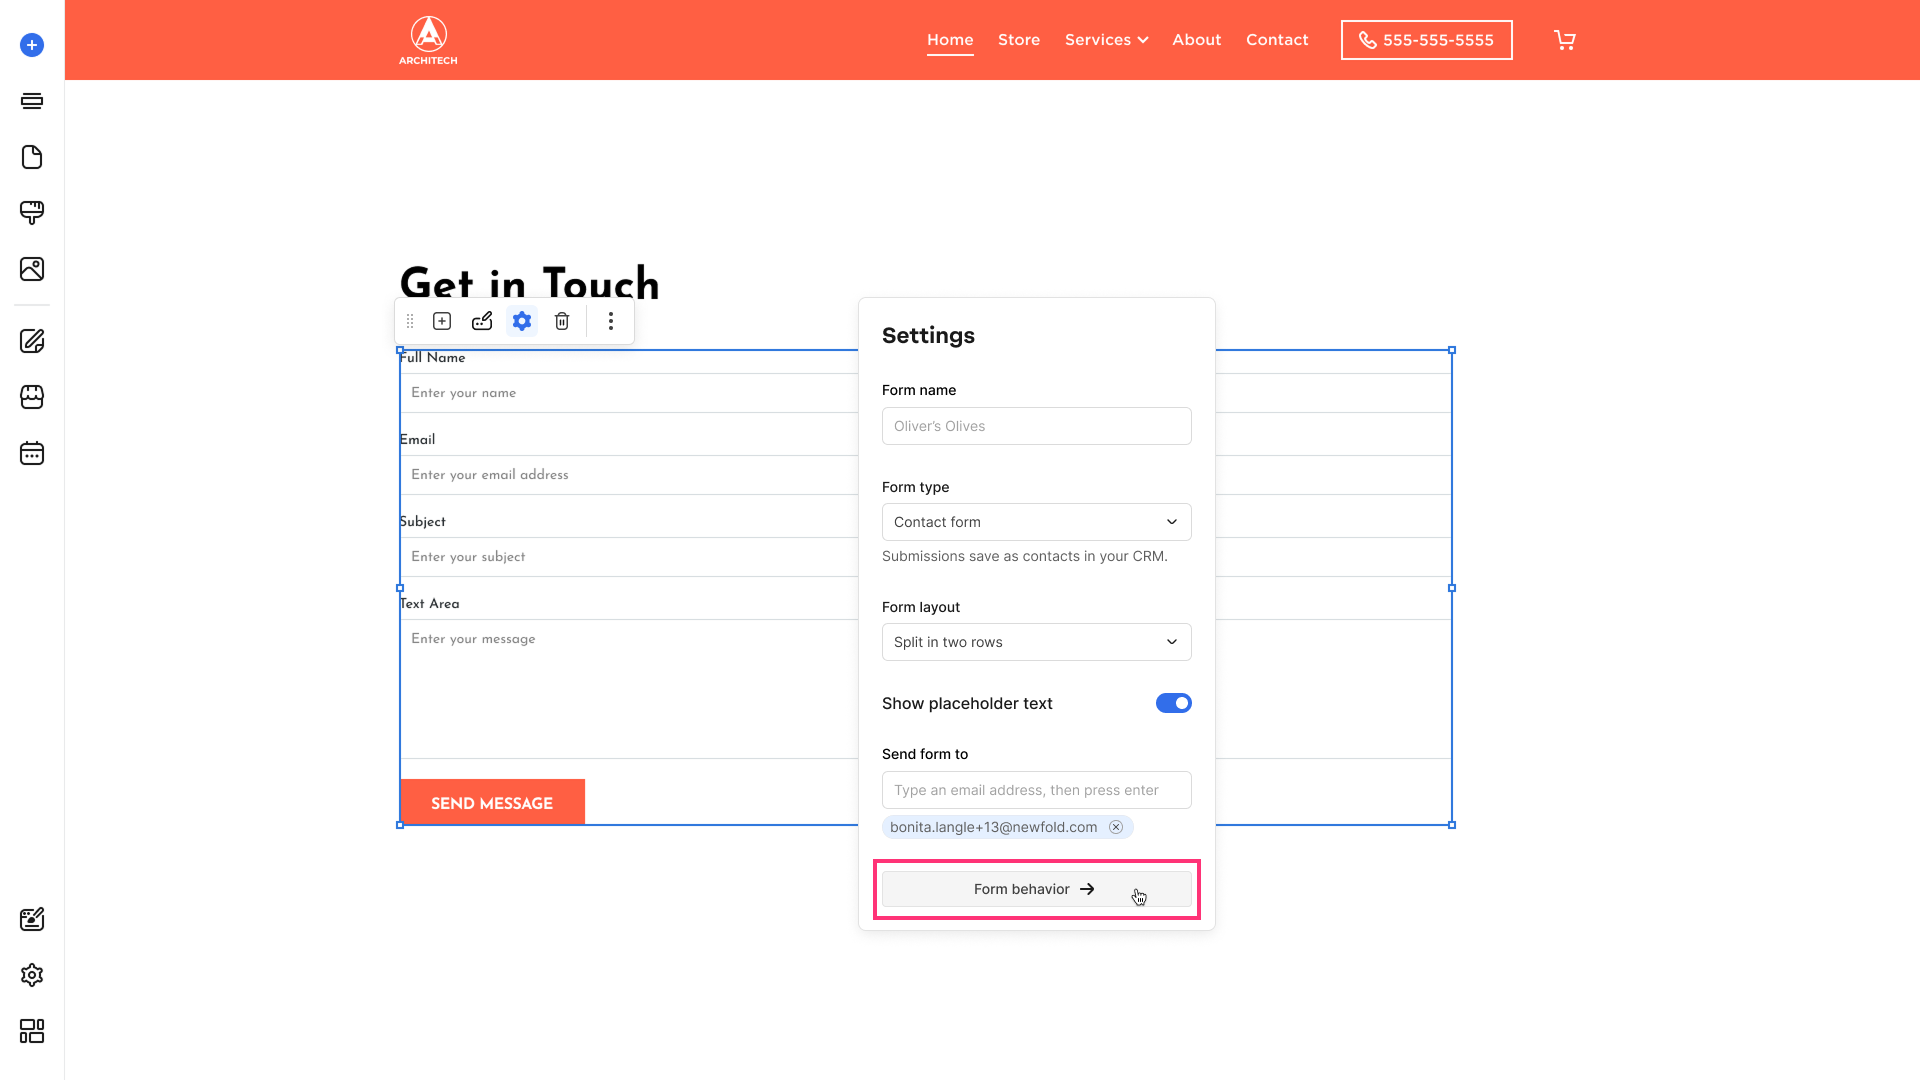
In the Settings tab, you can change the form type and name and specify your email address to receive submitted data.
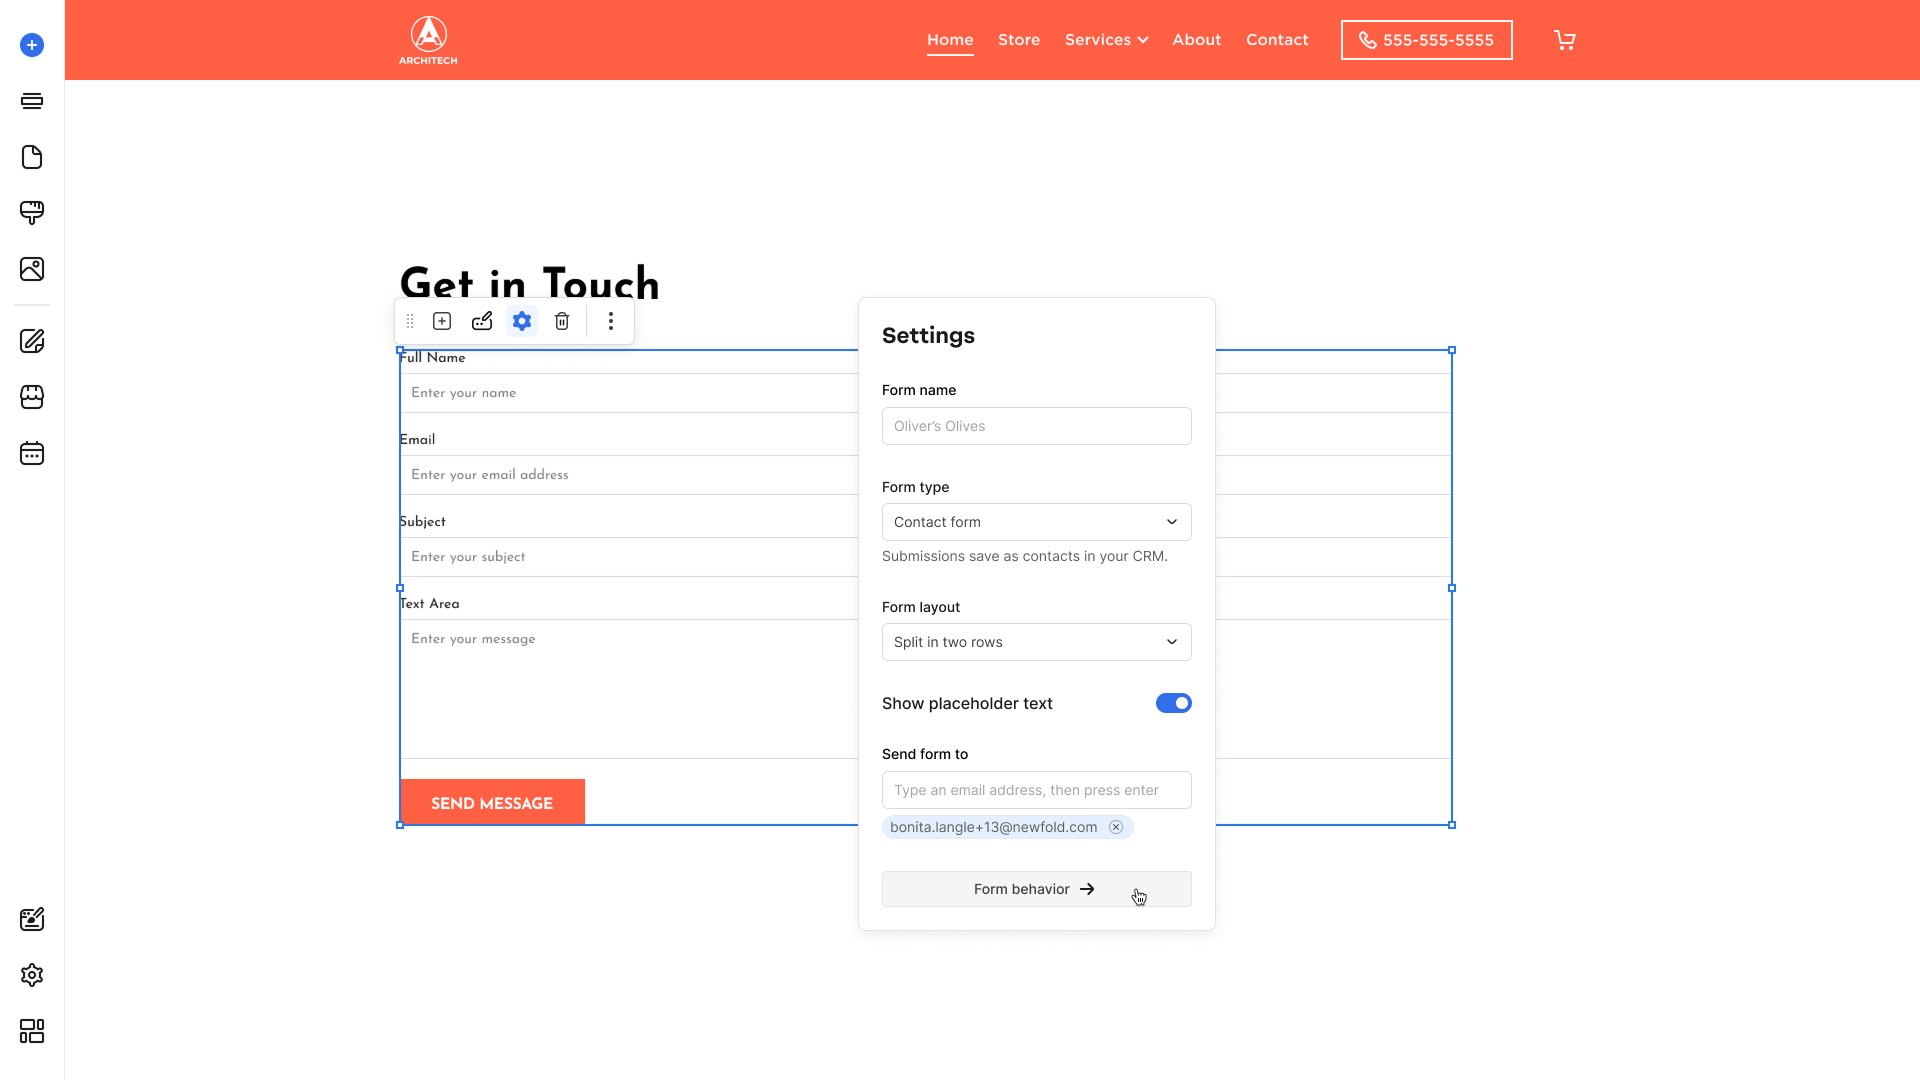
- Edit the Form Name. The Form Name will reflect in the confirmation emails you receive after form submissions.
- Modify the Form Type. You can switch between the Contact form and Subscribe form type (available only for the subscriptions with Contact CRM functionality).
- Show Placeholder Text. Enable this option to display example text inside form fields, guiding visitors on what information to enter.
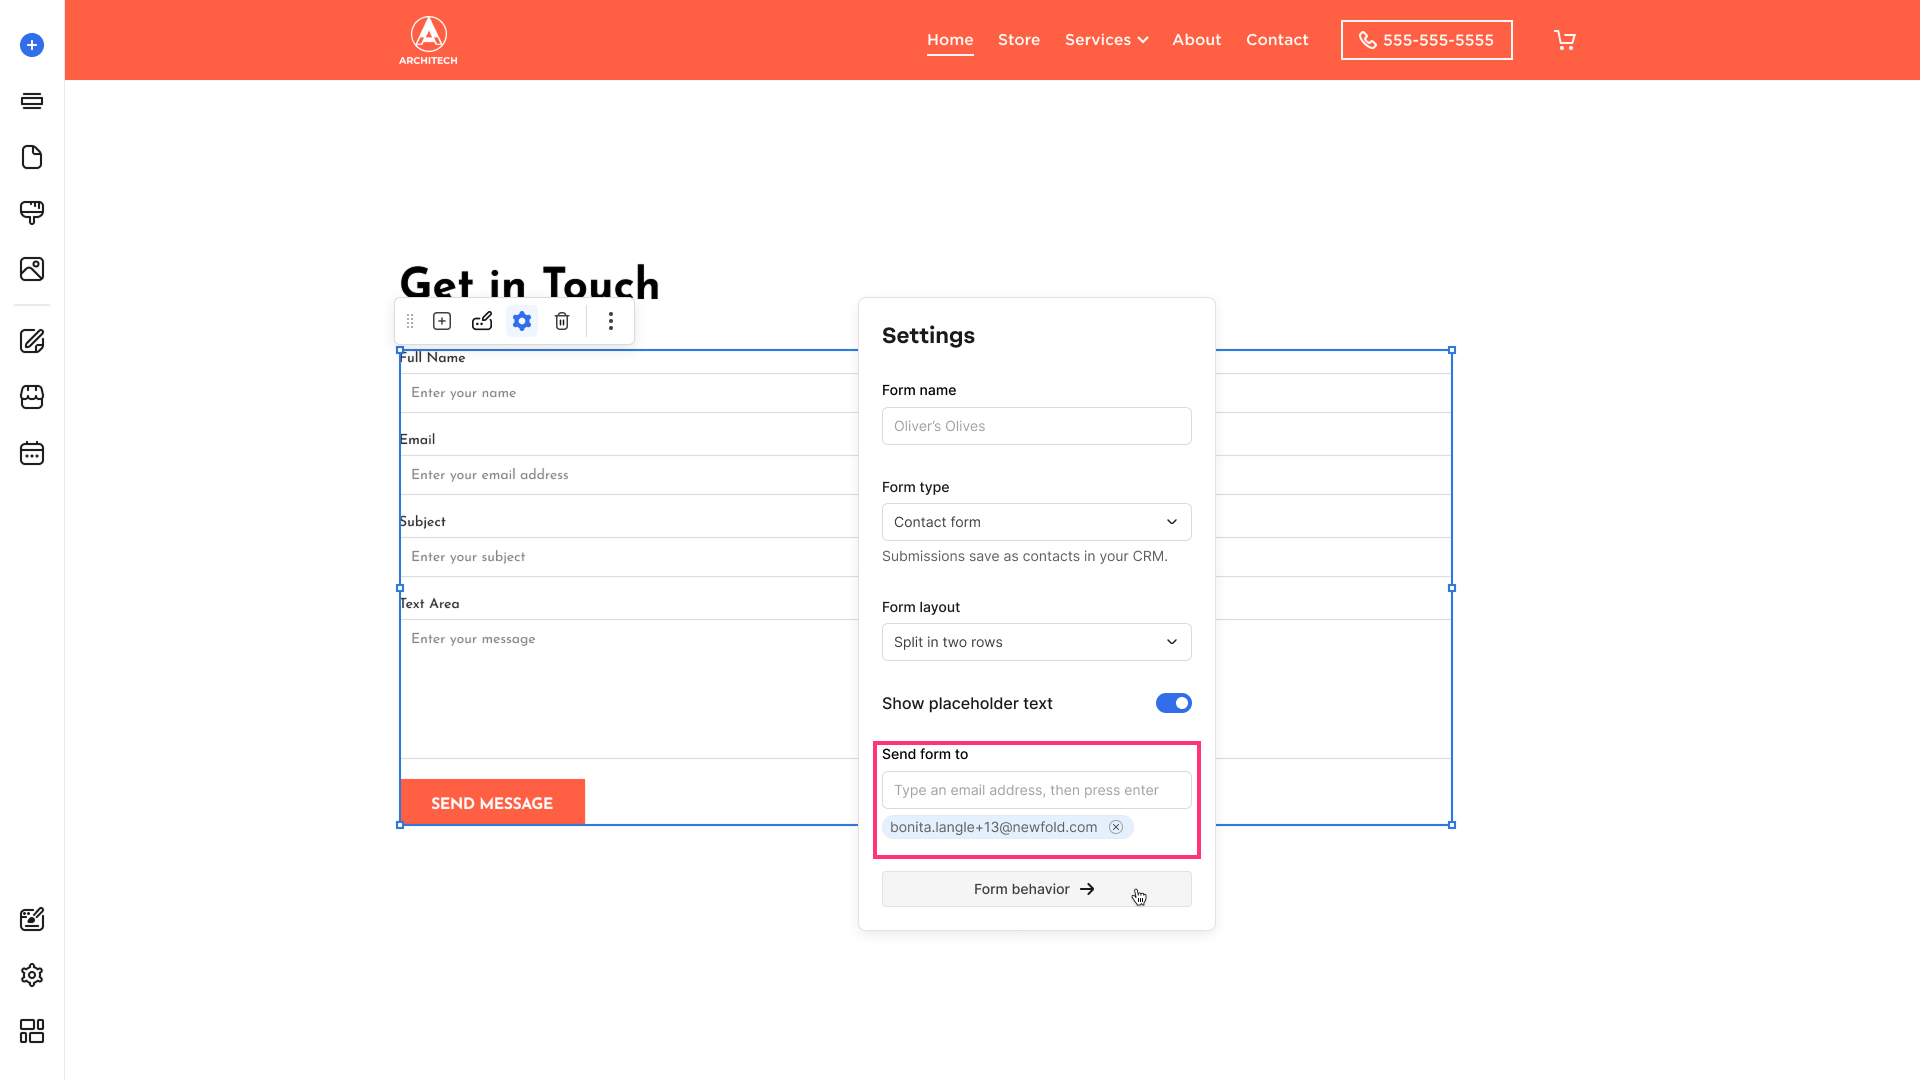
- Send Form To. Add up to five email addresses to receive form submissions; press Enter after each address.
Please note: Depending on your subscription (Website+Marketing or eCommerce), submitted contact form data may be stored in Customer Lists within Contact CRM.
You can toggle between Subscribe and Contact form types. Based on the choice, submitted data will be saved in the related Contact CRM list:
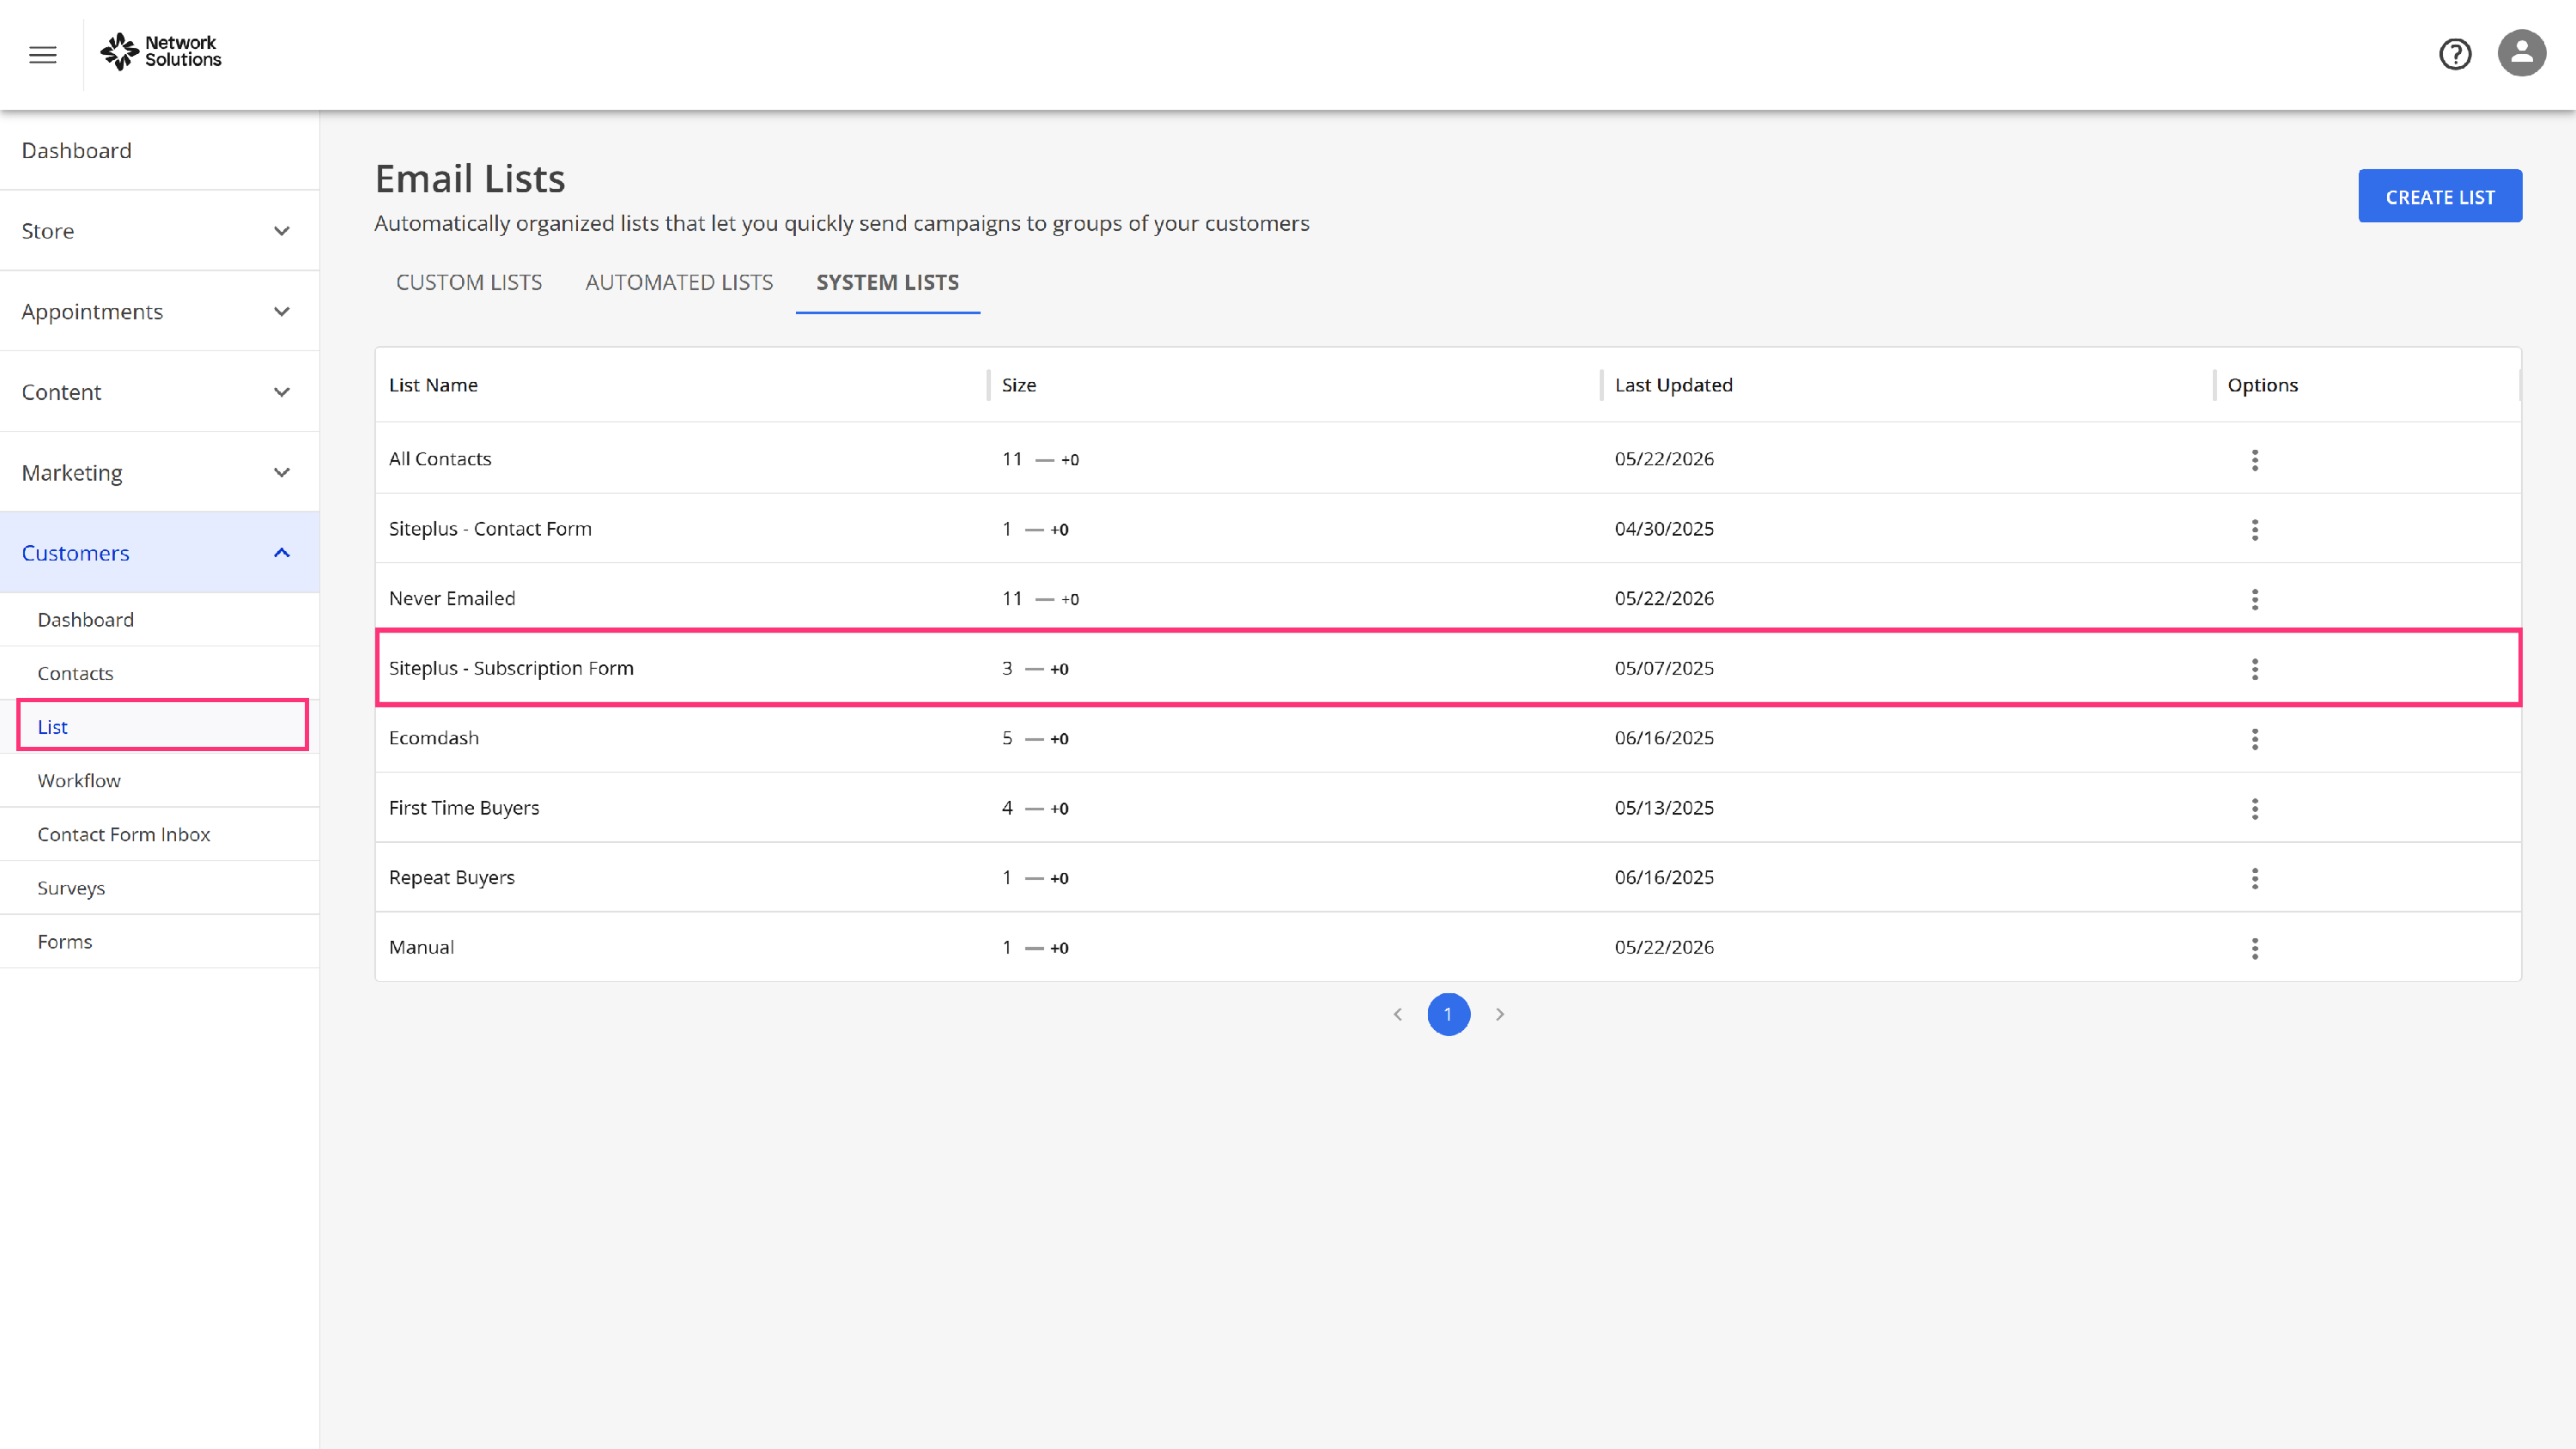
Please note: For Subscribe forms, all contacts who submit will automatically have Opt-In email status set to "I have permission to send email." Website owners must clearly inform visitors that submitting their email implies consent to receive marketing communications. Make sure your live site explicitly states this when using Subscribe forms.
Messages submitted through the Contact Form are available in the Form Inbox section under the Customers tab.
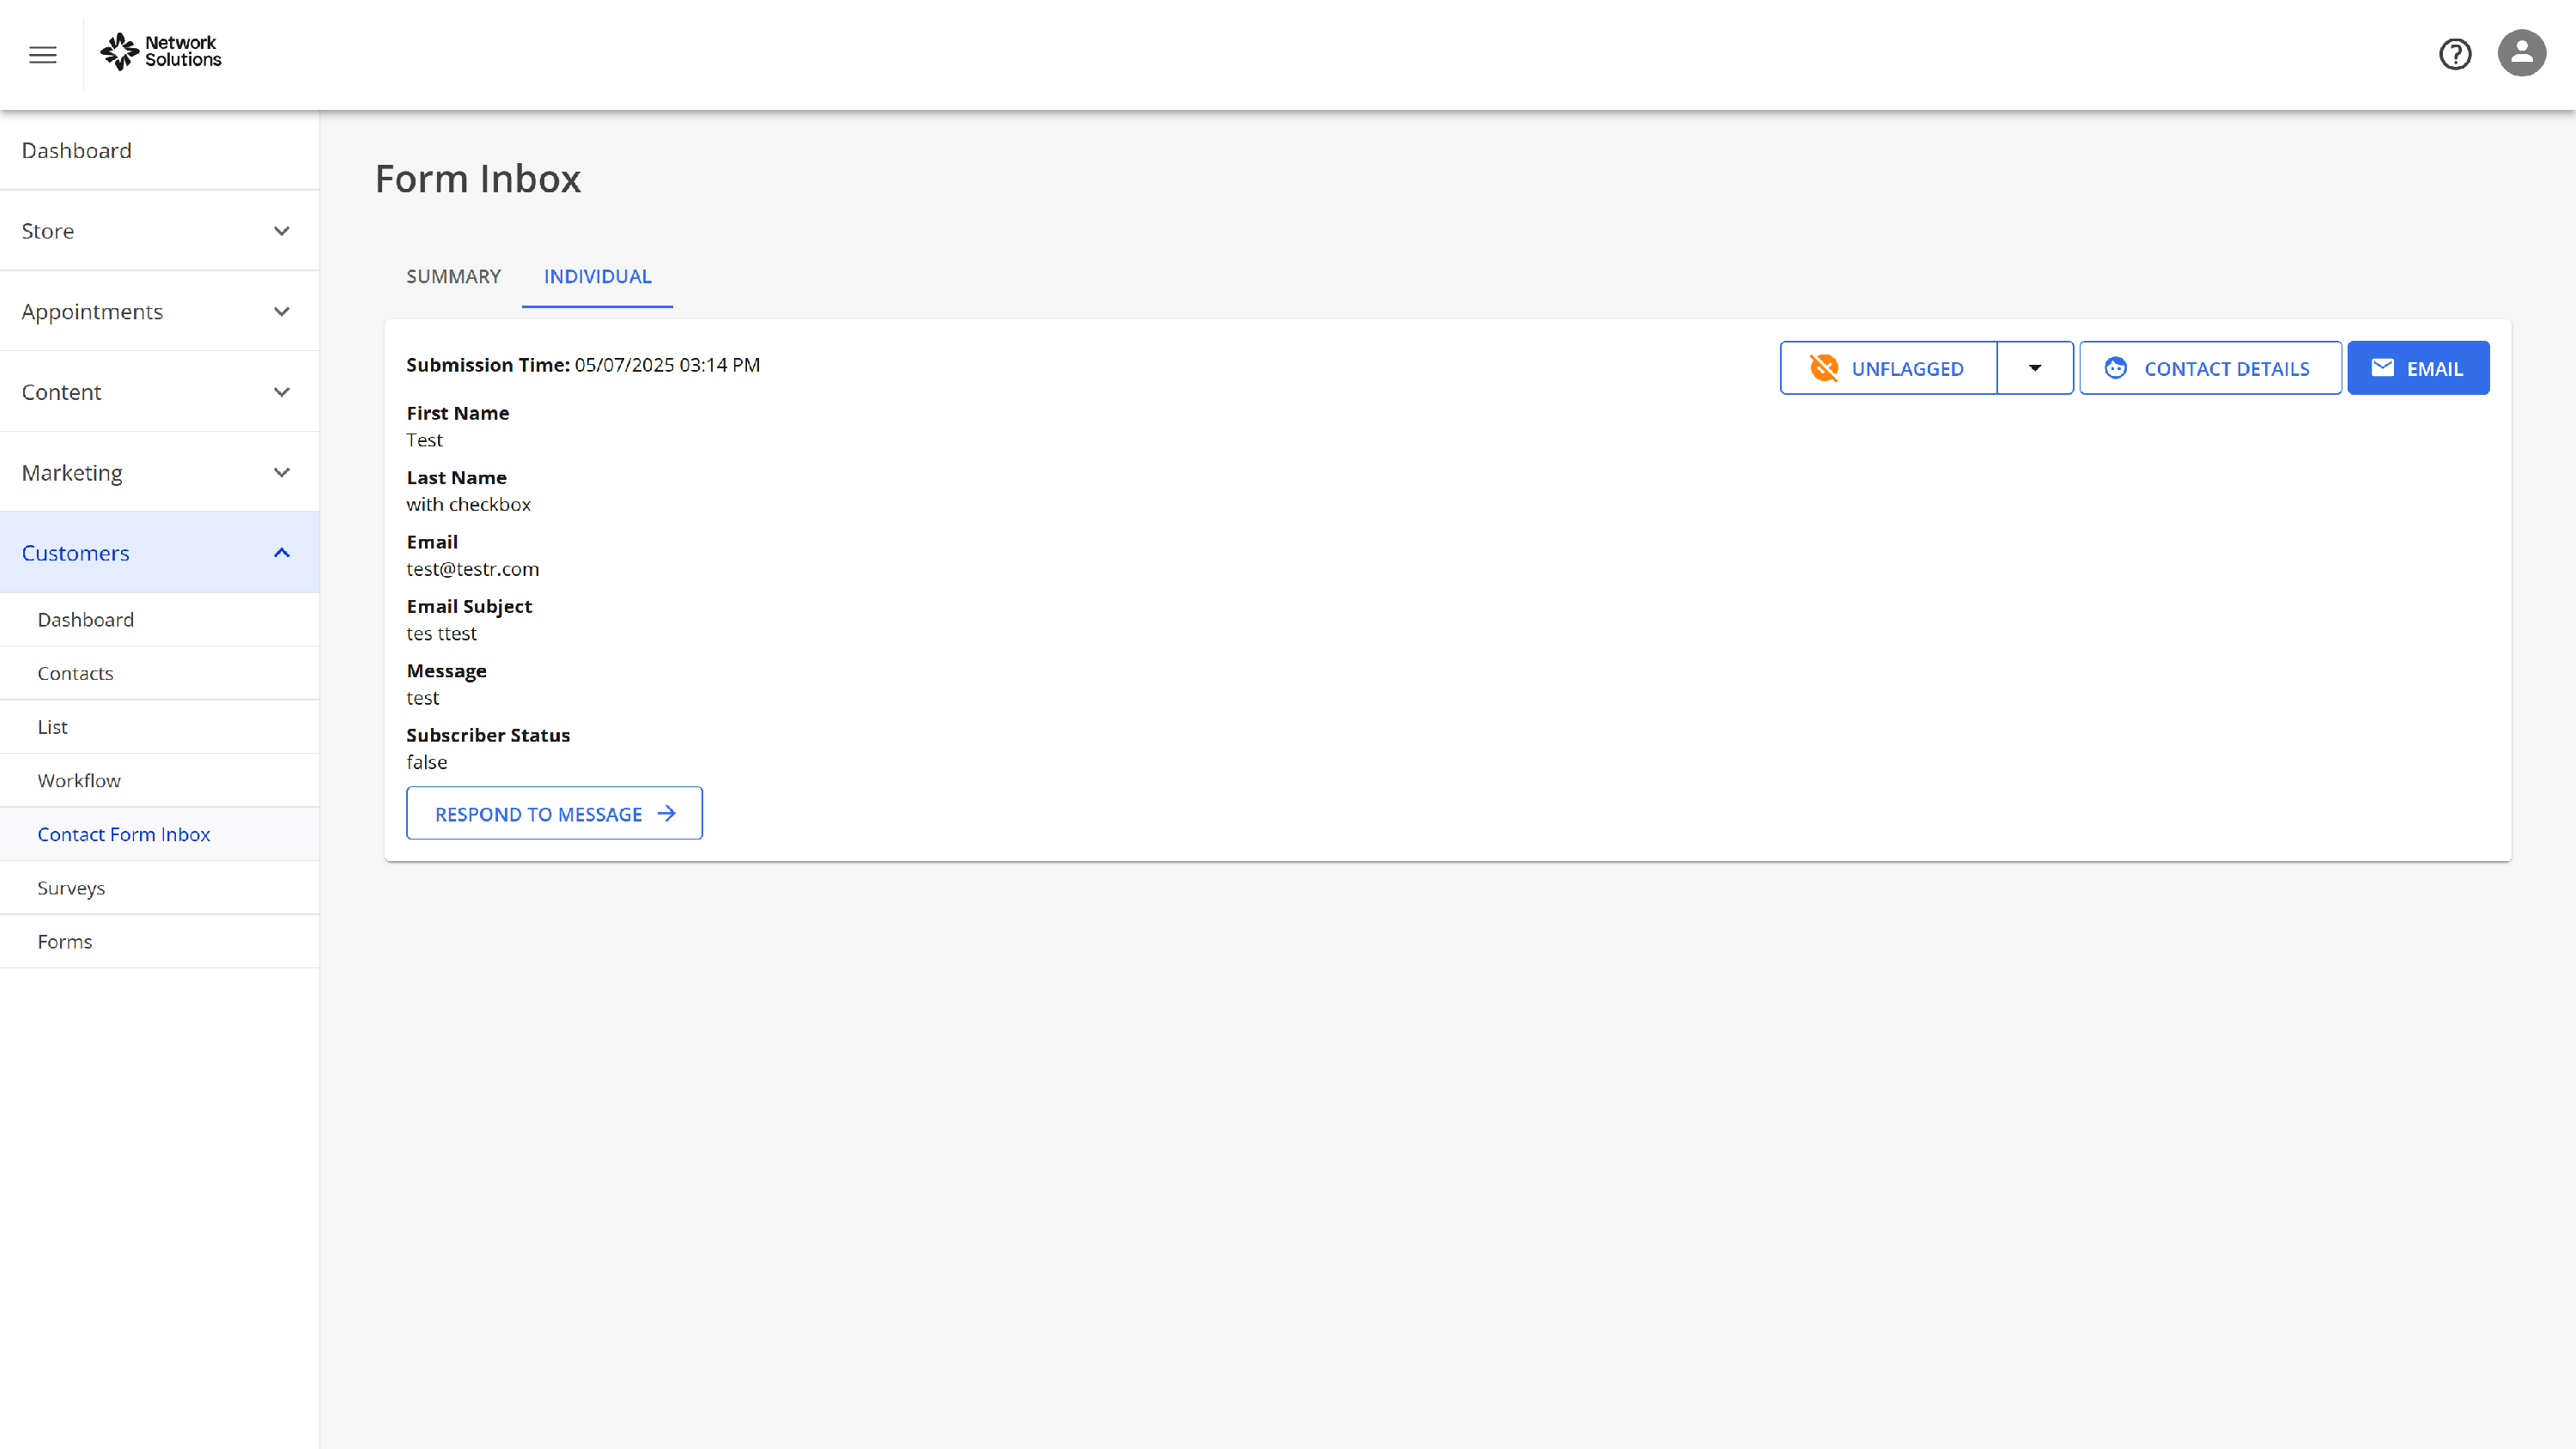
Please be aware of how Contact Form fields map to Form Inbox fields:
- The Contact Form Subject field corresponds to the message subject in the Form Inbox.
- The Contact Form Text Area field corresponds to the "Your message" field in the Form Inbox.
Please note: The Full Name and Email fields are required for contact information to be saved in the Contact CRM. The Subject or Text Area field is required for the contact to be saved in the Contact Form Inbox area.
Form Behavior
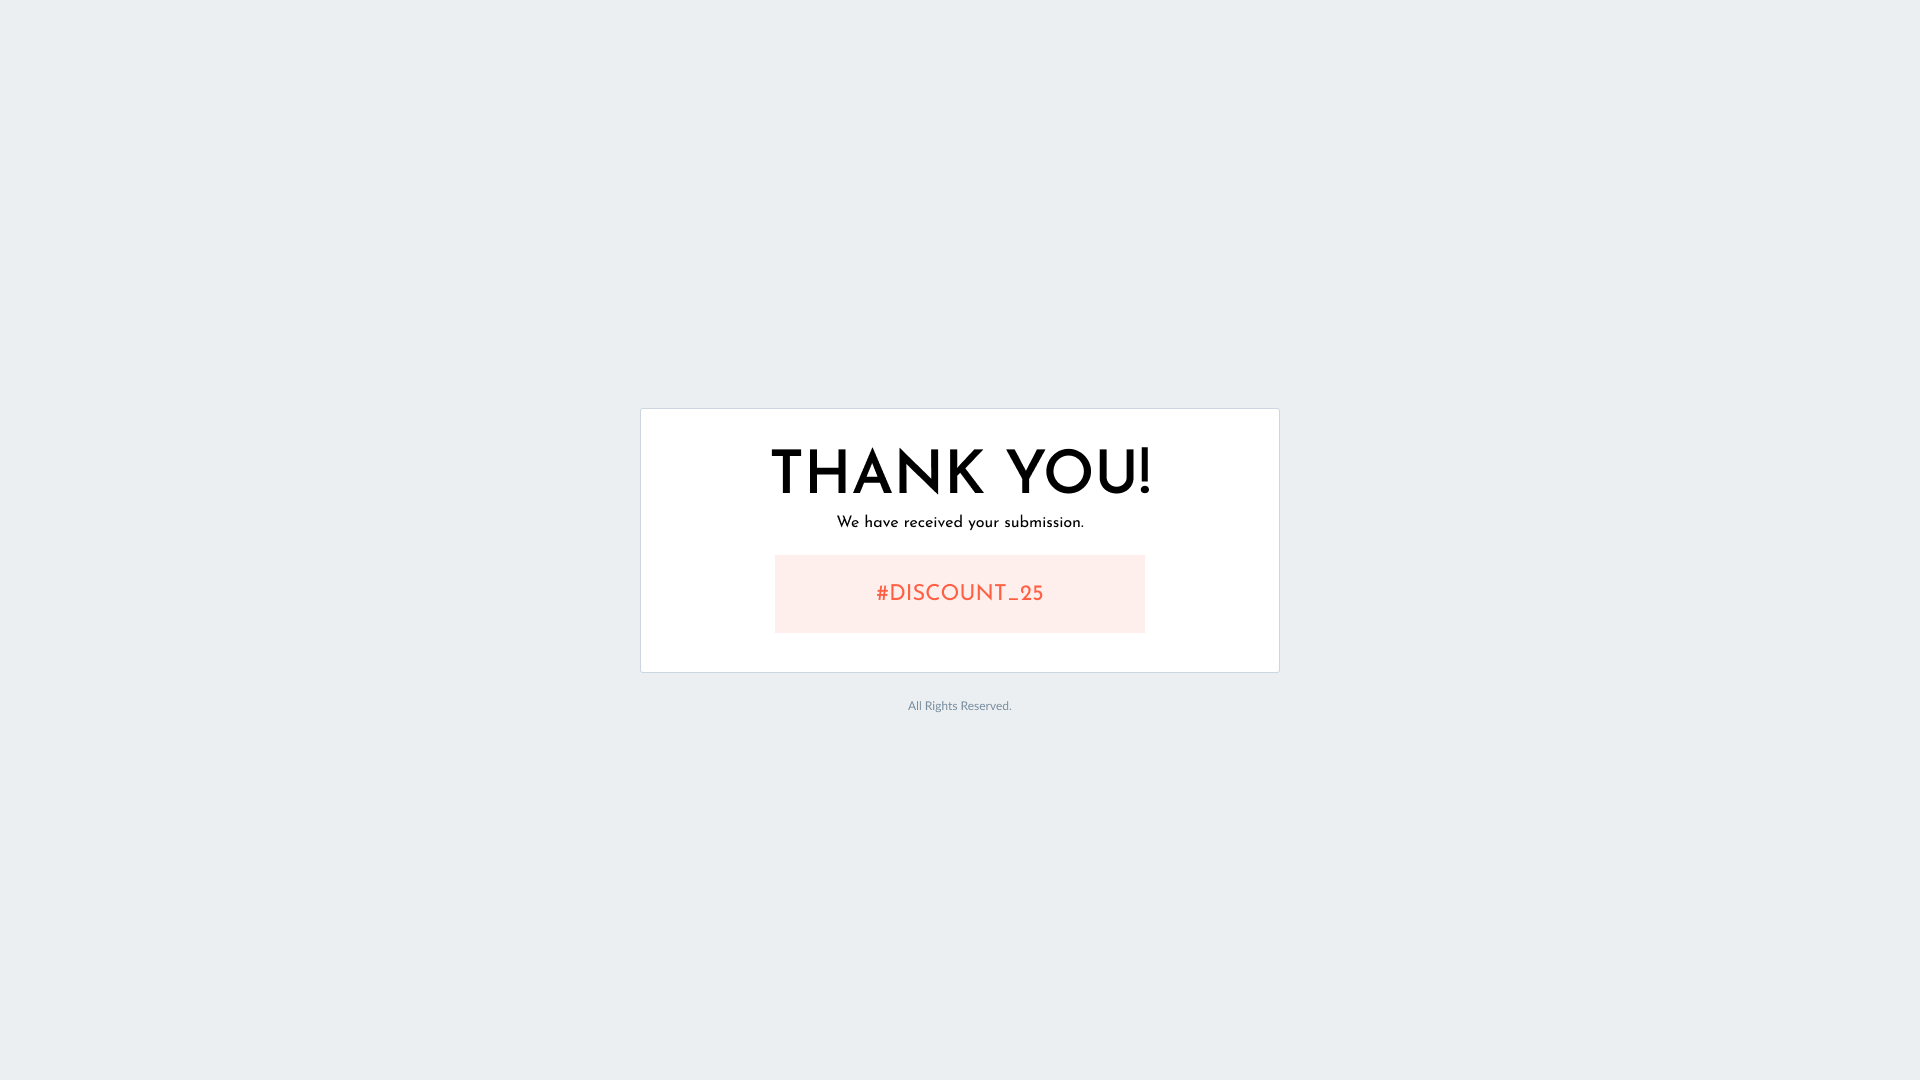
In the Form Behavior tab, you can create a Thank-You message shown after form submission, add a promo code, and customize the Contact Form's appearance.
- In the Settings tab, click the Form Behavior button:
Here, you can modify:
- Title: Click inside the field to edit the message's title that visitors will see after submitting the form.
- Description: Click to edit the message displayed after submission.
- Promo Code: Add a promo code for website visitors after they submit the form.

An example of the Thank-You message for website visitors that will appear after submitting the form:
Please note: You can create a discount code in your eCommerce solution and add it to the contact form for customers to apply. If you use the Network Solutions eCommerce Website Builder package, please refer to the How to Create Discount Codes for Your eCommerce Website article.
Deleting the Contact Form
- Click the Remove button [Bin]:

- The element will be removed immediately.
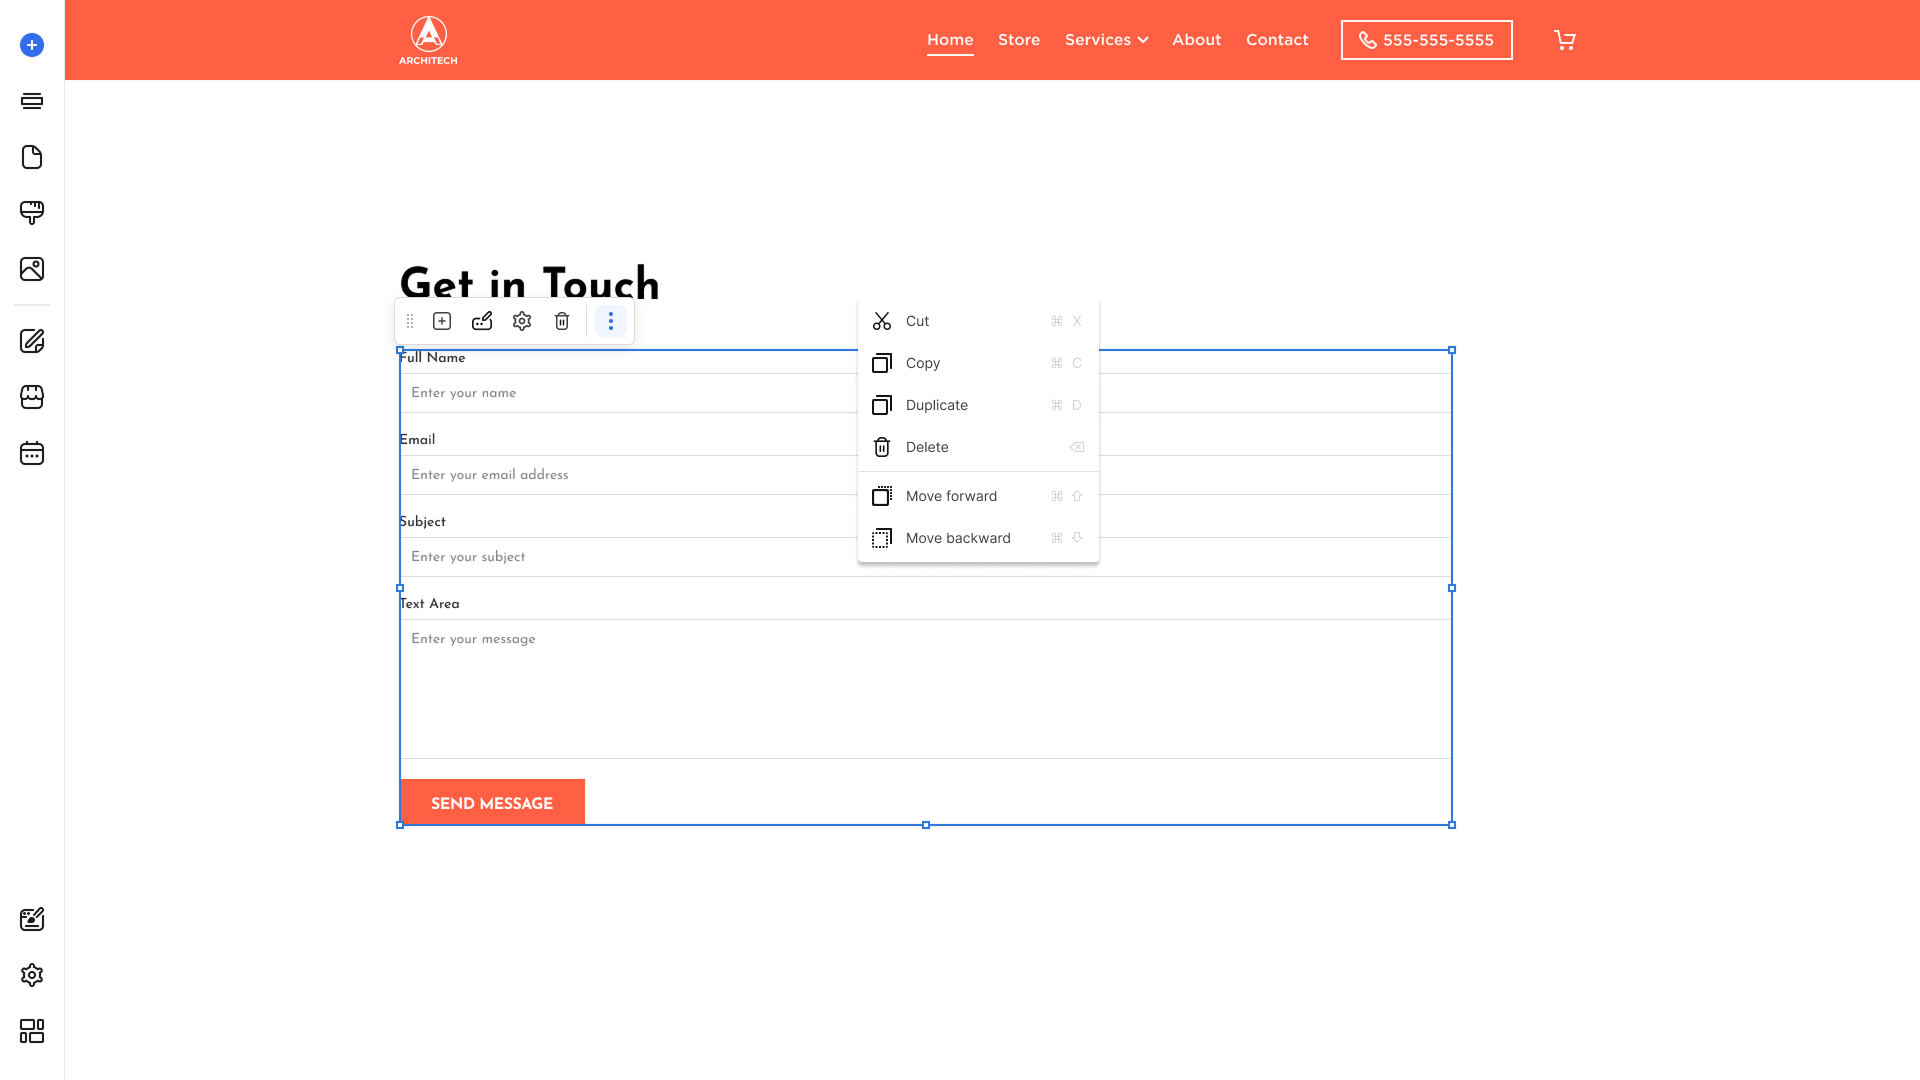
More Menu
- Click the More icon in the editing menu to access the available options:
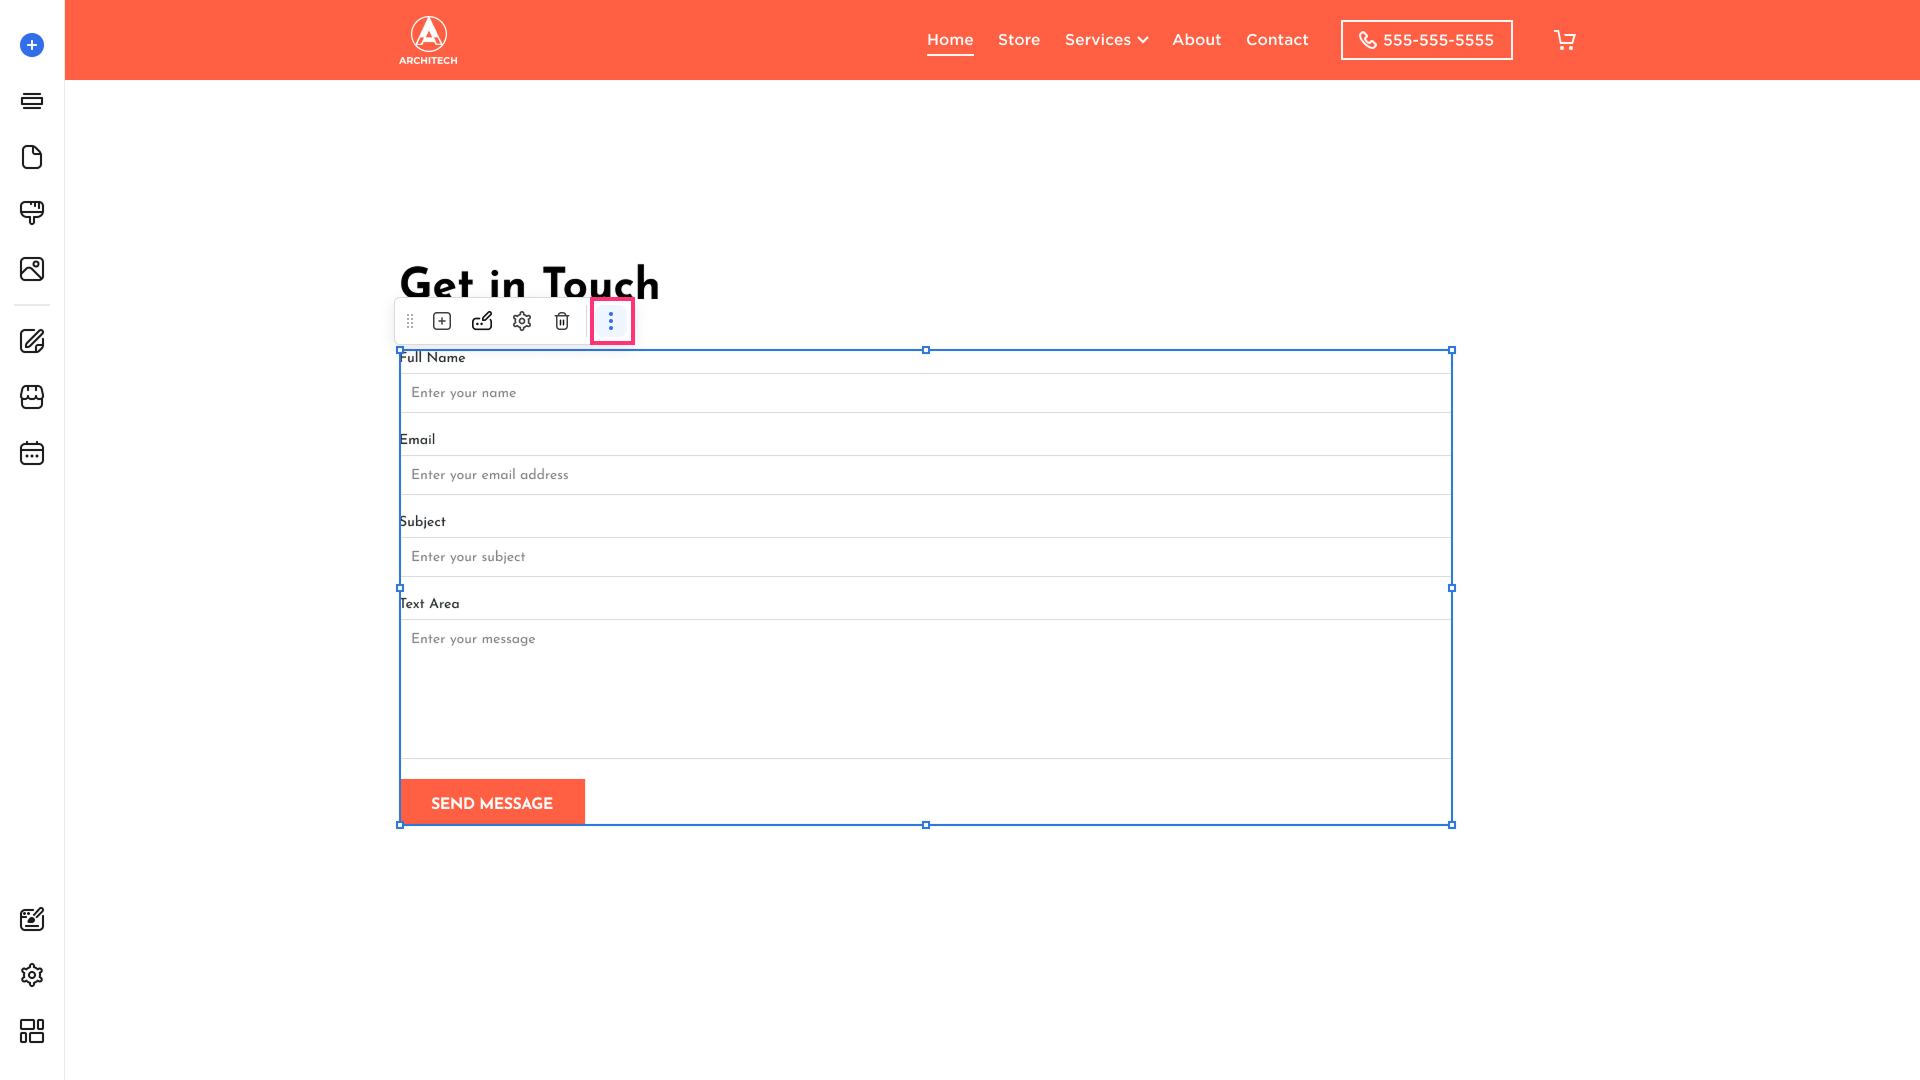
- Cut. Click Cut or Ctrl+X to cut your element.
- Copy. Click Copy or Ctrl+C to copy your element.
- Duplicate. Click Duplicate or Ctrl+D to duplicate your element. The duplicate will appear immediately.
- Delete. Click Delete to remove the element. The element will be deleted immediately.
- Move Forward. Click Move Forward or Ctrl+⇓ to move your element.
- Move Forward. Click Move Forward or Ctrl+⇑ to move your element.
Please note: The Move Forward and Move Backward options are available only when one element is layered on top of another.