.png)
Map
A Map element displays a geographic location on your website. It's useful for showcasing your business address, providing directions, or simply enhancing your content with visual context.
You can place the Map element in different page sections of your website.
Adding a Map
Option 1
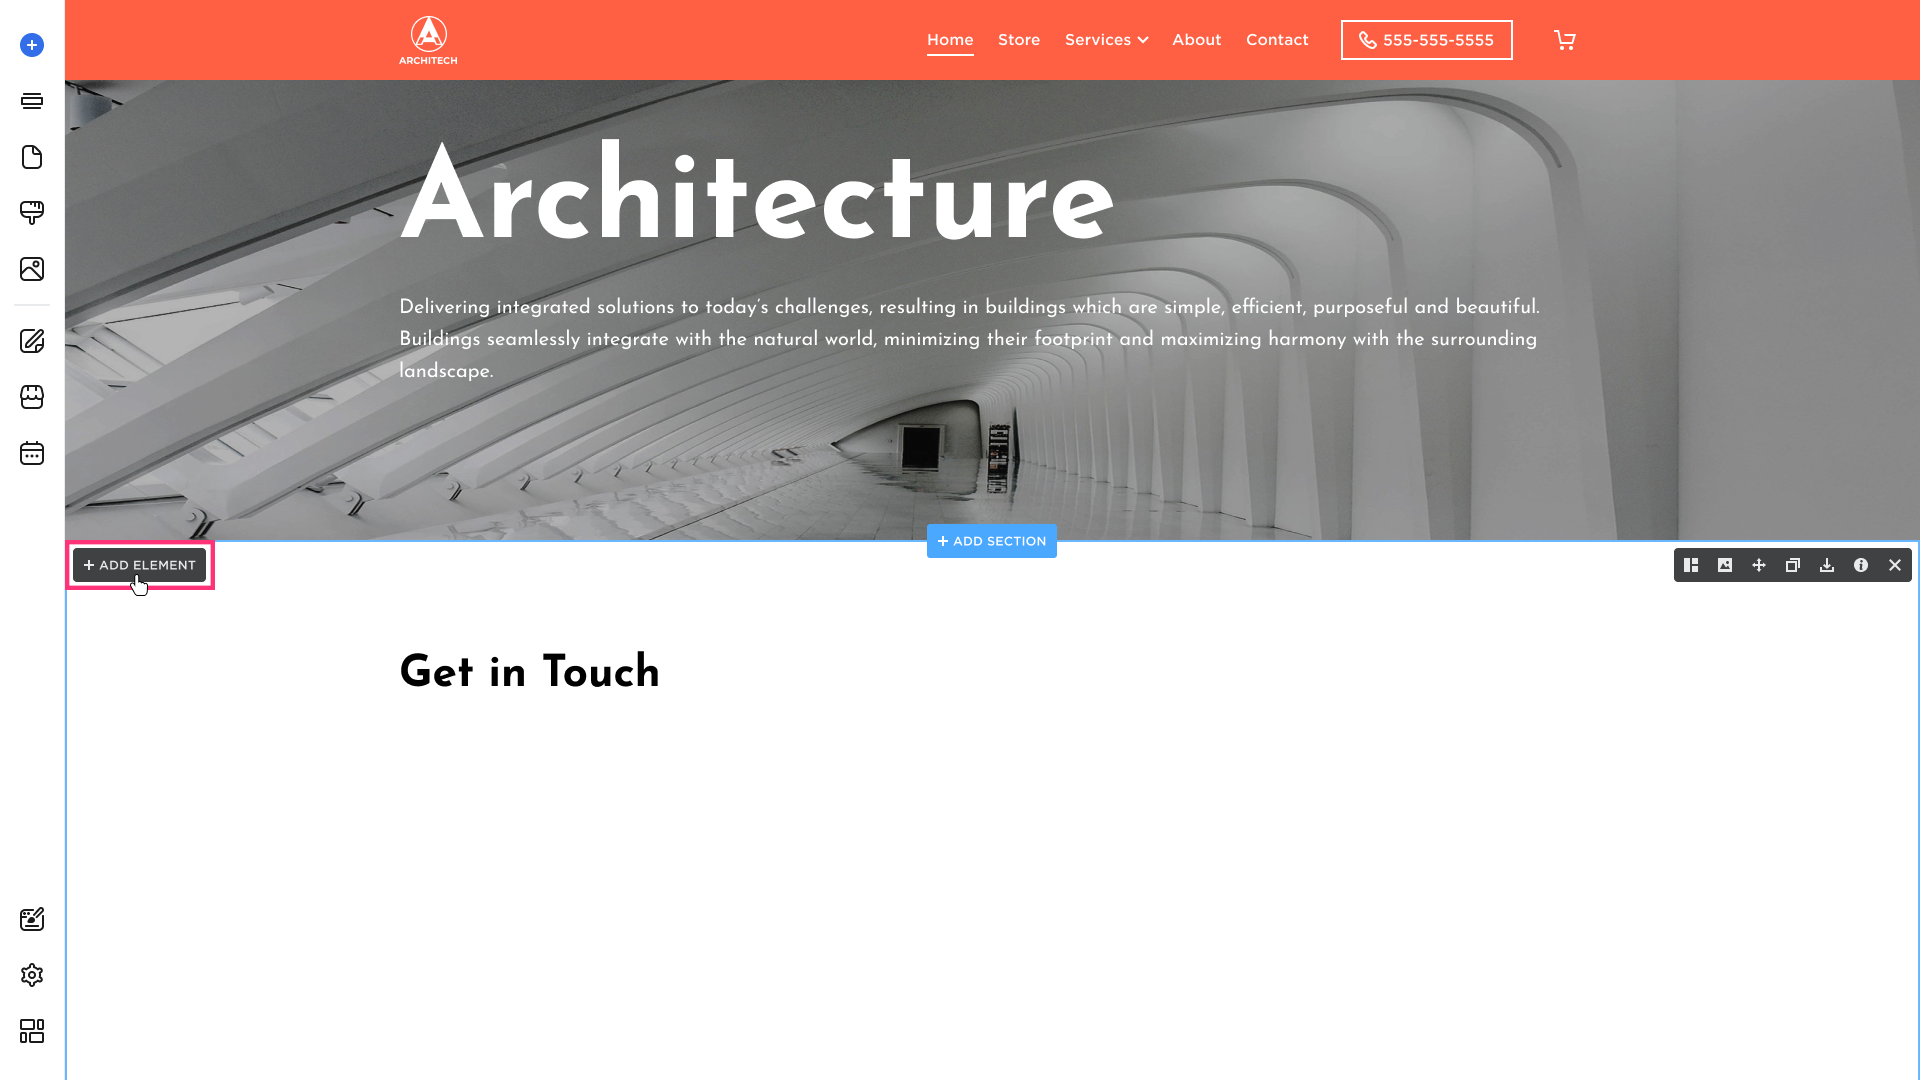
- Hover over the desired section, and click the Add Element:
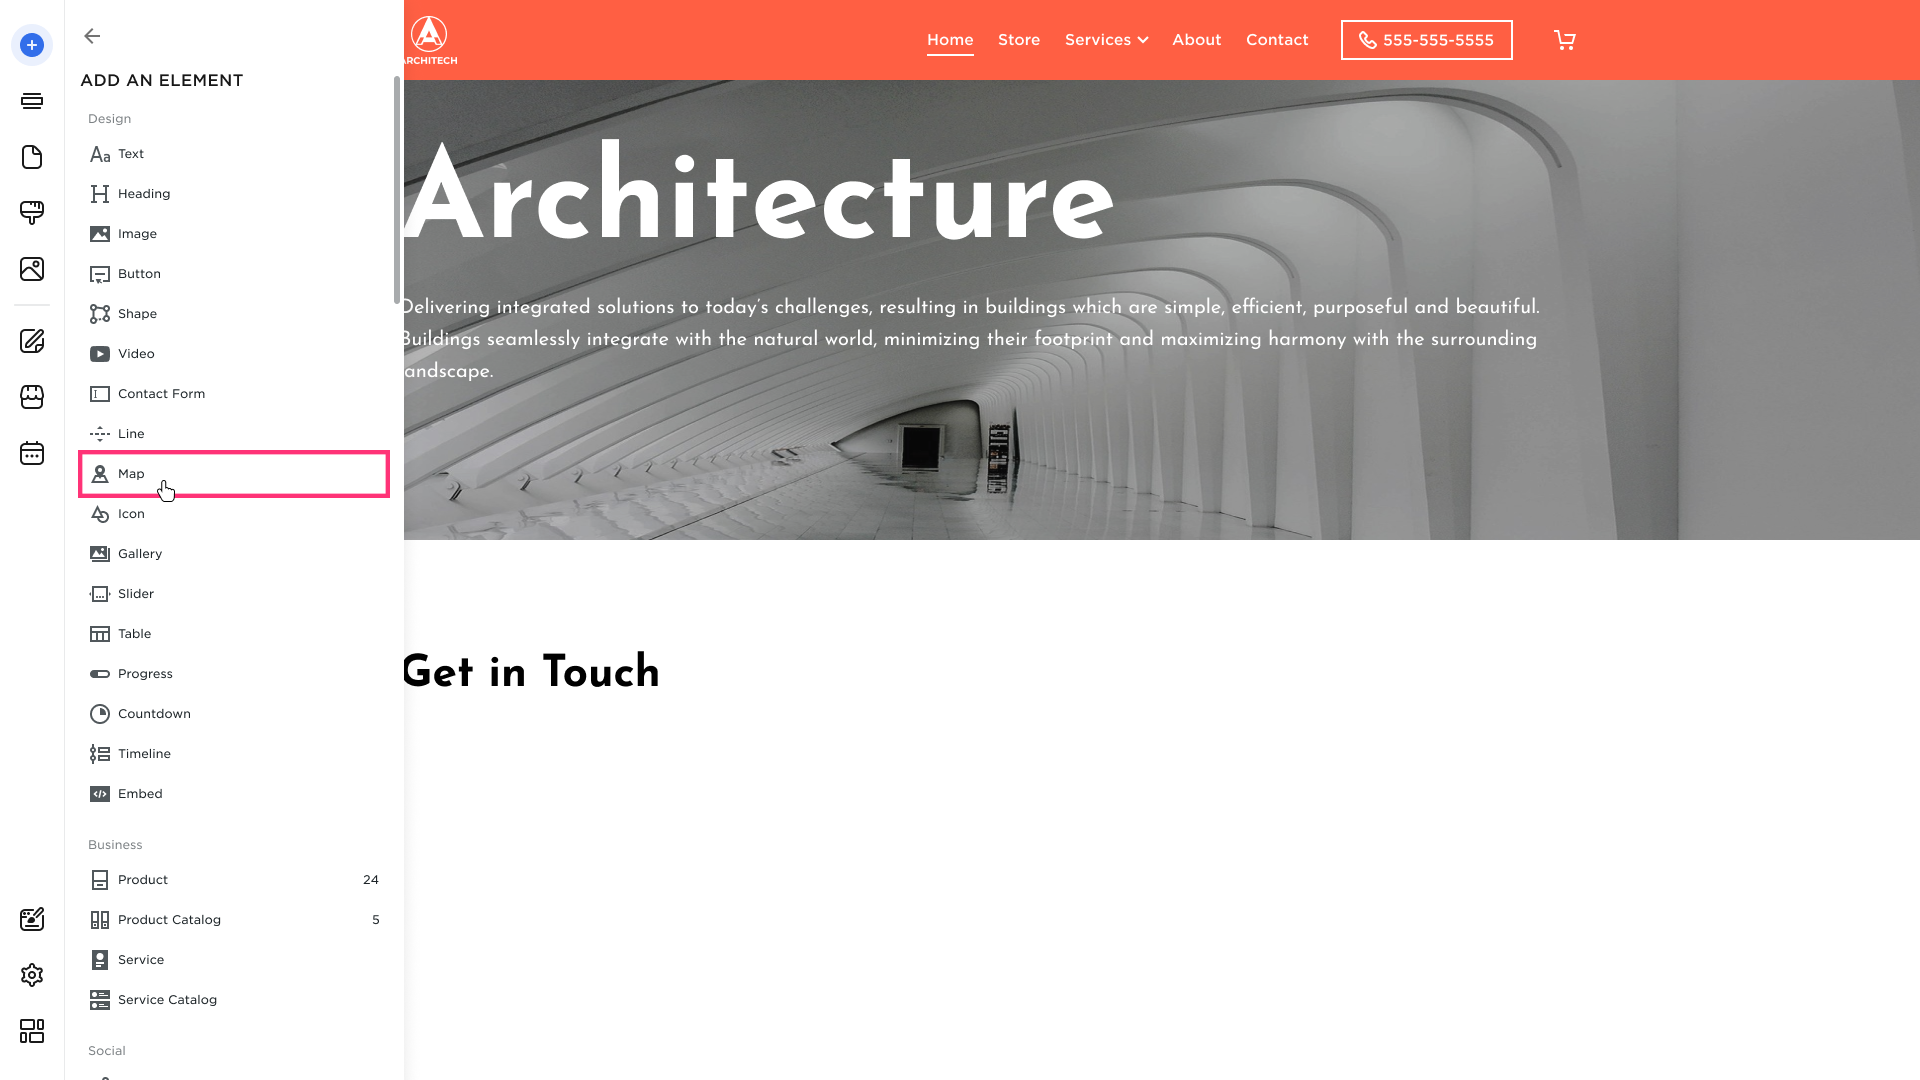
- Choose the Map from the modal that appears:
- After you choose the element from the list, drag it to the desired section and drop using the grid.
Option 2
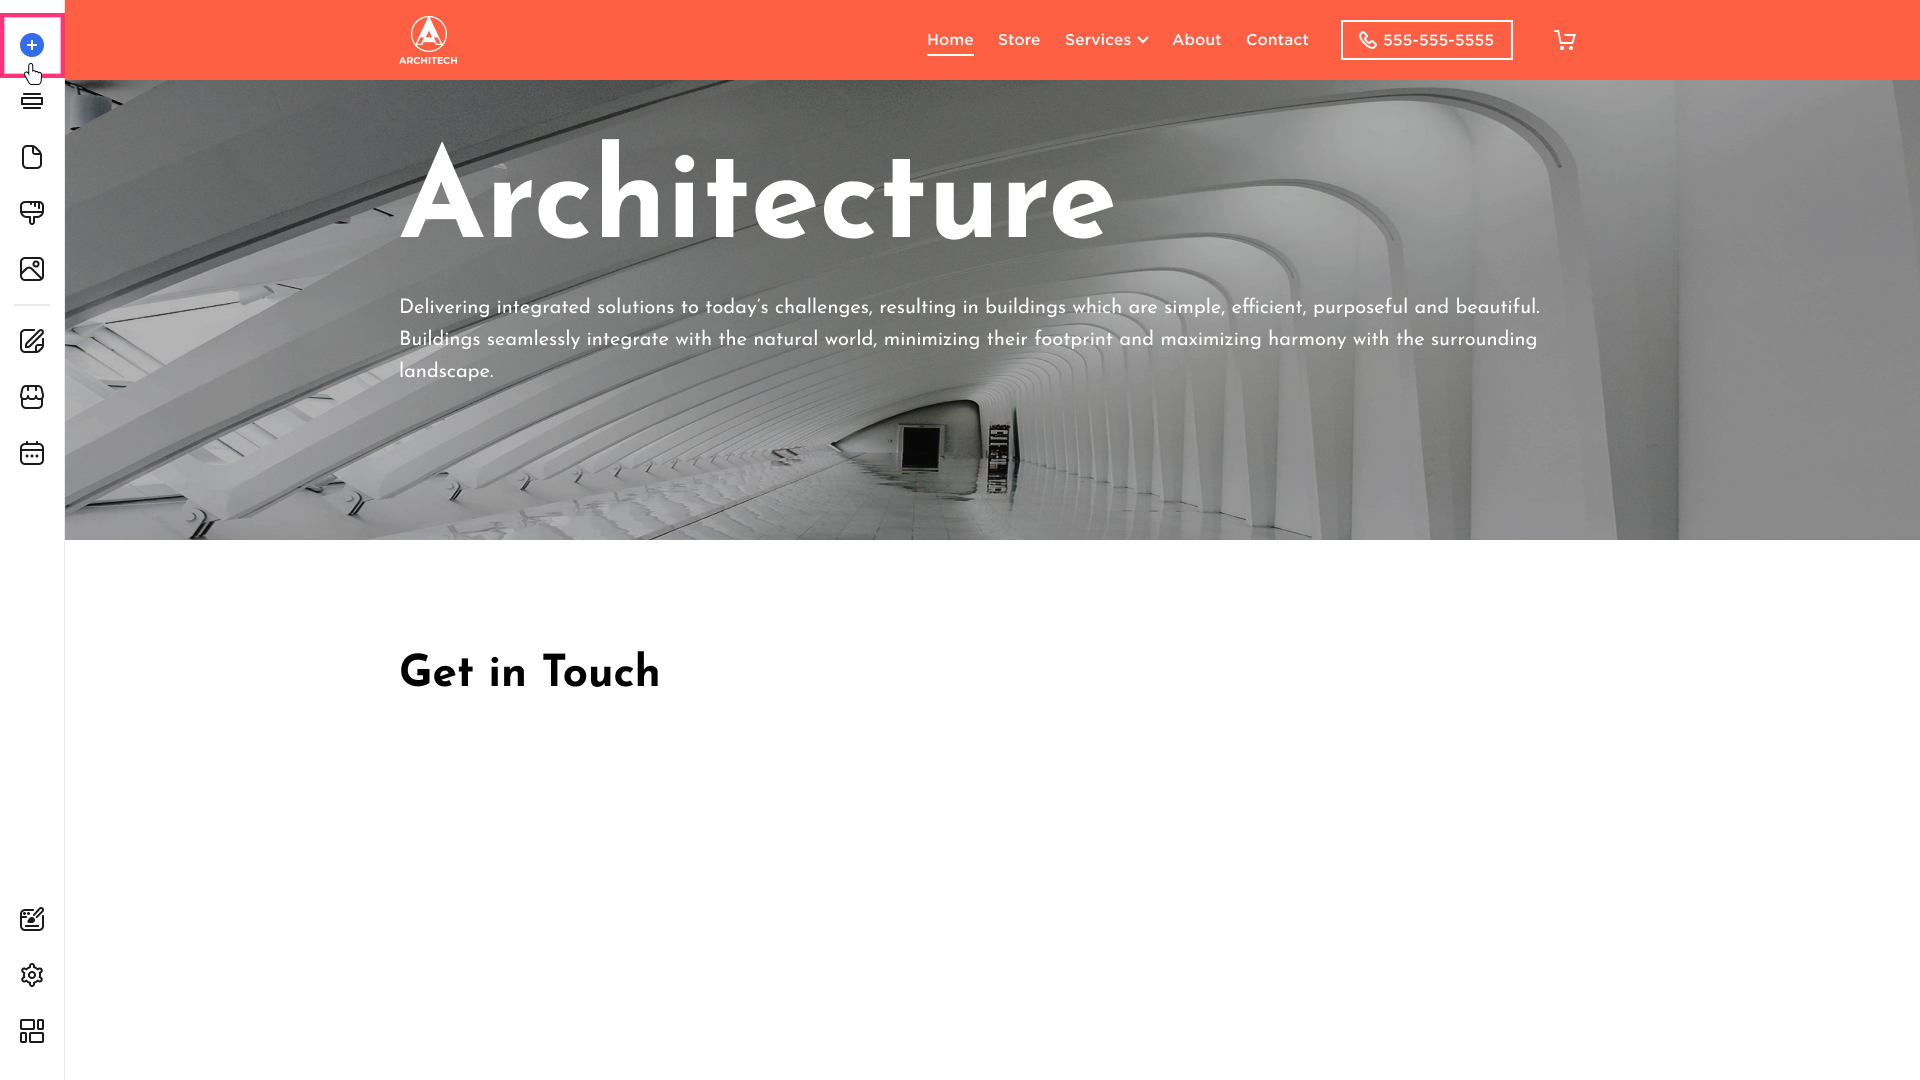
- Hover over the left sidebar of the Site Editor and click Build (+) button:
- Choose the element:
- After you choose the element from the list, drag it to the desired section and drop it using the grid.
Moving and Resizing the Map
Please refer to the Elements Management (Drag and Drop Grid) article to learn more about moving and duplicating elements.
Customizing the Map
To edit, duplicate, arrange layers, or delete the element, click on it and switch between the buttons that appear in its toolbar:
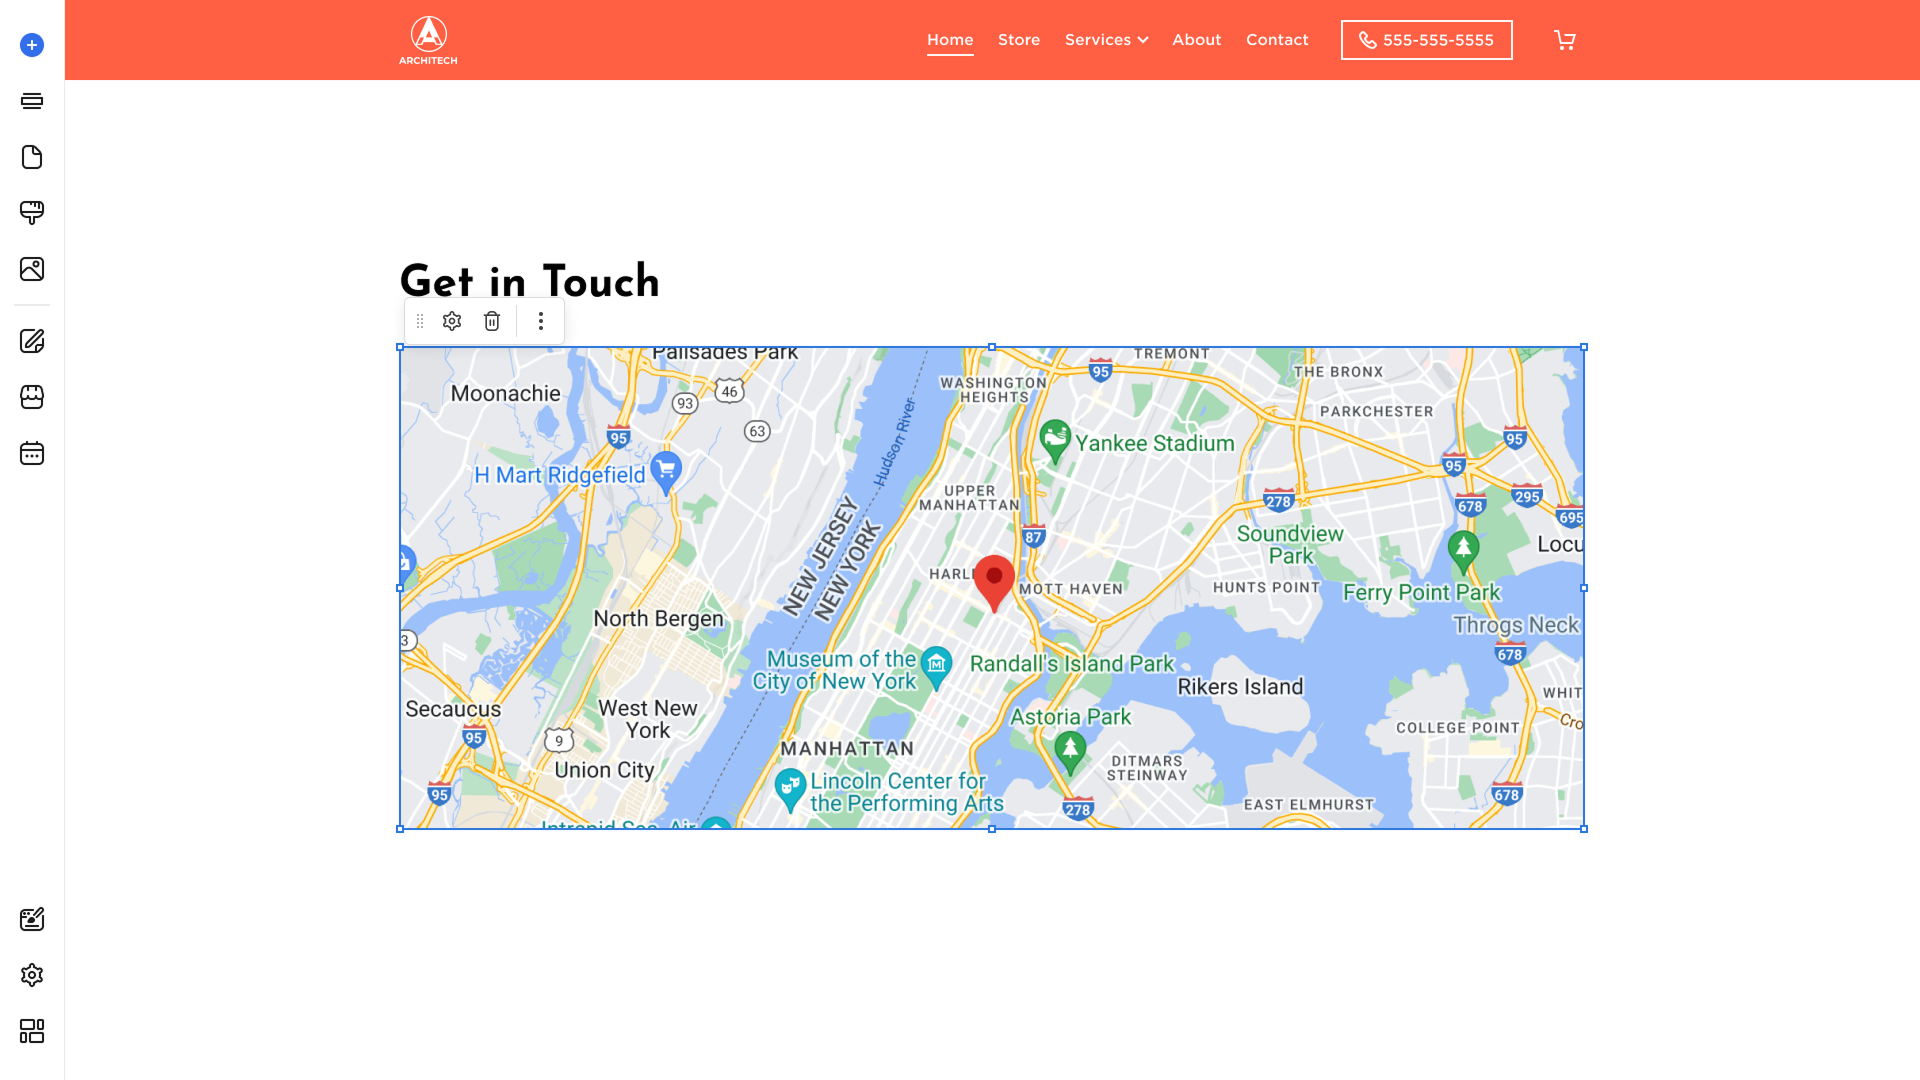
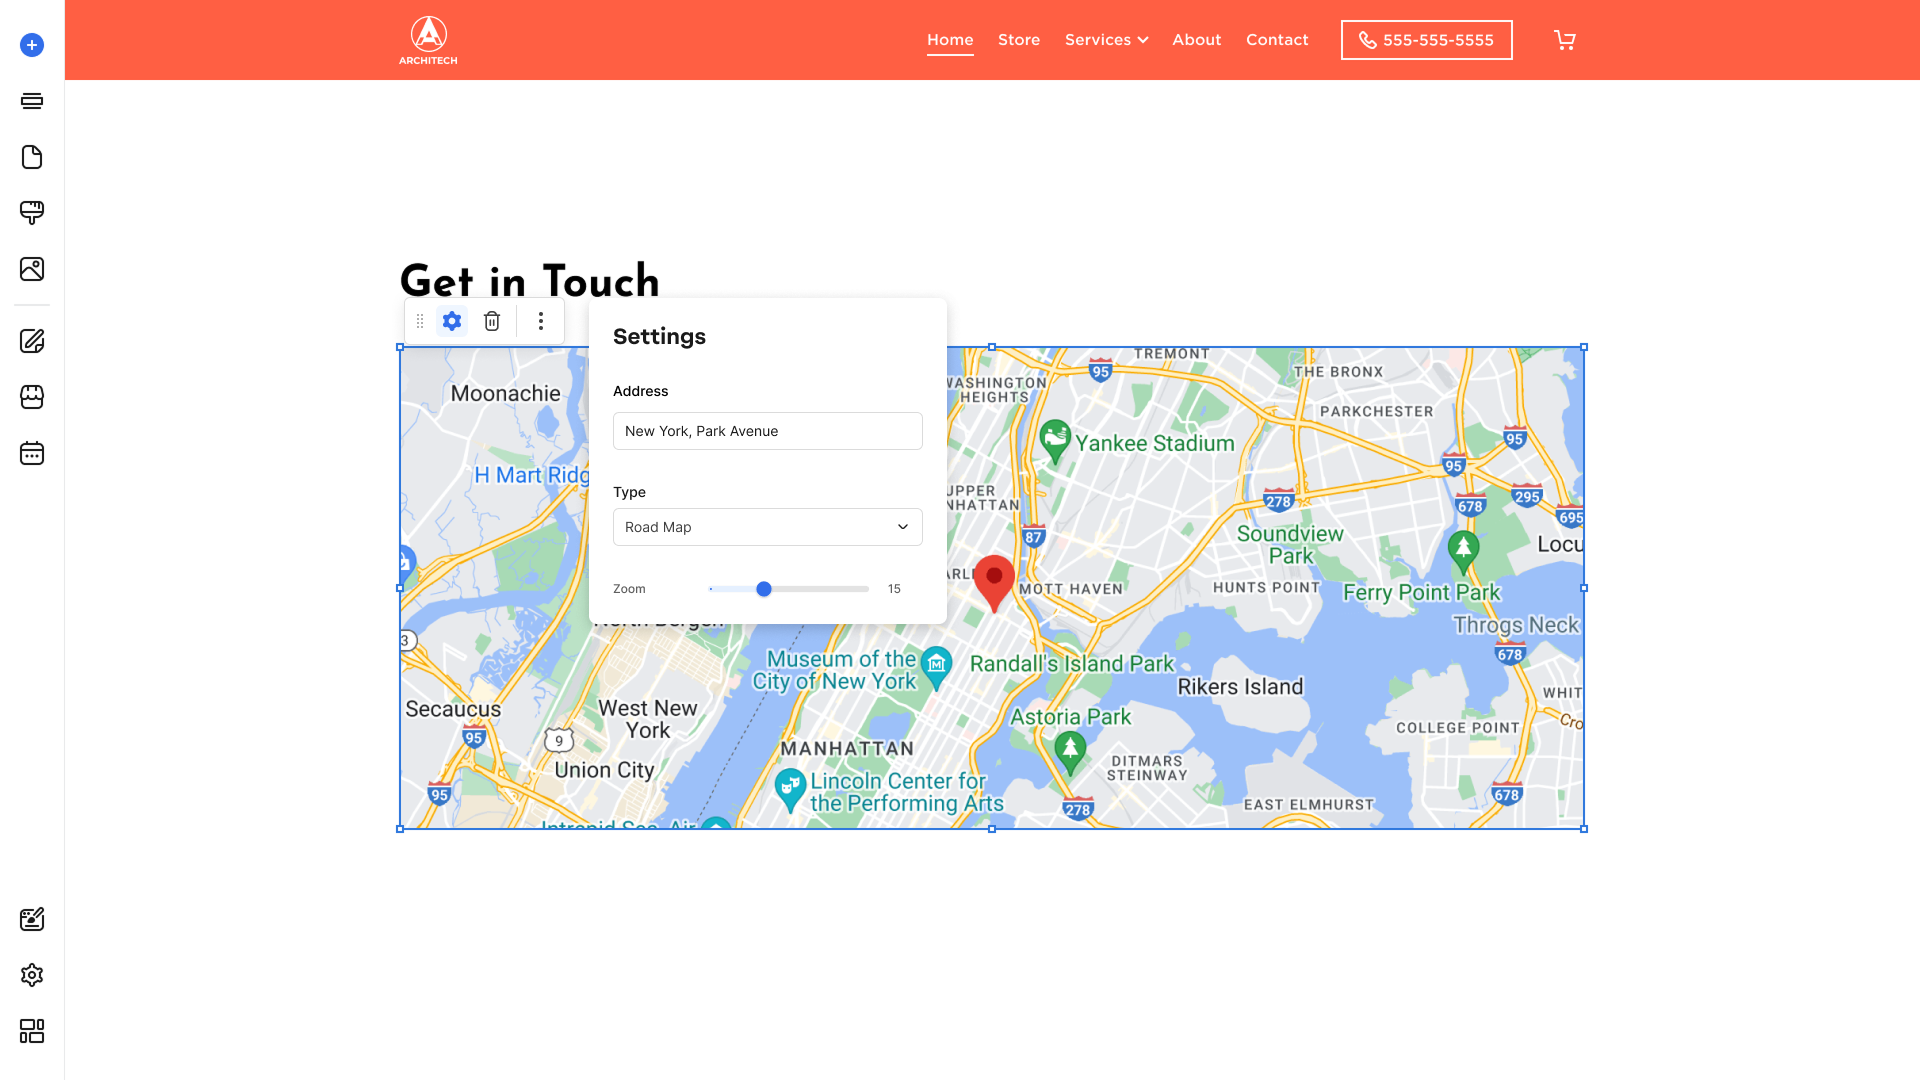
Settings Tab
Click on the element and choose the Settings button that appears in its toolbar:

- Address. Click inside the field to paste the address:
- Type. Click to choose a style for the map between Road and Satellite.
- Zoom. Drag the control to adjust the map's zoom level.
Deleting the Map
To delete a map:
- Click the Remove button [Bin]:

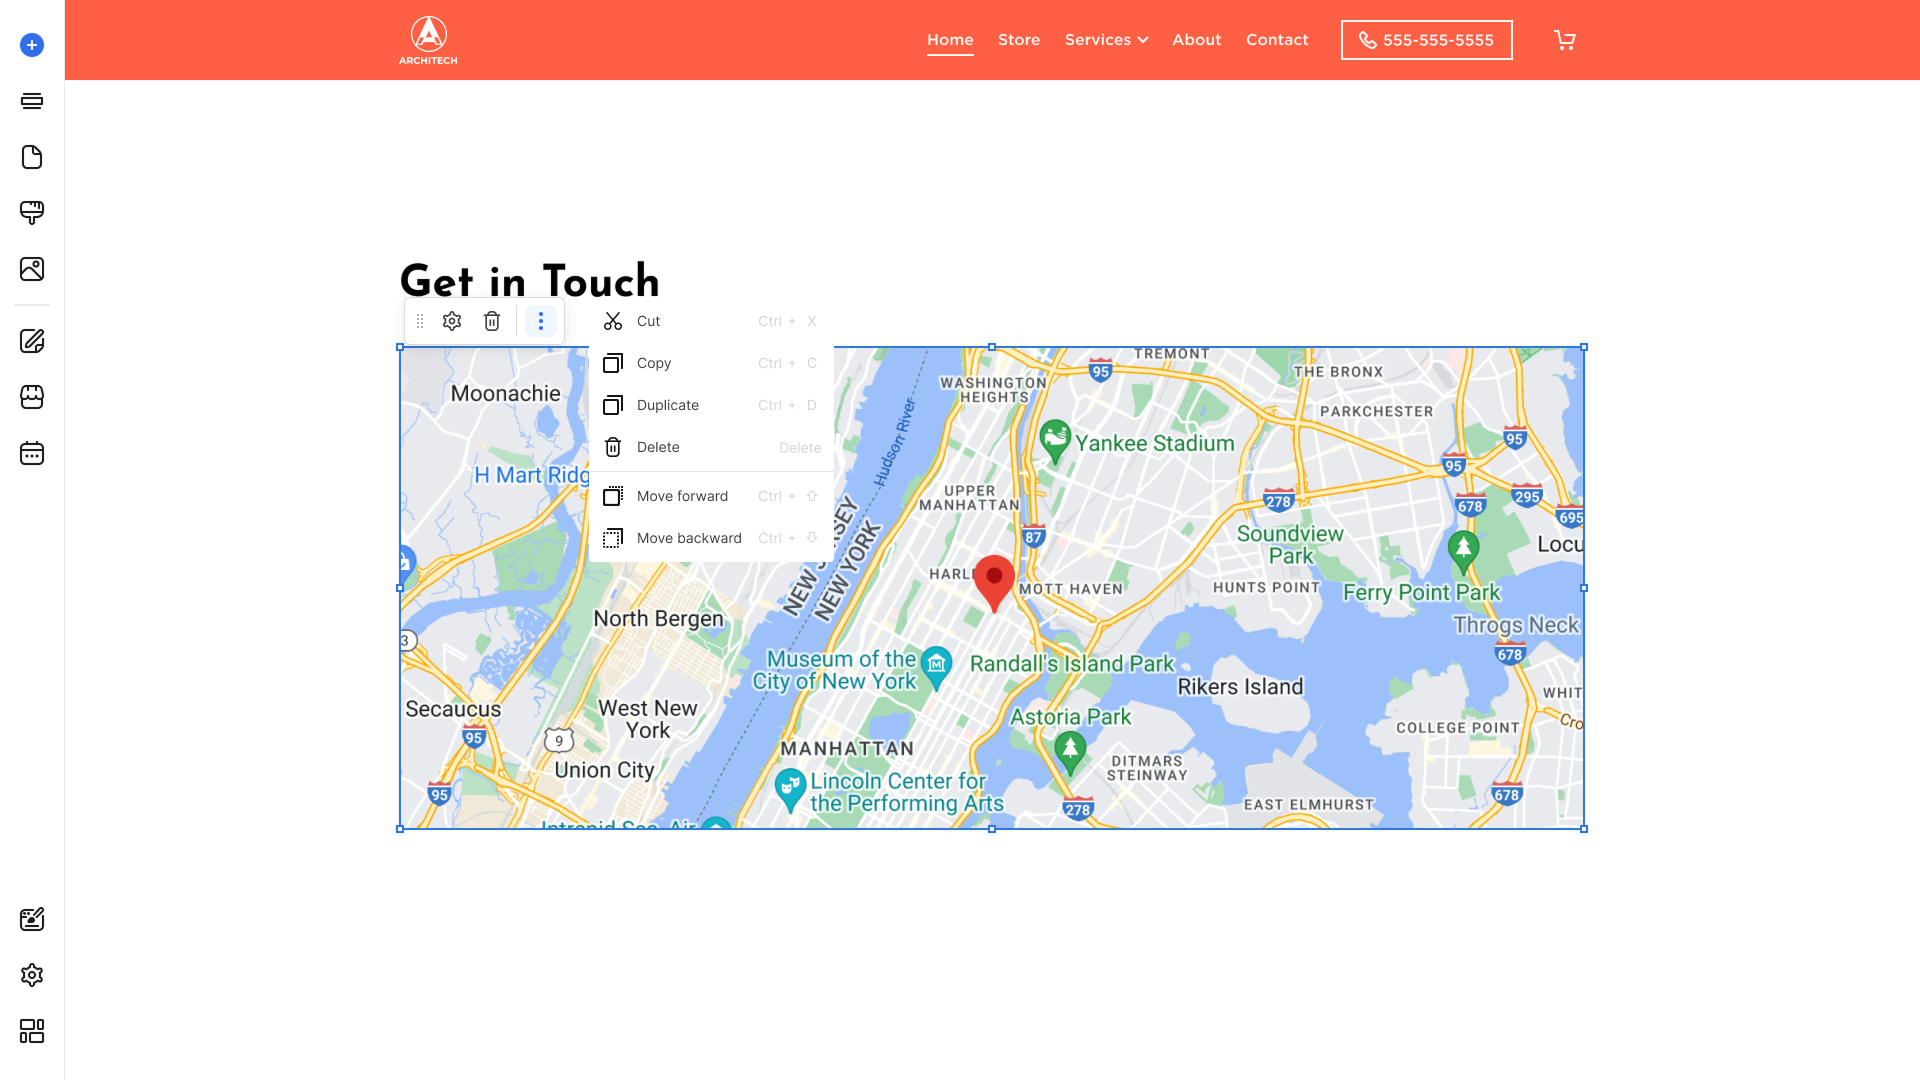
More Menu
- Click the More icon in the editing menu to access the available options:

- Cut. Click Cut or Ctrl+X to cut your element.
- Copy. Click Copy or Ctrl+C to copy your element.
- Duplicate. Click Duplicate or Ctrl+D to duplicate your element. The duplicate will appear immediately.
- Delete. Click Delete to remove the element. The element will be deleted immediately.
- Move Forward. Click Move Forward or Ctrl+⇓ to move your element.
- Move Forward. Click Move Forward or Ctrl+⇑ to move your element.
Please note: The Move Forward or Move Backward options are available only when one element is added on top of another.