.png)
Text & Heading
Headings are essential tools for structuring your content. By establishing a visual hierarchy, you can emphasize key points and improve readability. A well-structured hierarchy helps you achieve your website's goals: raising awareness, educating your audience, or driving conversions.
The site's content is built on the principle of a hierarchy of elements - from largest to smallest. It consists of:
- Header 1: The largest and most prominent heading for main titles and important announcements.
- Header 2: A significant heading used to introduce major sections or topics.
- Header 3: A sub-heading used to further organize major sections into more specific topics.
- Header 4: A standard heading used to divide content into smaller sections.
- Header 5: A smaller heading used to introduce subsections or subtopics.
- Header 6: The smallest heading used to label specific points or lists.

Please refer to the Improving SEO in Site Editor article to learn about the best practices on how to use Headings for SEO & Accessibility.
Table of Contents
- Adding Text or Heading
- Option 1
- Option 2
- Moving and Resizing Text or Heading
- Customizing Text or Heading
- Editing Heading
- Editing Text
- Deleting Text or Heading
- More Menu
Adding Text or Heading
Option 1
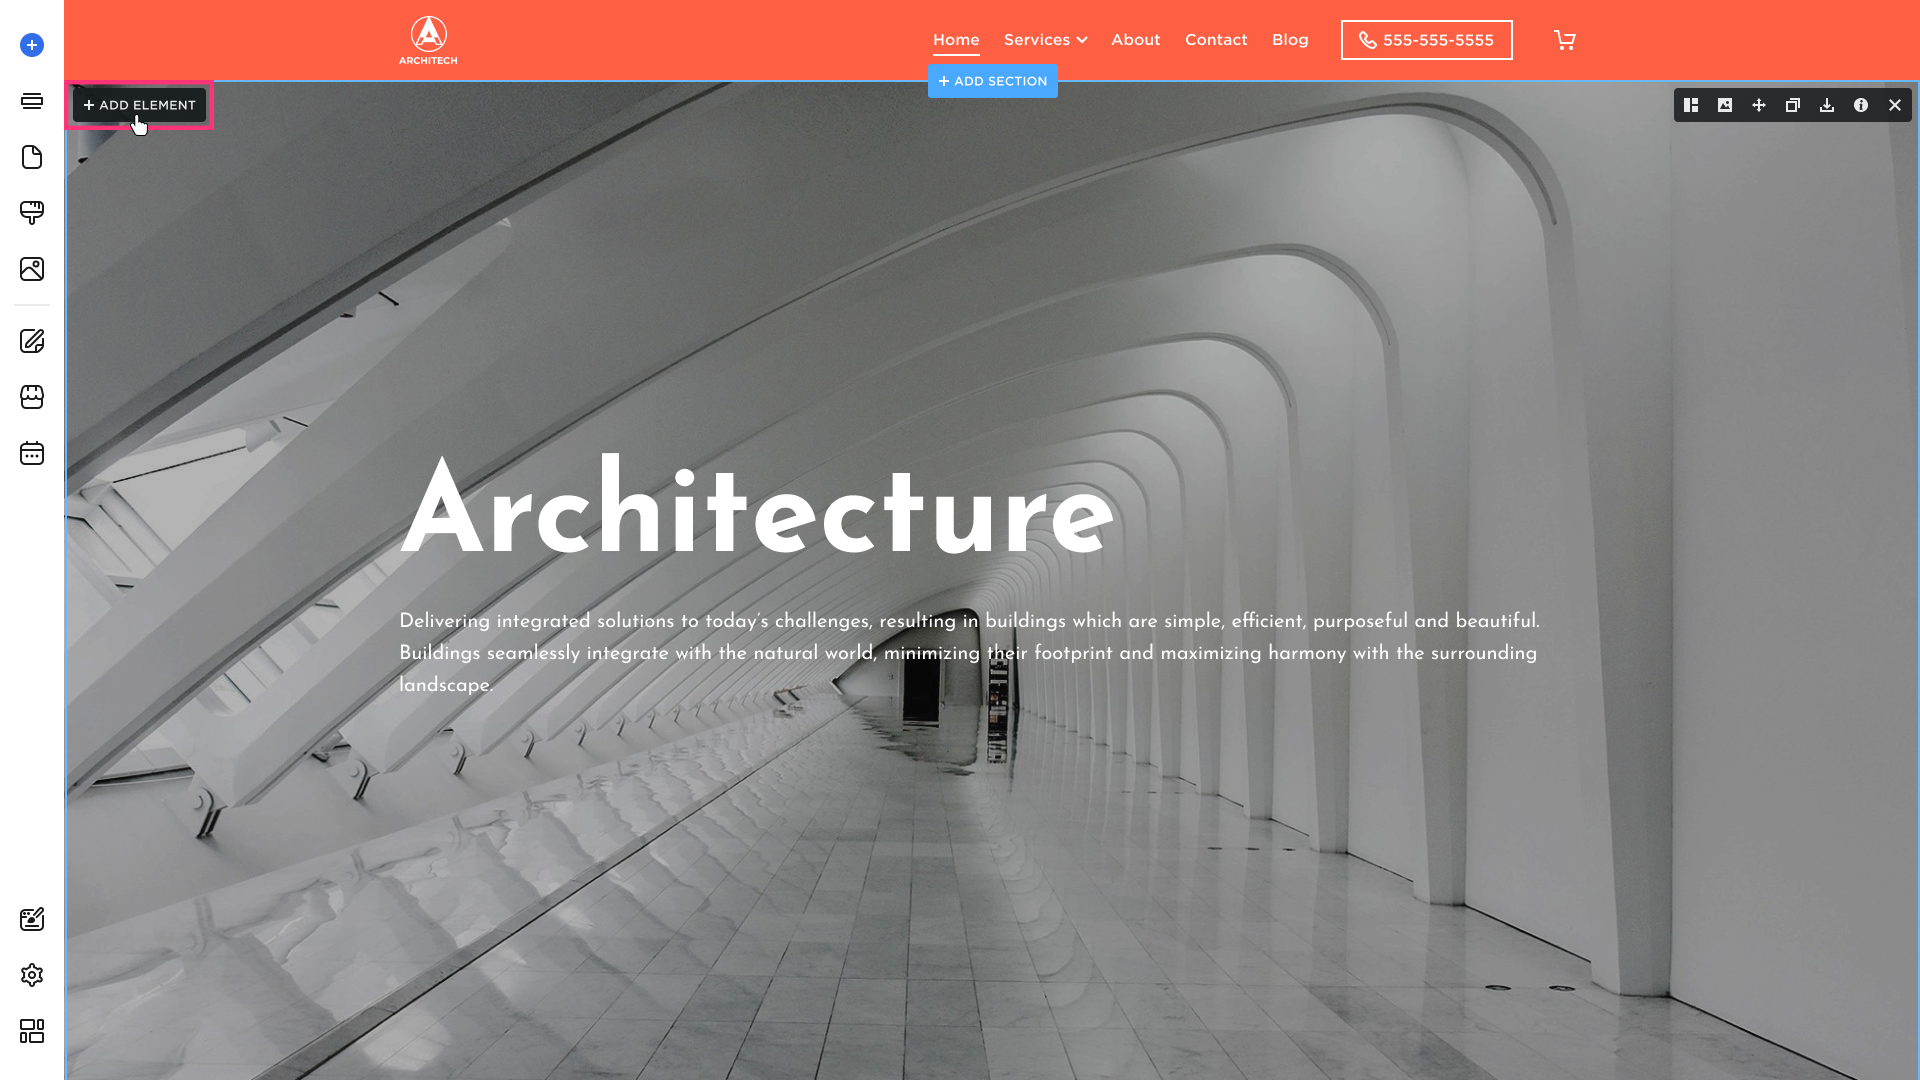
- Hover over the desired section and click Add Element:
- Choose the element from the modal that appears:
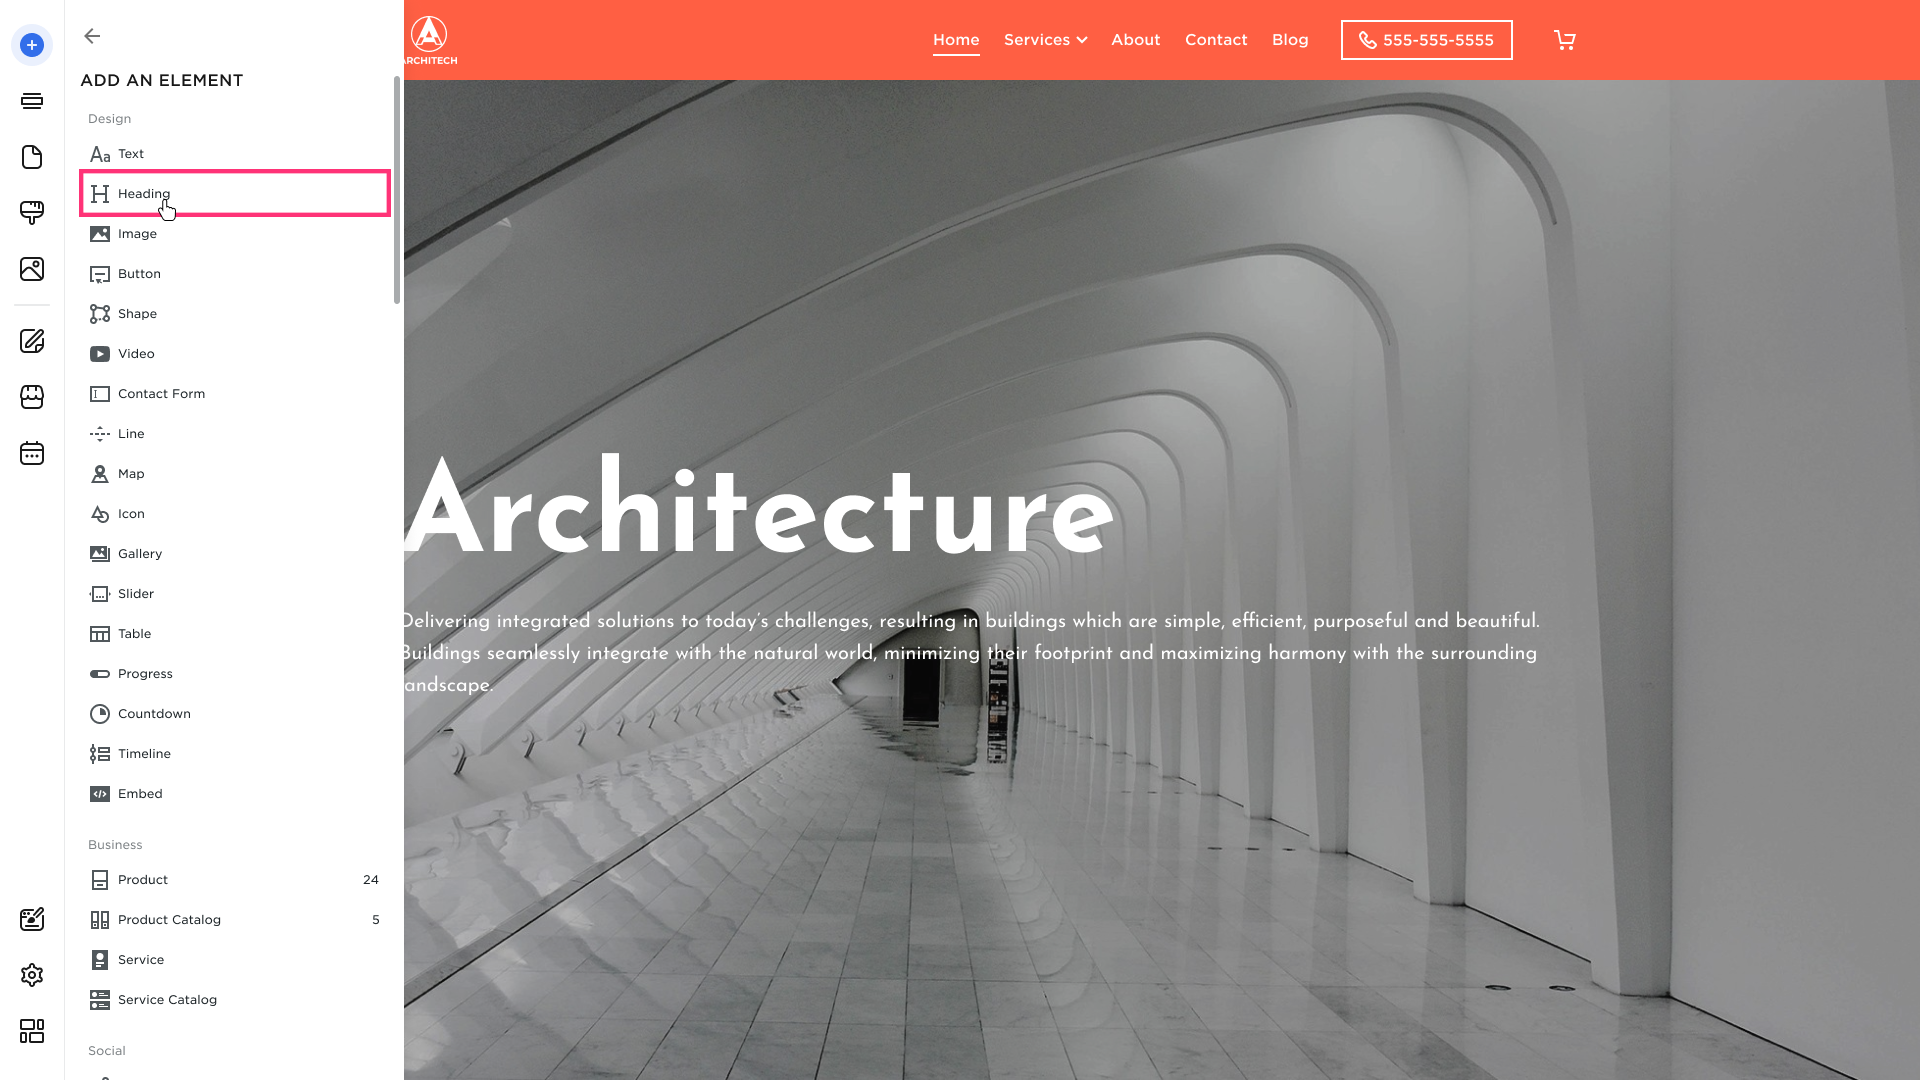
- After you choose the element from the list, drag it to the desired section and drop using the grid.
Option 2
- Hover over the left sidebar of the Site Editor and click Build (+) button:
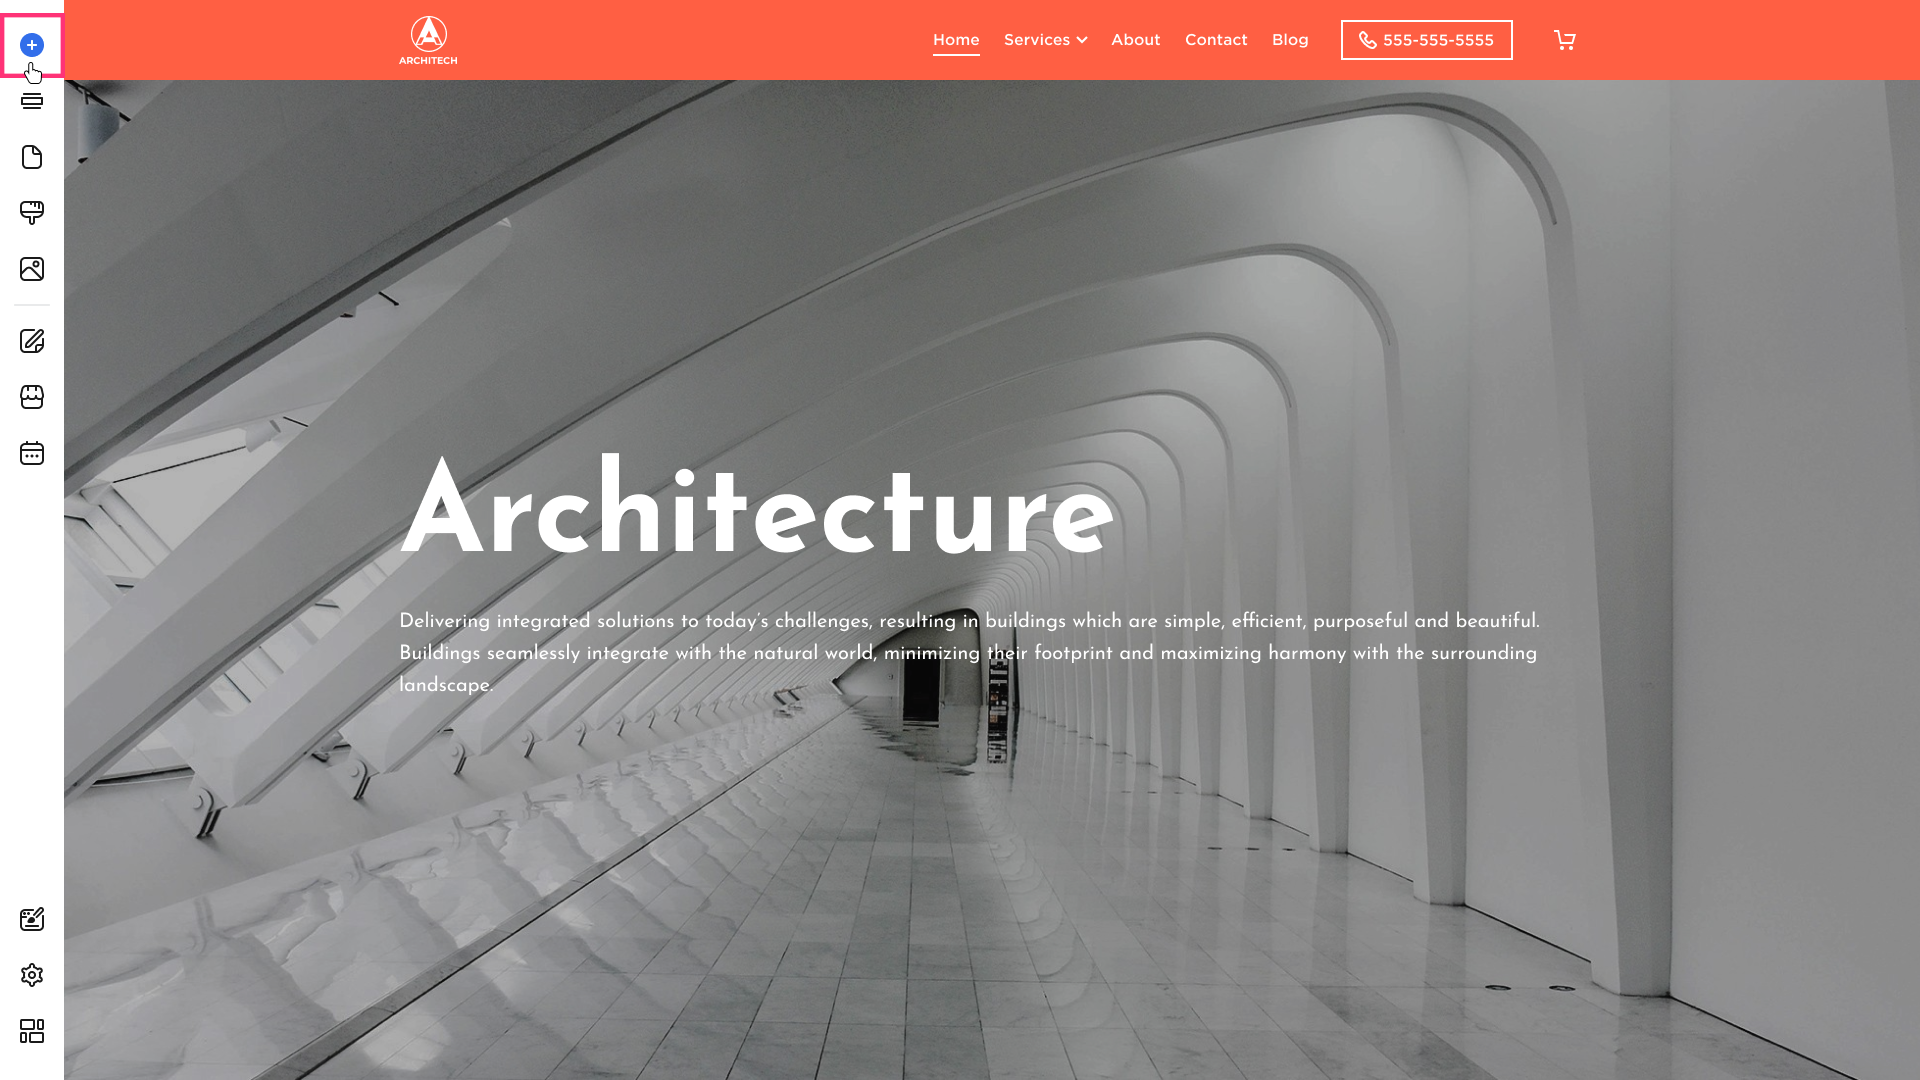
- Choose the element:
- After you choose the element from the list, drag it to the desired section and drop it using the grid.
Moving and Resizing Text or Heading
Please refer to the Elements Management (Drag and Drop Grid) article to learn more about moving and duplicating elements.
Customizing Text or Heading
To edit, duplicate, layer or delete the Text or Heading element, click on it and switch between the buttons that appears in its toolbar:

Editing Heading
Click Heading element to show the toolbar or highlight the text you want to change:
- AI Writer. Click the AI Writer button and enter the Post Topic to generate a new text and click Write My Idea.
- Color. Select the text color and its opacity by clicking the Square icon.
- Font. Select font, style, and format.
- Heading. Choose the heading variation: Header 1, 2, 3, 4, 5, or 6.
- Bold. Make the selected text bold by clicking the button.
- Italic. Make the selected text italic by clicking the button.
- Underline. Make the selected text underlined by clicking the button.
- Strikethrough. Make the selected text strikethrough by clicking the button.
- Alignment. Align the text element to the left, right, or center.
- Link. Add a link to a page (and select a page), anchor (page and section), URL, file, email address, or phone number. You can also turn on the toggle to open a link in the new tab.
- Align vertically. Align the text element to the top, center, or bottom.
- Remove formatting. Click the button to clear the format of the selected text.

Editing Text
Click a Text element to show the toolbar or highlight the text you want to change:
- AI Writer. Click the AI Writer button and enter the Post Topic to generate a new text and click Write My Idea.
- Color. Select the text color and its opacity by clicking the Square icon.
- Font. Select font, style, and format.
- Bold. Make the selected text bold by clicking the button.
- Italic. Make the selected text italic by clicking the button.
- Underline. Make the selected text underlined by clicking the button.
- Strikethrough. Make the selected text strikethrough by clicking the button.
- Alignment. Align the text element to the left, right, or center.
- List. Select the bullet style, bullet color, and the offset size.
- Link. Add a link to a page (and select a page), anchor (page and section), URL, file, email address, or phone number. You can also turn on the toggle to open a link in the new tab.
- Align vertically. Align the text element to the top, center, or bottom.
- Remove formatting. Click the button to clear the format of the selected text.
Tip: You can set the Font Theme settings to customize the font styles to match your preferences. These font settings are global and apply to all website pages. Please refer to the Theme: Fonts article to learn more.

Tip: Use the Spell Checking functionality in your browser to spot spelling and grammar mistakes. You can identify misspelled words and grammatical errors while editing text elements by enabling a spell-checker extension in Firefox or Chrome. Alternatively, you can spell-check your text in an editing program before adding it to your site.
Deleting Text or Heading
- Click the Remove button [Bin]:

- The element will be removed immediately.
More Menu
- Click the More icon in the editing menu to access the available options:

- Cut. Click Cut or Ctrl+X to cut your element.
- Copy. Click Copy or Ctrl+C to copy your element.
- Duplicate. Click Duplicate or Ctrl+D to duplicate your element. The duplicate will appear immediately.
- Delete. Click Delete to remove the element. The element will be deleted immediately.
- Move Forward. Click Move Forward or Ctrl+⇓ to move your element.
- Move Forward. Click Move Forward or Ctrl+⇑ to move your element.
Please Note: The Move Forward or Move Backward options are available only when one element is added on top of another.

- The element will be immediately removed.