.png)
Intro
Site Editor offers a collection of ready-made Intro sections. Select an Intro section template, drag it from the library, drop it onto an available placeholder (usually at the top of the screen, following the website header), and then configure it to suit your needs.
Table of Contents
Adding Intro
Option 1
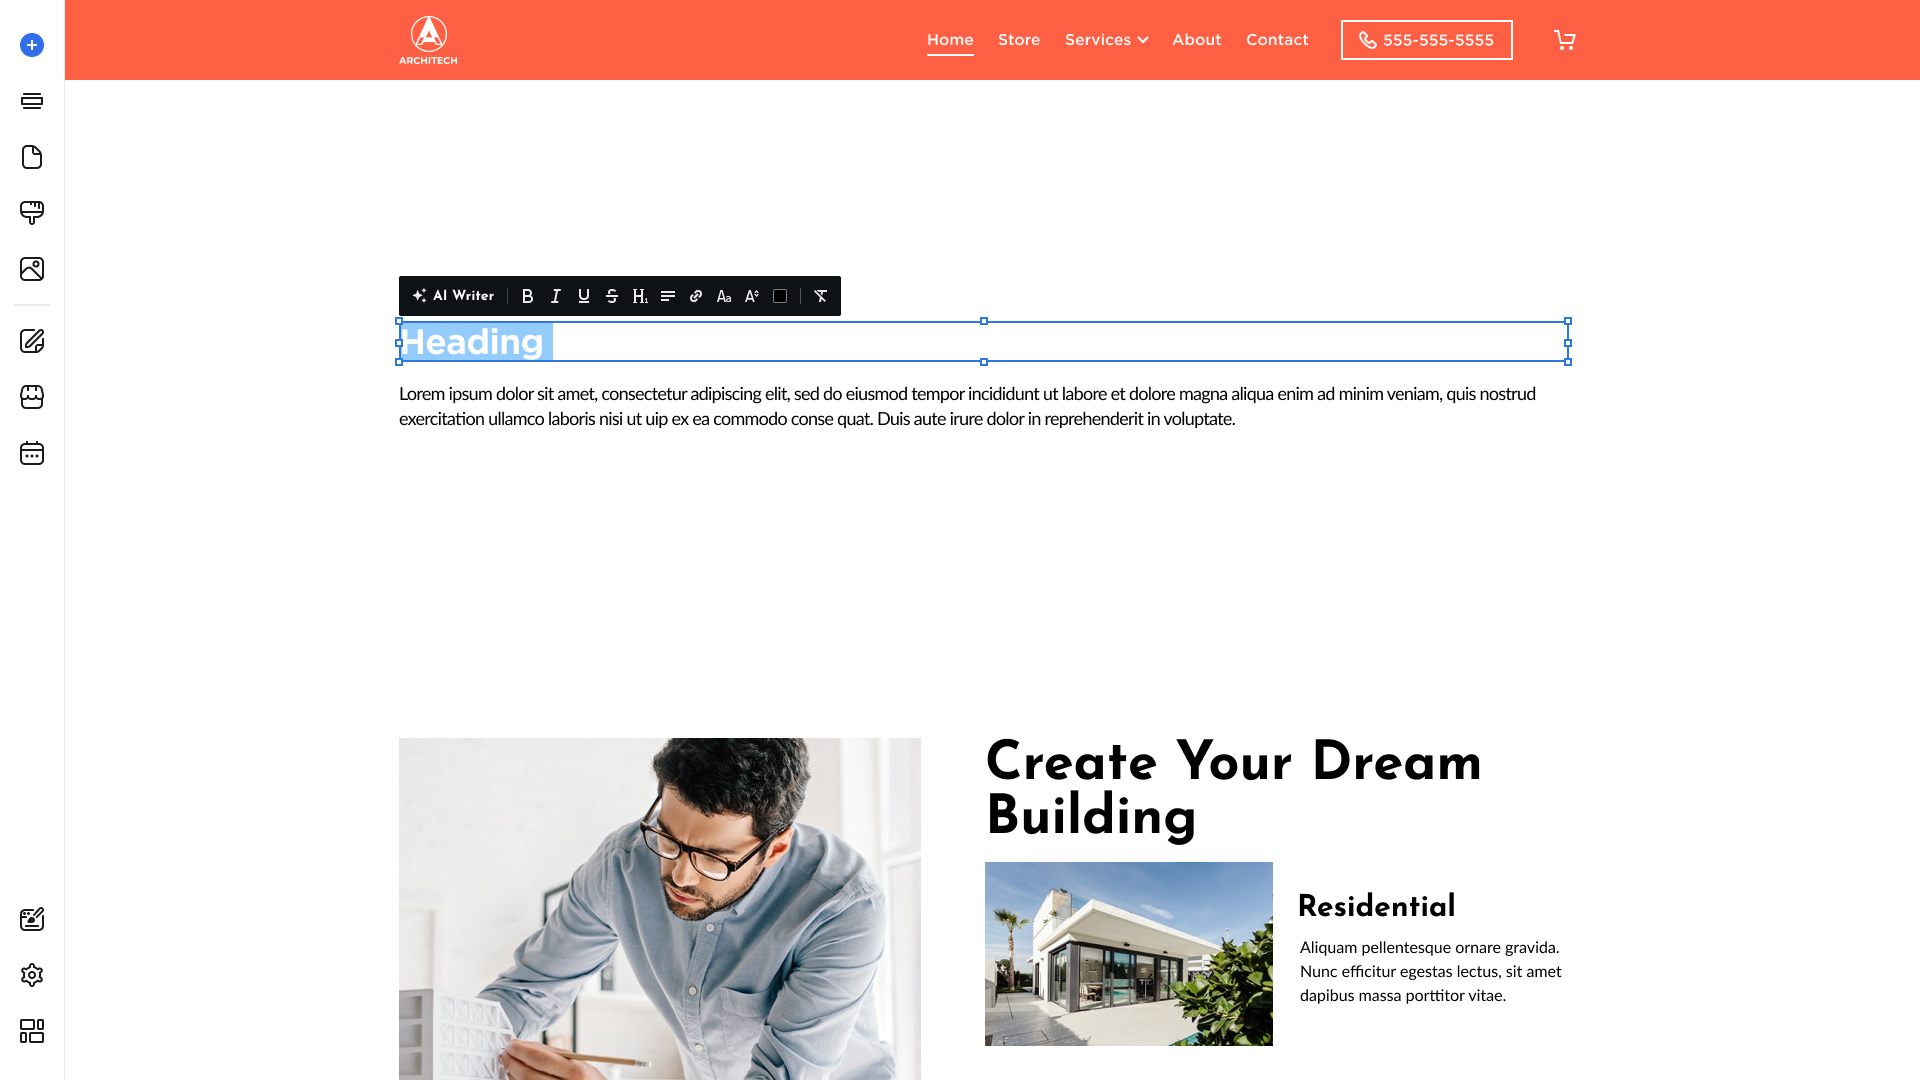
- Hover over the desired section, and click the Add Section:

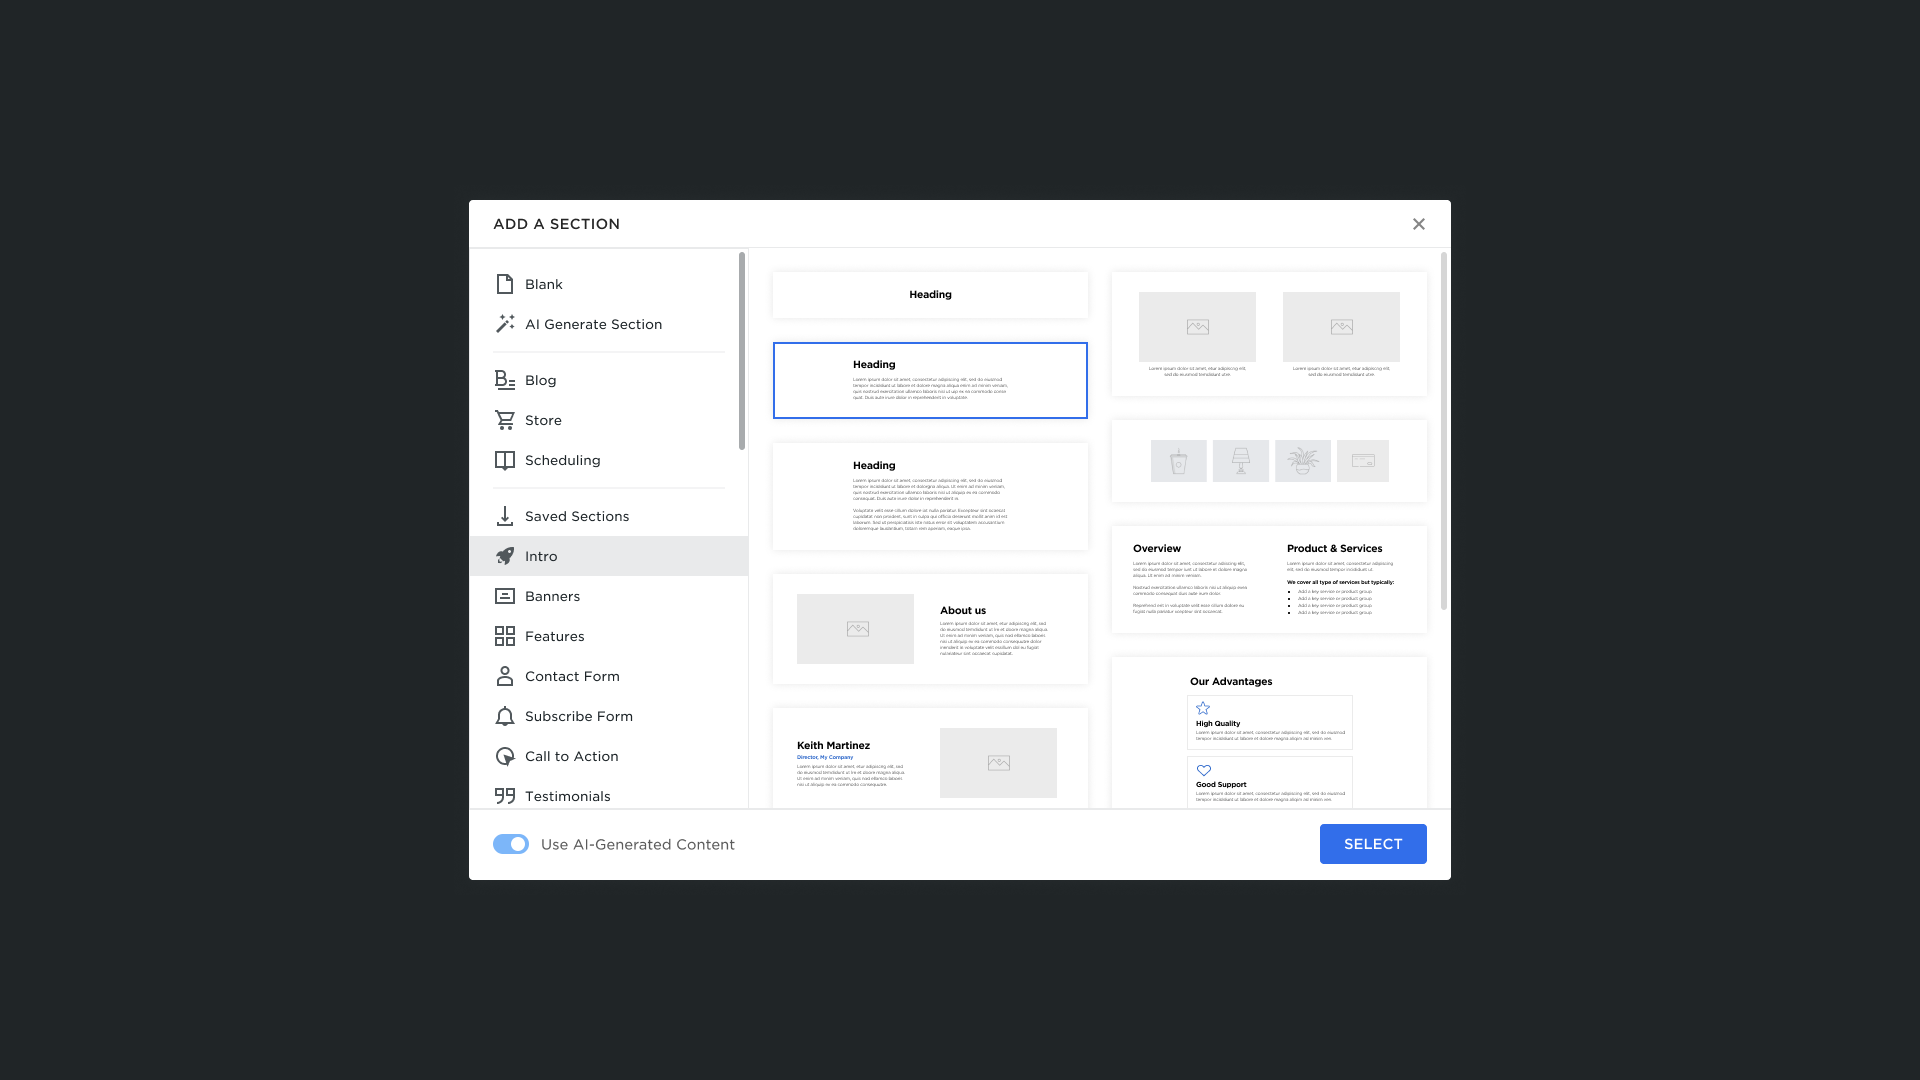
- Choose the section from the modal that appears:
- The new Intro section will immediately appear. You can now modify the Intro section to suit your needs.
Option 2
- Hover over the left sidebar of the Site Editor and click Sections:

- Choose the section:

- The new section will immediately appear in the selected area. You can edit and add new elements to it to suit your needs.
Managing Intro Section
After the Intro section is added, you can modify it to suit your needs. Please refer to the Sections Management (Drag and Drop) article to learn more about available settings.

Managing Intro Elements
You can also manage the content of the intro section - the text, image, and button. Rearrange, add, or delete elements according to your needs.