.png)
How to List a Product on eCommerce
Product listing is the process of creating a detailed description of your products, including their features, specifications, and prices. When creating a product listing, you must always keep in mind that your potential customers will use the information you provide to make a purchase decision. Therefore, your listing should be clear, concise, and accurate. Remember to highlight the unique features of your product and how it can benefit the customer. In this article, you will learn how to list a product on eCommerce.
eCommerce provides an excellent opportunity to showcase and sell an extensive range of products on your website. Include relevant product specifications, expand your online store, and offer more choices to your customers.
Table of Contents
Listing a Product in eCommerce
Follow the instructions below to list a product in your eCommerce store:
- Log in to your account via https://www.networksolutions.com/my-account/login.
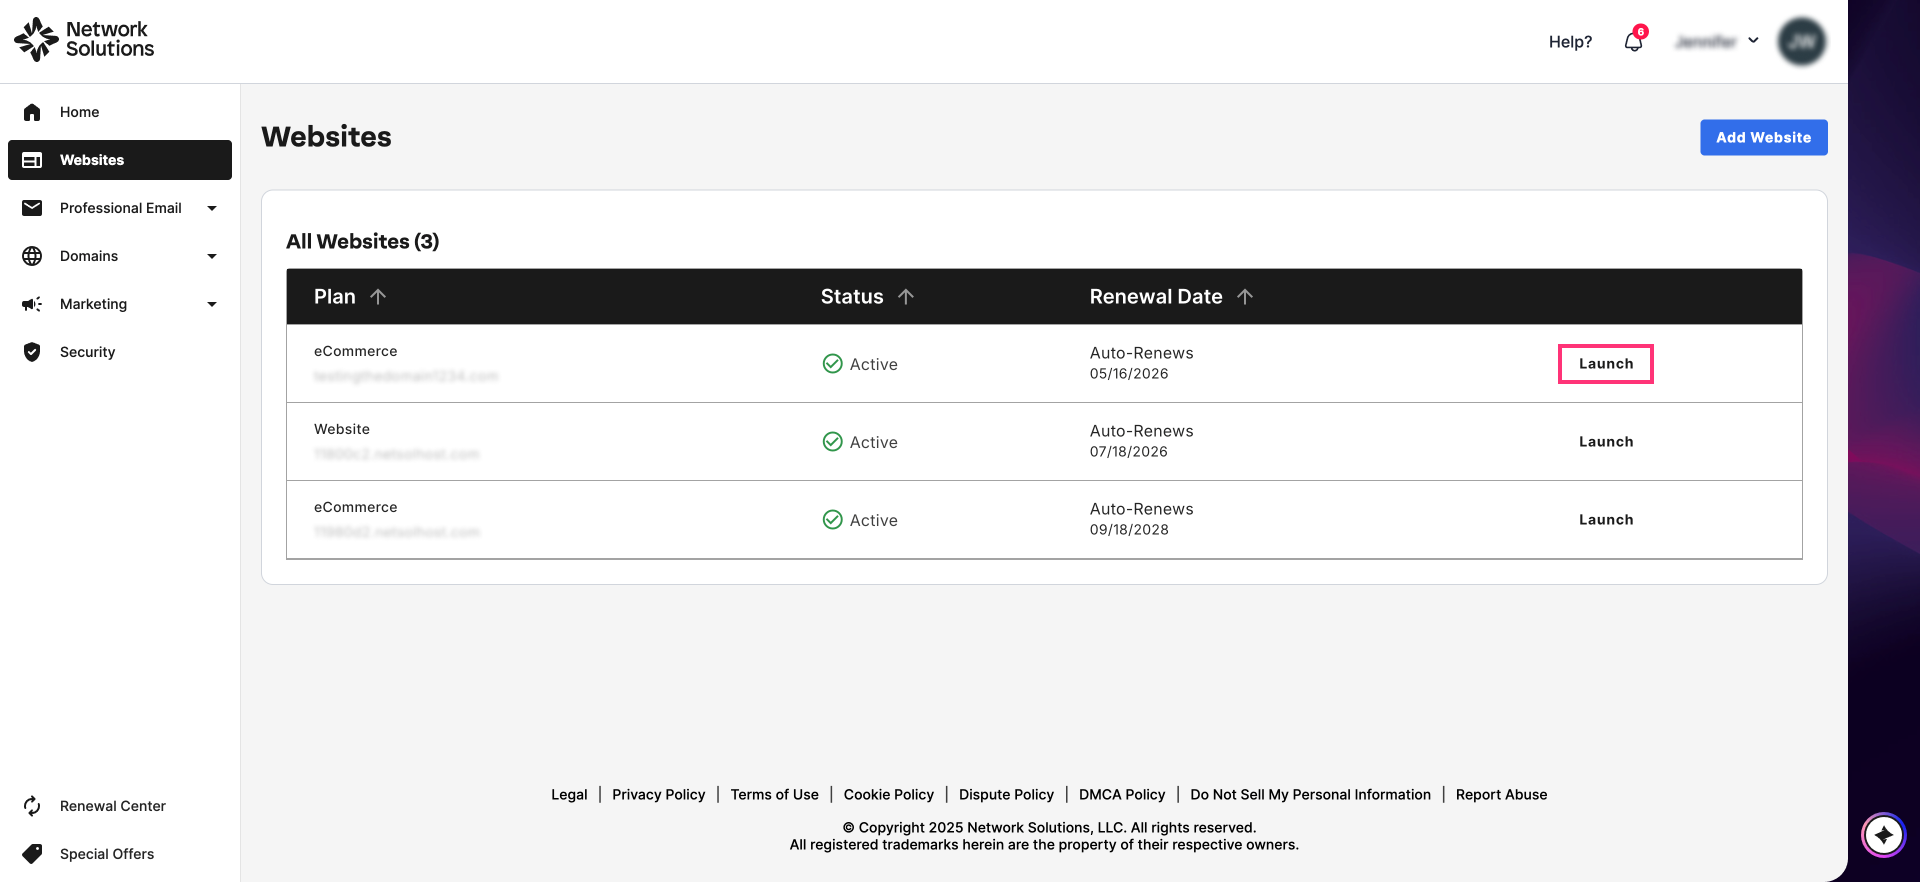
- On your Account Manager homepage, click Websites in the left side of the page:
- If you only have one eCommerce package, you will be automatically redirected to your Website Builder. If you have multiple packages, click Launch next to the eCommerce product you want to manage.
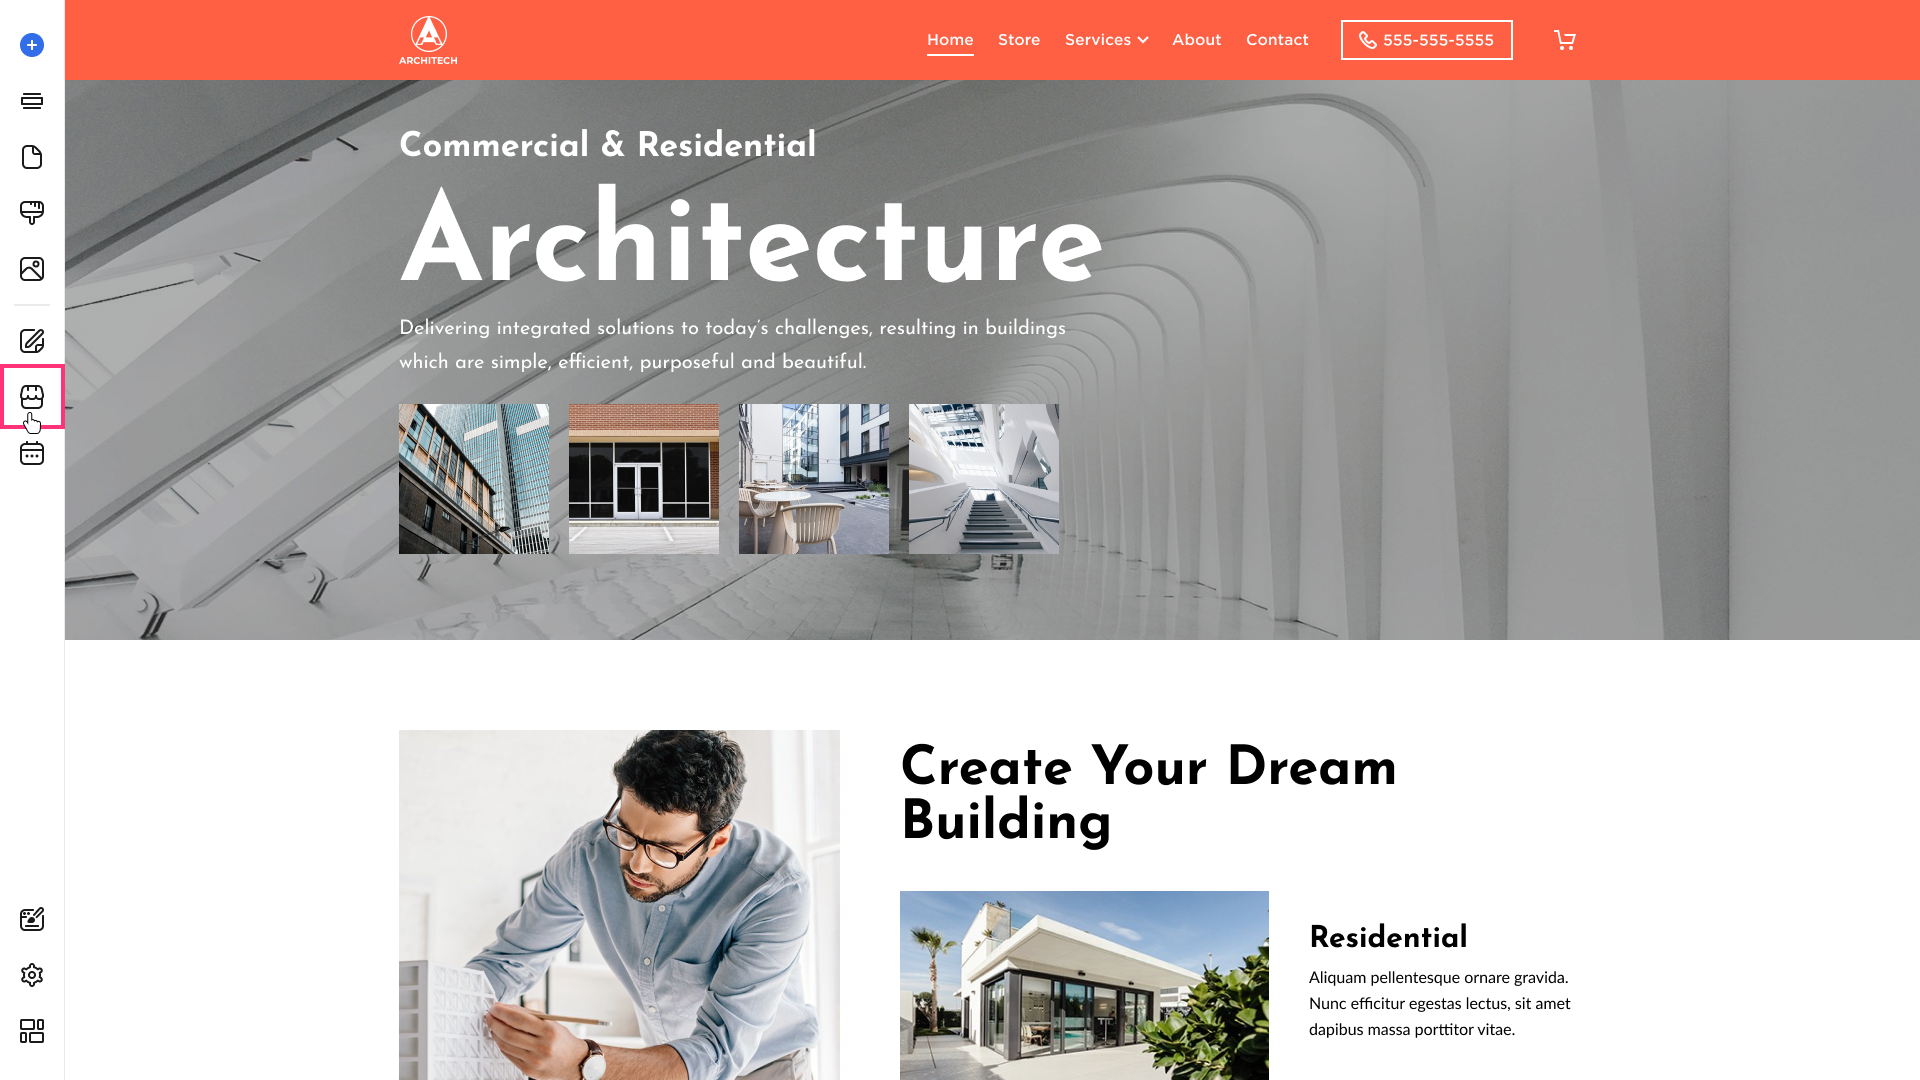
- Once inside your Website Builder, click Store on the left sidebar.
- In the Products section, click the three vertical dots next to the chosen product that doesn't have an active listing, then click Details:

- You also have the option to create a new product by clicking the Create Product button on the top right of the screen. For detailed instructions on how to create a new product, check out How to Add a Product to Your eCommerce Site.
- Fill out the information needed in the Global Listing Details section of the Basic Information tab to populate fields that will carry over from channel to channel. To apply the information you entered, click the Apply to All Listings button:

- In the My Store tab, you can configure and list the product on your website. Complete the details needed on the form, then hit the Save button if you want to continue working on it at a later time, or click the Publish button for it to go live:

- In the Listings tab, you can configure and publish product listings for other Sales Channels individually. Under the State of Listing column, you can check the listing's status.

Please Note: The Listings tab will appear only after Marketplace Selling add-on is activated in Store Settings -> Add-ons. For more details, please refer to How to Connect Your eCommerce Store to Marketplaces.
- Select an integration that doesn't have an active listing yet. Click the 3 vertical dots under Actions, then select Details.

- Complete the details needed on the form, then hit the Save button if you want to continue working on it at a later time, or click the Publish button for it to go live:

10. You can apply Listing Preset to a listing by clicking Actions on the uppermost right of the page and then clicking Apply Listing Preset:

Please Note: Apply Listing Preset feature will be available only after you activate the Quick-Fill Listing Templates in Settings -> Add-ons. Please refer to How to Use Listing Presets section of this article for more details.
- In the pop-up, select a Listing Preset from the drop-down, then hit the Apply button. To navigate to the Listing Presets page and be able to configure presets, click on the Manage Presets button:

How to Use Listing Presets
To specify defaults for the listing fields, you can create Listing Presets for the shop/storefront. Below are steps to create a listing preset.
- In your Website Builder, click Store on the left sidebar.
- Navigate to the Settings section. First, you need to activate the Marketplace Selling add-on for your Online Store. On the Add-Ons card, select Manage. If you have already activated it, please skip to step 5.

- Find Quick-Fill Listing Templates and click Learn More.

- Confirm by clicking Activate in the modal window.

- Once the Quick-Fill Listing Templates add-on is activated, the Listing Preset card will appear in Settings. Click Manage:

- Click Add New Preset in the top right of the page:

- In the pop-up window, select a Sales Channel for which you want to create a Listing Preset.
- Fill out the form, then click Save:

Please Note: To start a new Listing Preset, click the Add New button. To remove the Listing Preset, click the three horizontal dots and select Delete, which is located in the upper-right corner.
- Once you have created a Listing Preset for Sales Channel, you will be able to apply it when you create product listings:

Review
Understand product listings and learn how to list a product on eCommerce. You can write compelling product descriptions to help customers make the right decision when purchasing a product. Also, make sure to fill out the necessary details to create or update a listing on your eCommerce store.