.png)
How to Update Inventory in eCommerce
Anybody who has created an online store knows that stock shortages can have a negative impact on sales. Learn how to update inventory in eCommerce to prevent getting out-of-stock, learn how to easily add new products, change quantities, and manage stock levels.
Table of Contents
How to Update Inventory in eCommerce
Follow the steps below to update your inventory.
- Log in to your account via https://www.networksolutions.com/my-account/login.
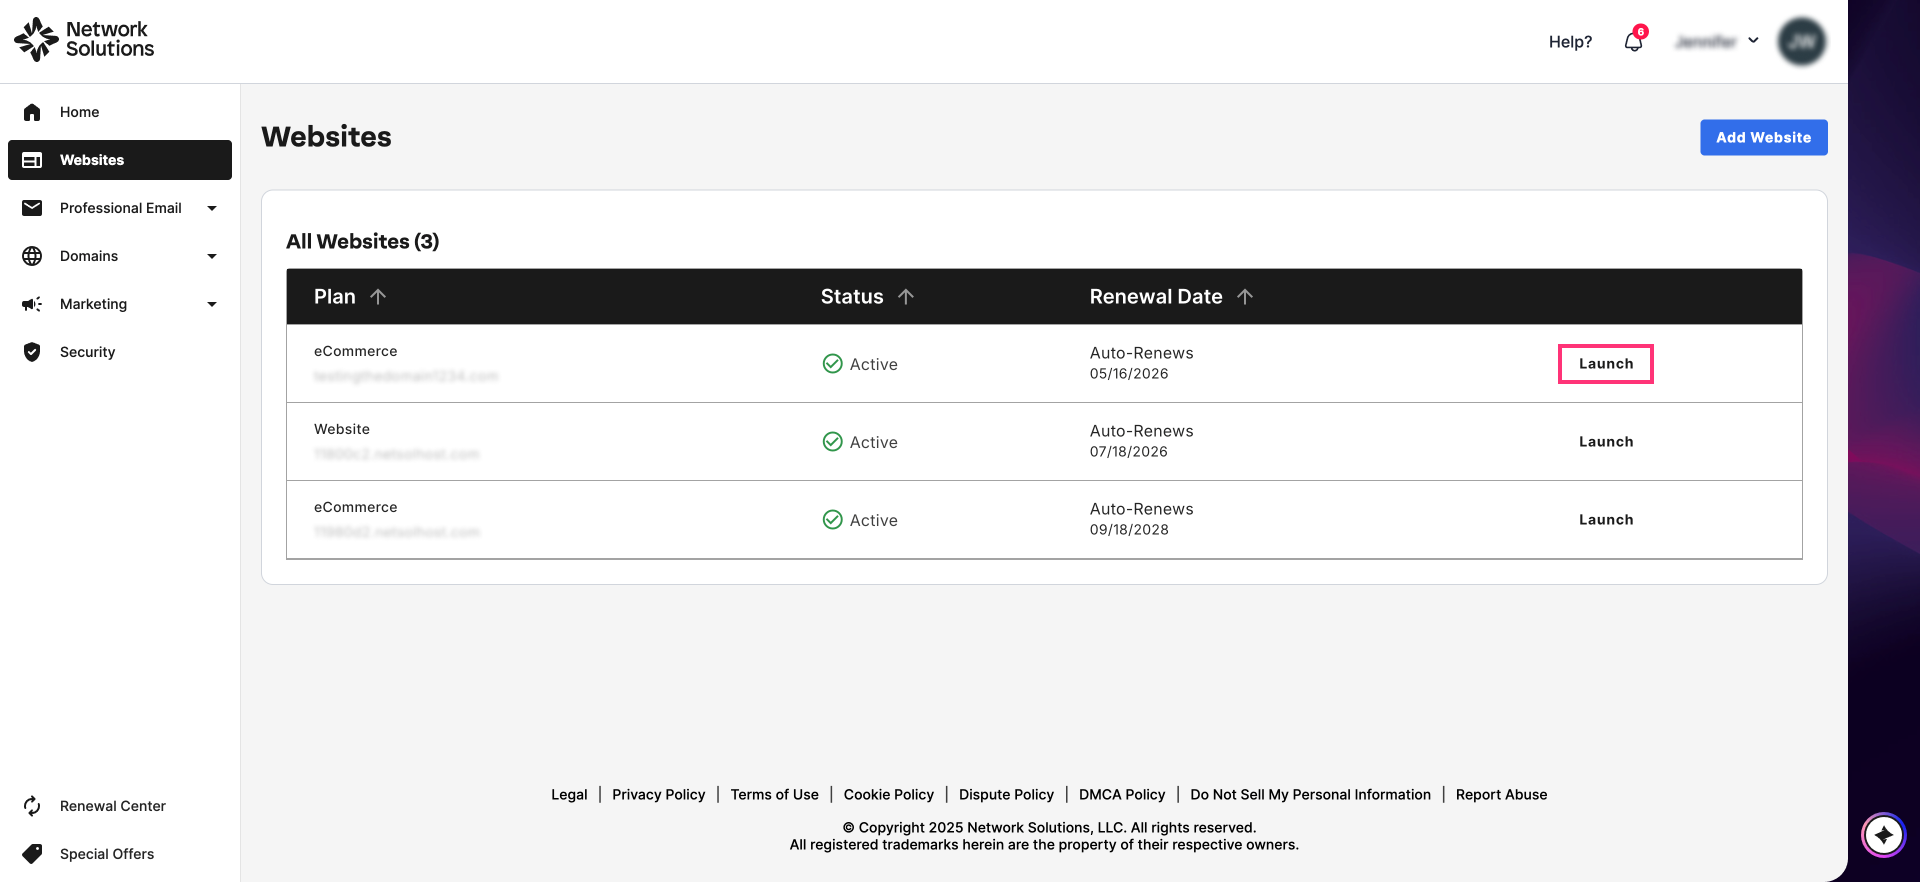
- On your Account Manager homepage, click Websites on the left menu. If you only have one eCommerce product, you will be automatically routed to your Website Builder.
- If you have multiple eCommerce products, click Launch next to the product you would like to update.
- Once inside your Website Builder, click Store on the left sidebar.

4. From the left sidebar, select Products.
5. On the Products page, select which product you want to update. Then, click on the vertical ellipsis (⋮) icon under Actions. This is where to update inventory on the Network Solutions store.

- Once the options show, select Details:

- Review all the details on the Product Details page and make necessary updates to the information. You can edit the Product Name, SKU, product quantity and more on the Network Solutions store:

- Once done, click Save in the top-right corner.
Review
Your sales might be impacted from stock shortages. With the help of this guide, you may utilize Network Solutions' inventory management features to stay on top of the game!
- Effortlessly add new products to your growing online store.
- Adjust product quantities with ease to ensure you always have what customers need.
- Manage stock levels effectively to prevent frustrating out-of-stock situations.
We'll walk you through a step-by-step process to update your inventory directly within your Network Solutions account.